SIDE SOUND PORTS are a wonderful new feature on Ukuleles. They direct the sound back to the player. There is no negative effect on tone and I doubt they add to total volume, but they are a delight to play with. I plan on including them on all of my future tenors. Here is how it is done.
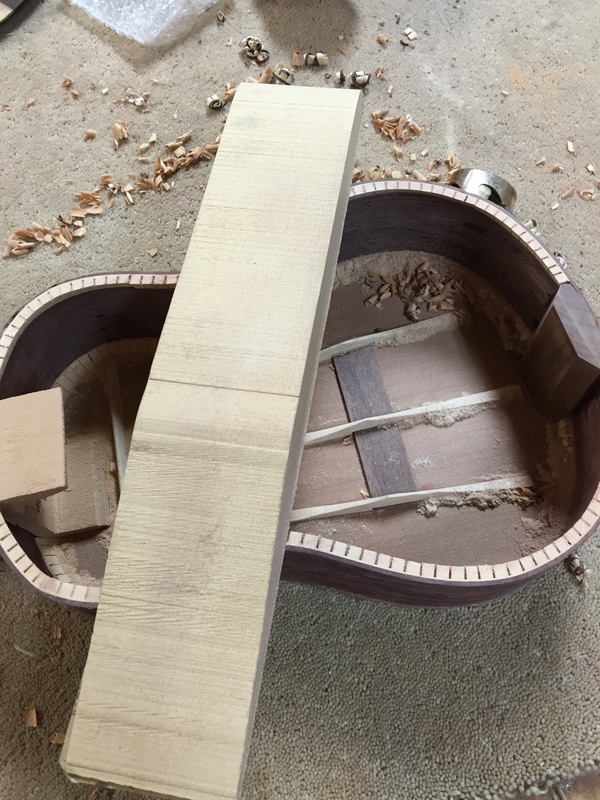
First, I wanted to finish sanding the back of the uke so that it would be flat, even, and ready to glue on the back after I had installed the Side sound ports. I stuck a long strip of 80 grit stick on sand paper to the perfectly flat scrap of Alaska Cedar. It made an effective sanding device and I soon had all three tenors ready to go.
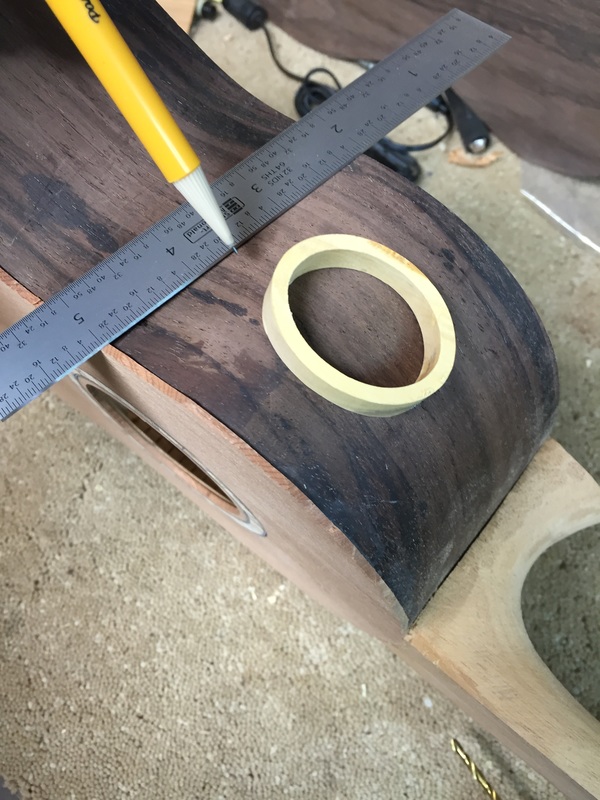 I used a pre-shaped guide insert that fits the contours of the side and carefully measured to position it exactly in the center. 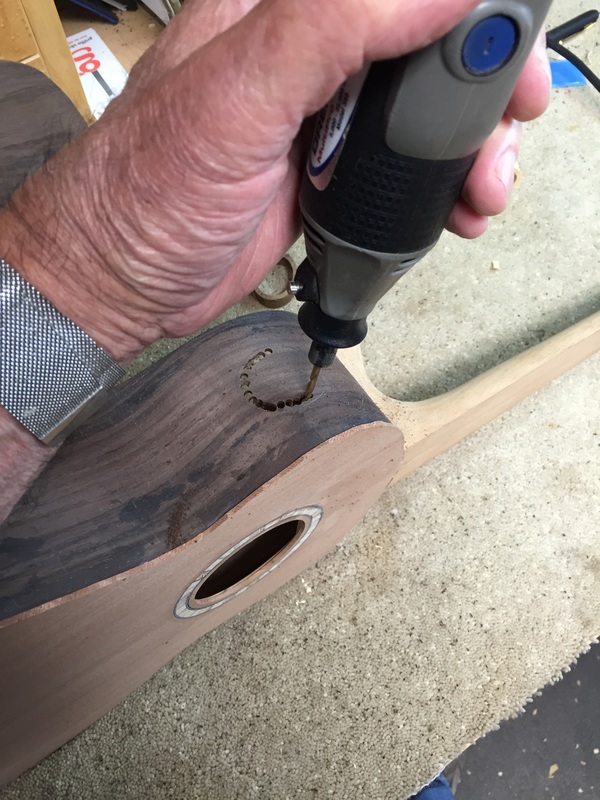 I slipped a drill bit into my Dremel tool and drilled a series of holes around the oval, staying well away from the crucial pencil mark 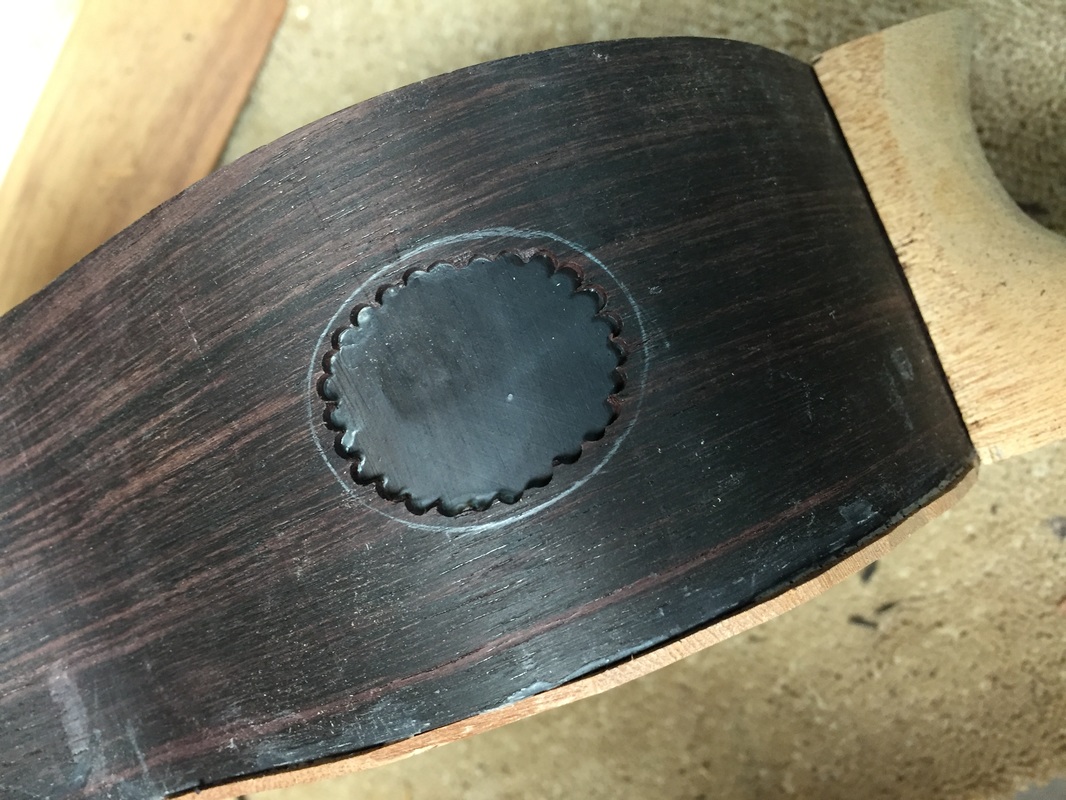 I cut a thin piece of ebony veneer and glue it inside the instrument side with its grain opposing that of the Rosewood side. When that glue is dried the veneer is around the hole edge. Rt. then with a rough sanding drum on the Dremel you begin the slow careful grind to enlarge the oval and fit the hardwood ring. Plan on repeated fittings and be patient. A perfect fit is possible with care. 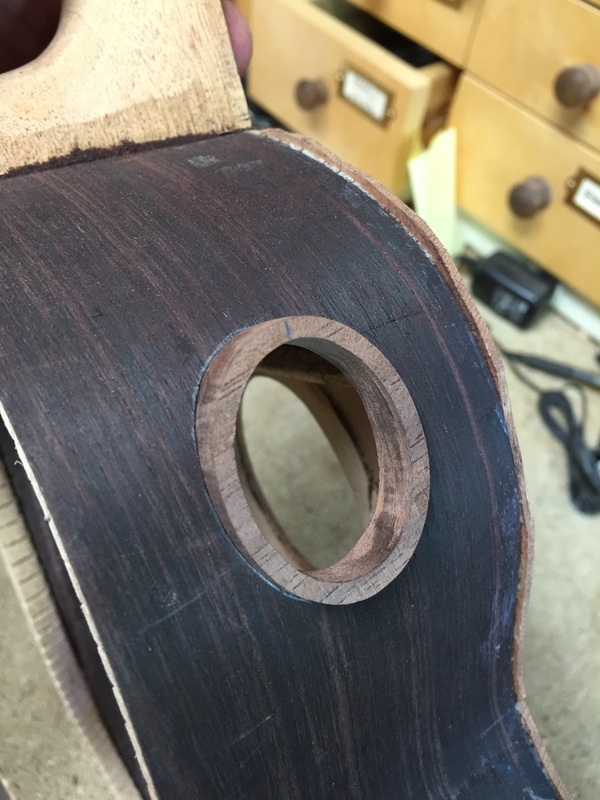 It is almost there, just a little more in a couple of spots and it will slip into the hole. Take tiny bits off at a time, and remove and mark frequently-UNTIL  With this super sharp curved exacto blade it is easy to shave the ring down almost to the surface of the side. Then finish it up with sand paper until it is entirely flush with the side and the superglue cannot be seen | 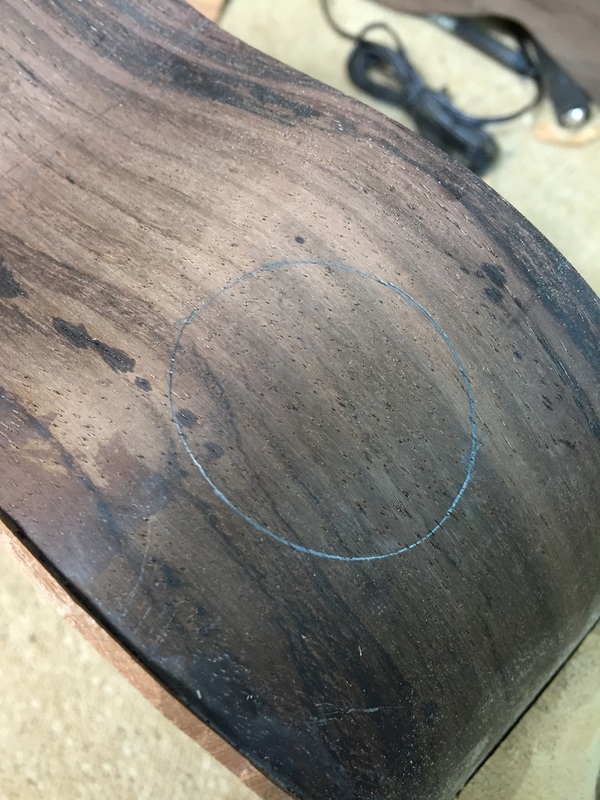 Then with a thin lead pencil its outline was scribed. I will want to cut an opening to the inside edge of the pencil line 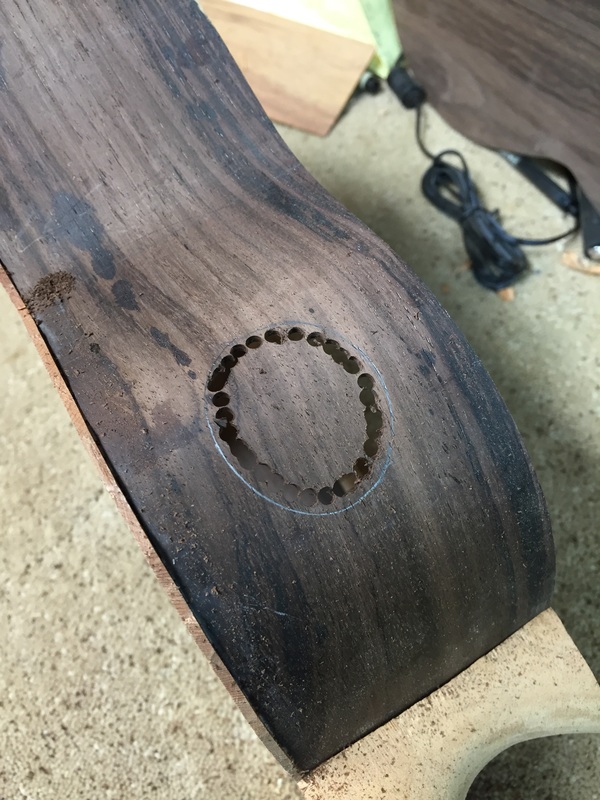 With a tiny Exacto saw you cut the little connections holding this piece in. Now you have a big irregular hole that should be reinforced. 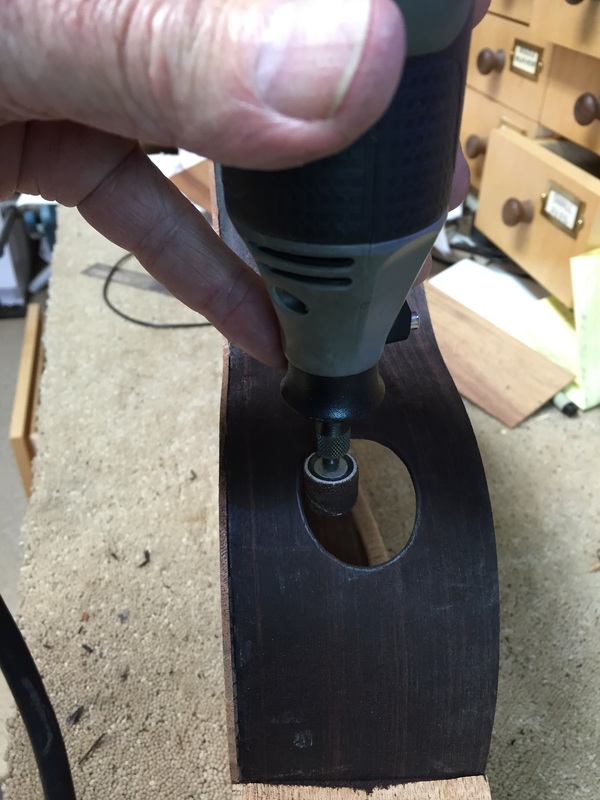  It slipped in perfectly, Tight with no gap. Now it is time for the Thick Super-glue. Put it in the seam both outside and in 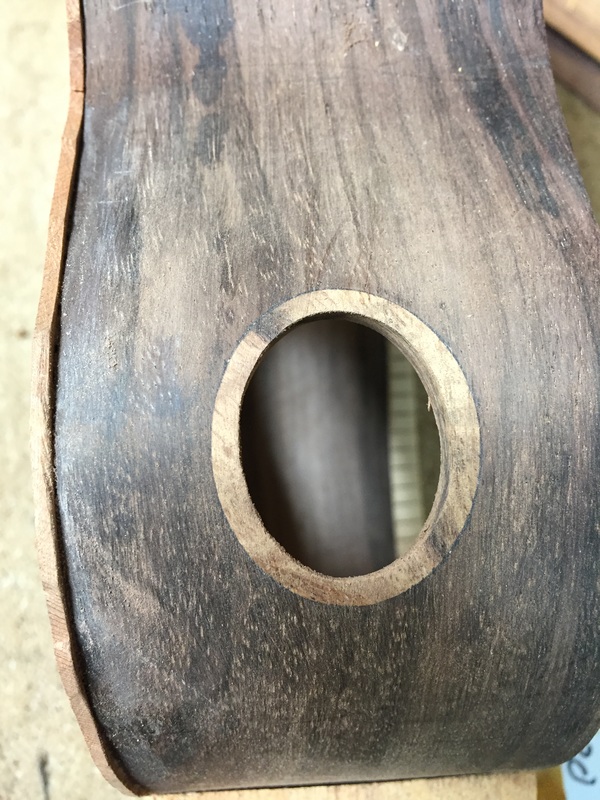 And here is the result. A nicely fitted ring. You will need to mimic this action on the inside also. I find the sanding disk on the Dremel does most of the job followed with a little work with a sanding stick. |
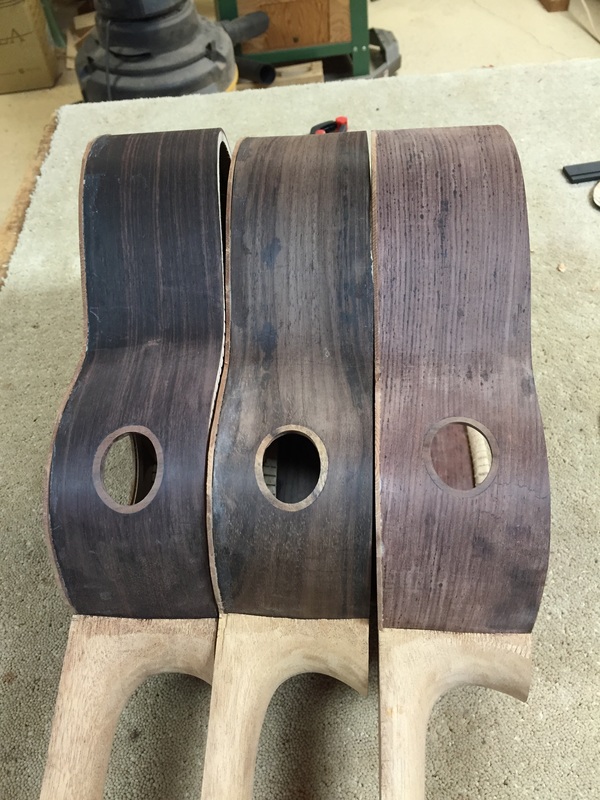
So here they are. All side sound ports installed nicely. The next project will be final fitting of the backs and "boxing up" these tenors. They are coming along nicely so far.
If you are a ukulele builder reading this blog, I have a large number of these sound hole rings in various woods. If you want to give it a try, I am selling them for $8.00 each. drop me an email or phone to order.
If you are a ukulele builder reading this blog, I have a large number of these sound hole rings in various woods. If you want to give it a try, I am selling them for $8.00 each. drop me an email or phone to order.
