|
American Bison Bone
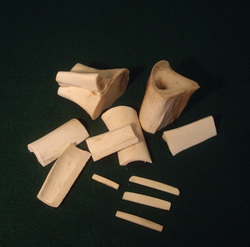
American Bison (buffalo) bone
I befriended a third generation bone carver on Maui a couple of years ago and bought a lovely fishhook necklace from him made of buffalo bone. Yes American Bison bone! He told me he preferred it above all others because it was 35% harder than cow bone or any other bone he had used.
Any good luthier will tell you that cow bone must be used for saddles and nuts on acoustic instruments and that it is far superior to any of the modern plastics because of its hardness and ability to transmit vibrations.
Armed with that information I visited a local Buffalo rancher in the countryside near Bellingham. The picture shows just a part of my treasure trove of now cleaned but unbleached Bison Bone. It is extremely dense, heavy and hard and I like to think it is part of the reason my ukuleles sound so good. It is unbleached because that would soften the bone, and besides a little color adds character I think.
I simmer them for an hour or two in soapy water on the outdoor barbeque ,(my wife's idea) , Scrape off any meat, cartilege or goop and set them in the sun for a few weeks. If the neighbors dogs don't get them I then dry them further in my shop, cutting off what I need with the bandsaw. I even made a bone sawing jig to help the process and to save my fingers.
This heavy bone sands well, files well and I think adds a special touch to a Griffin Ukulele.
Attaching the Strings
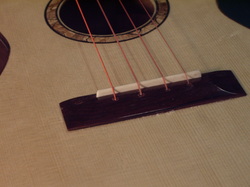
You have probably seen more than one ukulele that had its bridge torn off. The glue failed because the instrument got too hot, or it just was'nt glued on properly in the first place. Frequently when that happens chunks of the sound board come off with it and that uke might be beyond repair. Well that will never happen with a Griffin Ukulele.
I took my cue from Mike Chock, master builder of Honolulu and founder of the Ukulele Guild over there, and from Eric Devine whom in my opinion builds the best ukuleles in the world.
Our strings simply go through holes drilled into the bridge, and through the hardwood plate glued out of sight under the bridge and top where a knot is tied that is pulled snug against the unseen plate/brace inside the uke. Simple, secure and so practical.
Changing strings is easy, release it at the tuner, push it down the hole till you can fish it out the sound hole. Insert the new string in the hole, fish it partially out, tie a knot and pull it taut to the tuner. Who ever started tying strings to the bridge in the first place? Dumb idea!
Here is what you need to French Polish
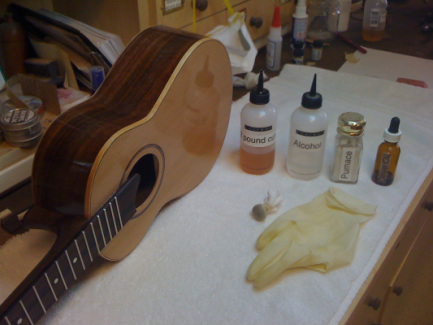
The bottle on the left has shellac diluted in alcohol, the next bottle contains all alcohol, next is a salt shaker containing pumace. The eye dropper holds Olive Oil.
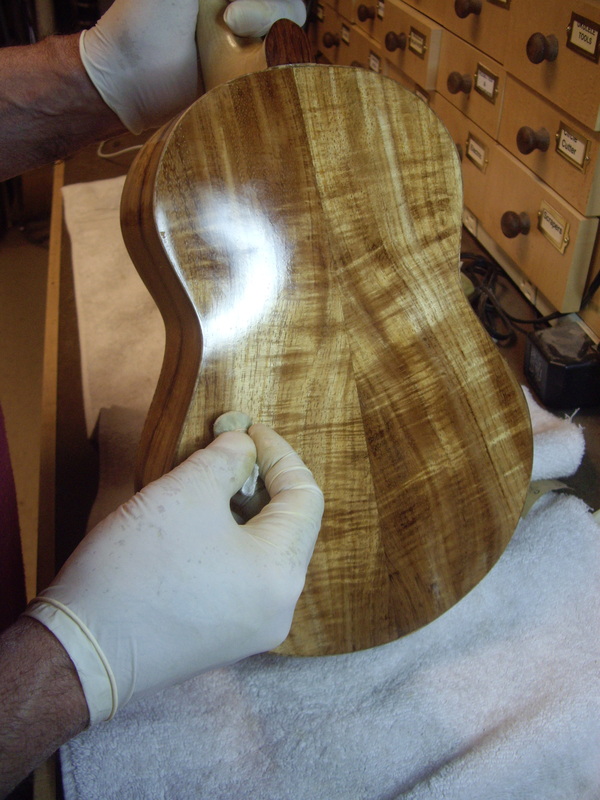
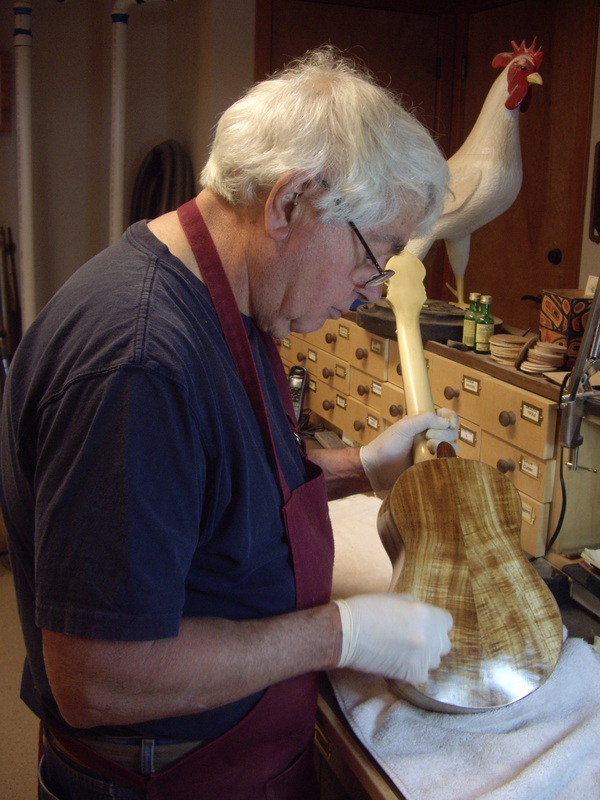
You want rubber gloves to prevent your nails from scratching the uke cause you are going to be doing lots and lots of rubbing with considerable pressure to get the finish that you want.
the little bag like object beside the cloves is the MUNICA which means rag doll in Spanish. It is a square of old tee shirt cotten held around a wool pad with a rubber band. It is with the munica that you apply the finish. There are plenty of good directions to be found on line. Just Google "French Polish".
The Spanish Style
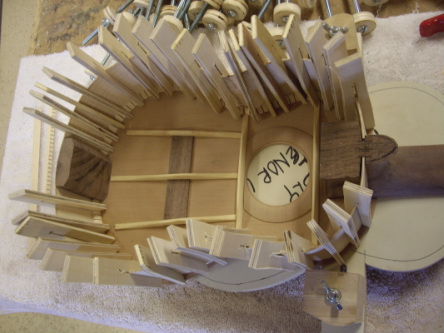
The classic method of joining the neck and body of instuments in the guitar family is called the Spanish Method.
It involves cutting slots in the side of the neck piece and inserting into it the sides of the instrument. The sides are then glued to the top and the bottom is glued on over the sides to make an extremely strong connection between neck and body.
Most ukuleles built today, even by the very best luthiers, are built joiniing neck to body by other methods, largely because they are far faster and economic to do. A dowel and epoxy, or a mortised joint will work very well. In the worst case the really cheap ukes just use glue and a screw.
Since I don't have to make aa living at this and am a bit old fashioned i guess, I like to take the time to make the joint in the classic method. Takes a lot more time, but I know its done right.
This picture shows the joint just after the sides have been inserted into the neck and the tentalones have been glued connecting side to top. Another set of tentalones gets glued to the top of the sides so that the back can be securely attached.
Tentalones Hold it all together
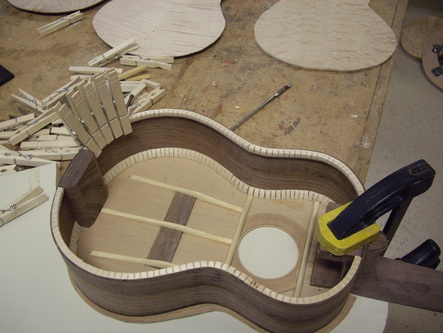
Tentalones are thin strips of wood cut so that they will follow the instrument's curves. They are glued to the sides and to the top and bottom providing a large glueing surface to hold the instrument together. I make mine by cutting strips of basswood and then using a jig, rather laborously cutting each groove on the band saw. You can buy these from a luthier's supply house but I prefer to make everything possible myself. I glue the tentalones to the sides using plain old clothes pins for clamps.
