ANOTHER DAY of amazing progress. It began with shaping the butt plates on the sander and glueing them in position on the tops.
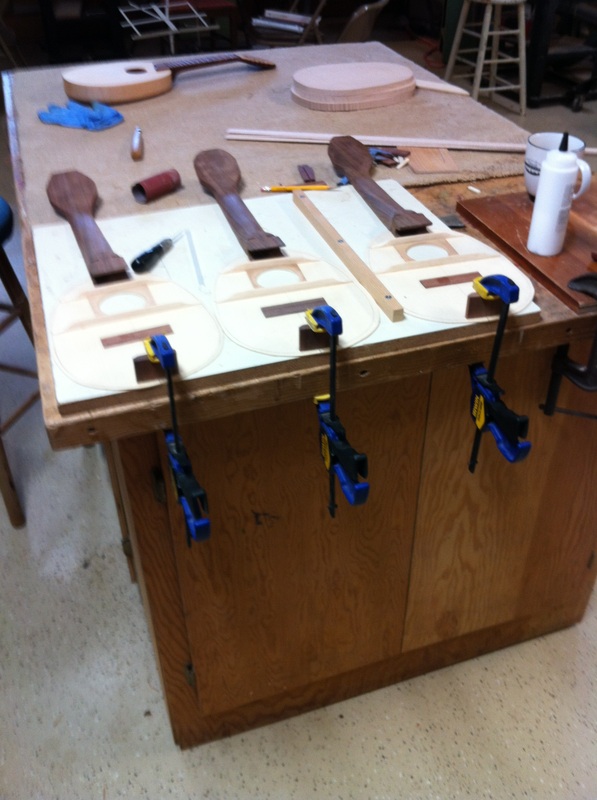
1. once I got them shaped this is how they get glued on. 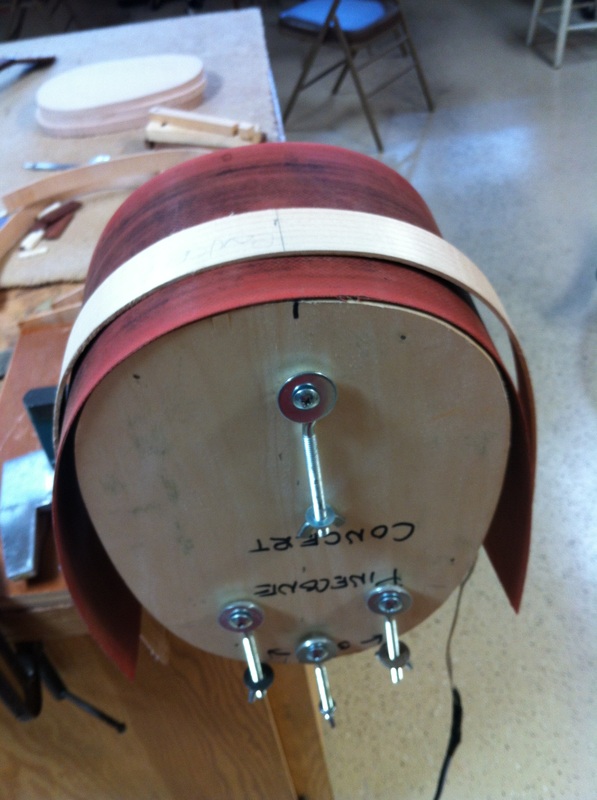
3. center the wood and very gently push down over the heat blanket closest to where the wood meets the blanket. You will feel when the wood is ready to bend, just keep working down both sides at th. I just wear leather work gloves to protect me from the heat. In a very few minutes you will have it bent all the way down. Almost done 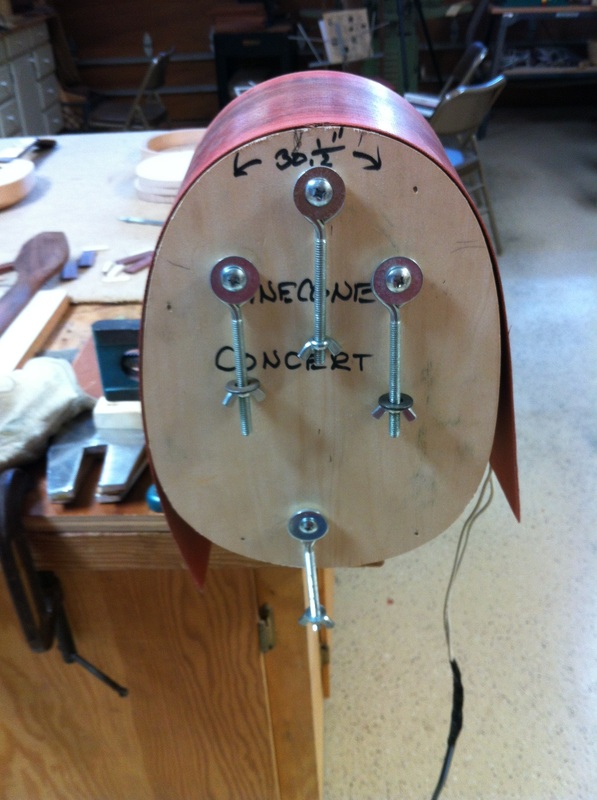

Before glueing on the sides you want to do your last minute fining of the braces. They were looking a bit too stout to my eye so I shaved them down with a sharp chisel, | 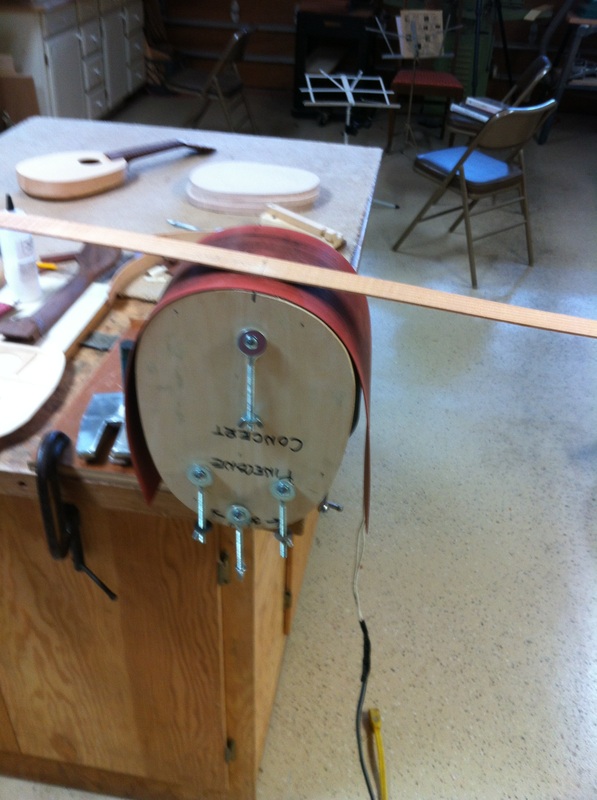
2. Next step is bending the sides and this is how it begins- with a straight side, a hot blanket and a mold the shape of a Concert Pinecone 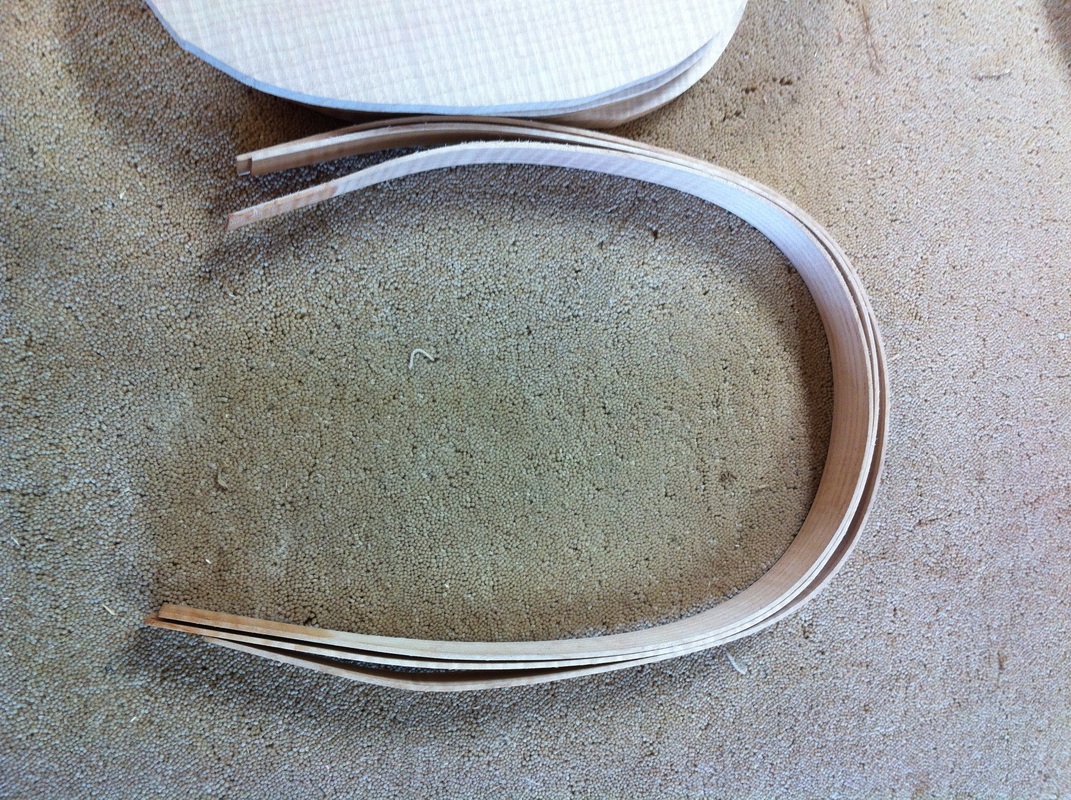
4. Here is the result of the first bend over the wider part of the mold. Now you must turn the mold over in the vise to bend the narrower, sharper curves at the top of the uke. 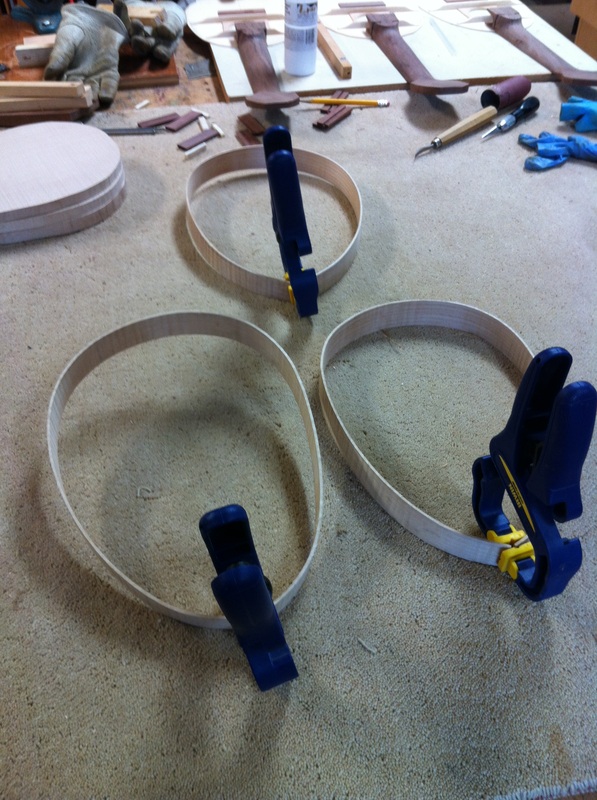
5 . To the left is the sharper curved top. You need to get the ends of the side into those sawn slots in the neck and to do that you need a pretty good curve. Once again center the workpiece and bend the ends over this top. 6. Above you can see the result. These curves worked perfectly. by the time I had the sides bent the butt plates were set-up on the tops so I decided to put the "turtle" to work. 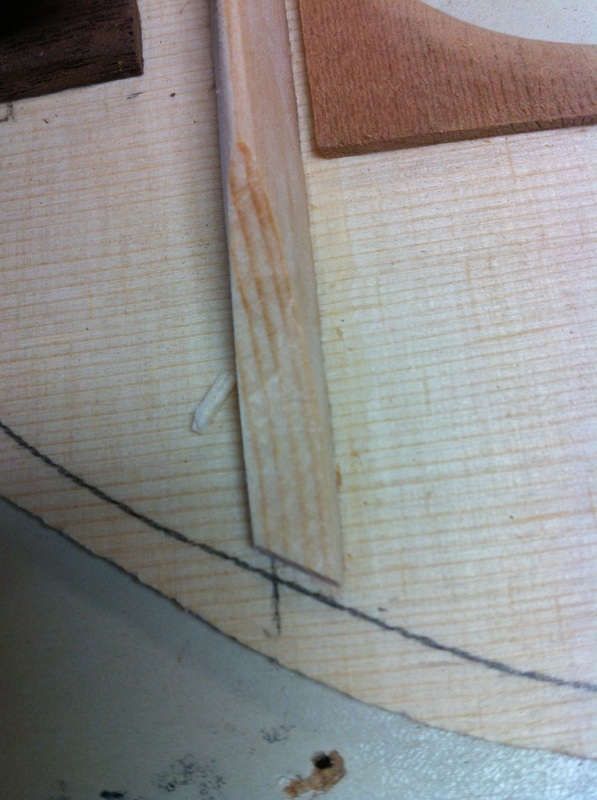
You also must trim back the ends of the braces to make room for the side which wants to rest inside the pencil line and against the brace. I use a very small saw made by Exacto Co. love their tools. |
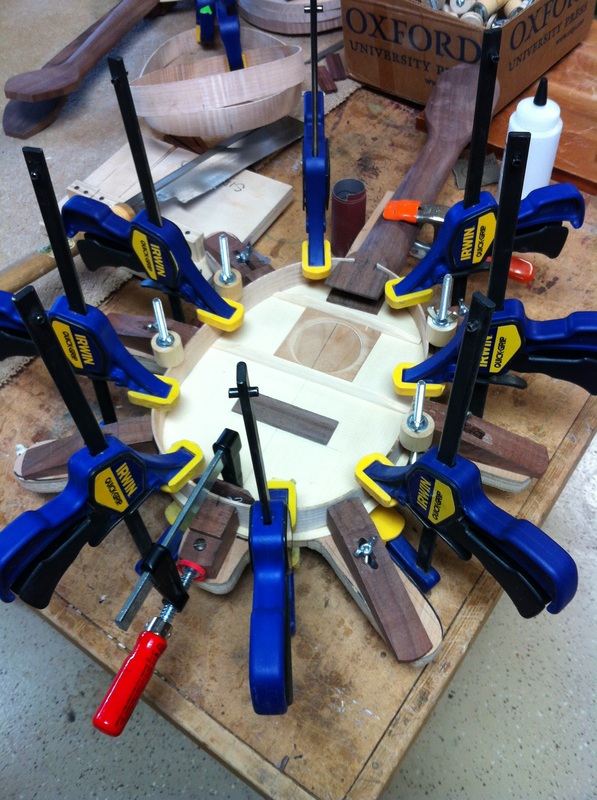
HERE IS THE TURTLE DOING IT'S WORK
