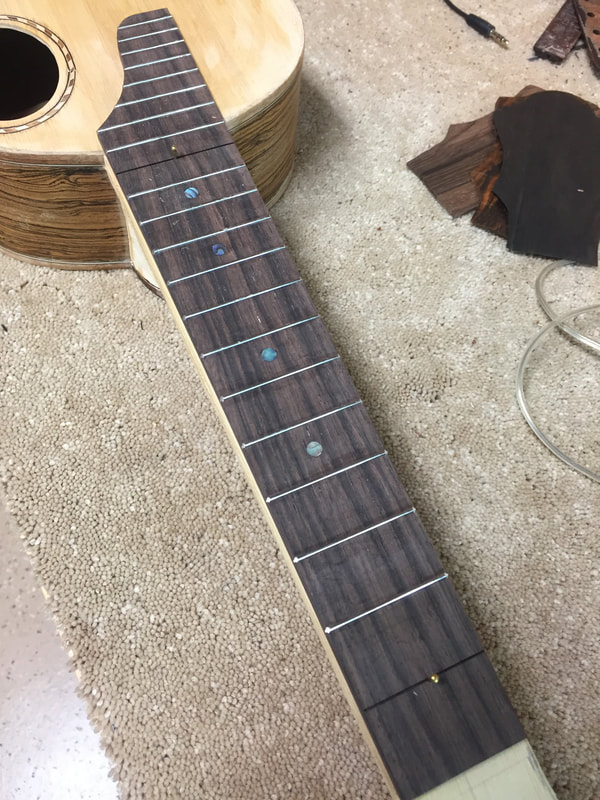
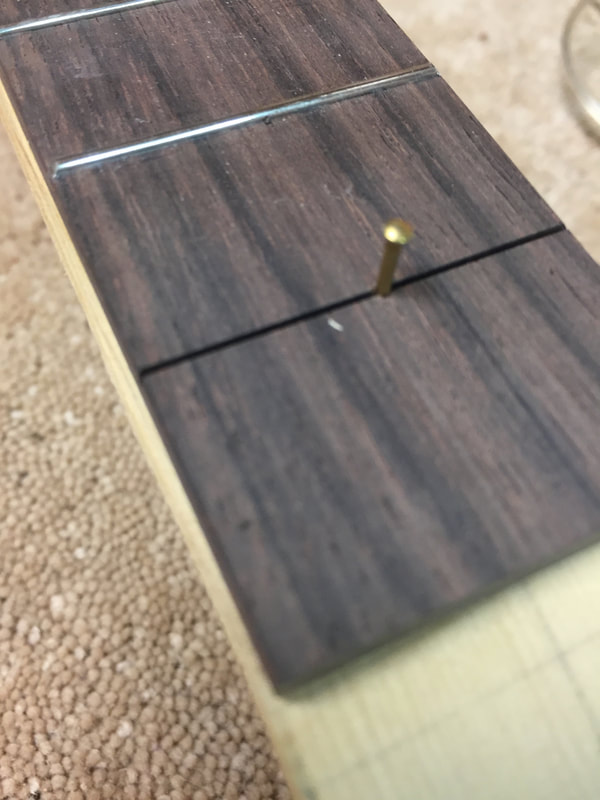
Not a lot of time, but I got a couple of crucial jobs done. First I installed the fret boards First you align the fretboard just right, then you tap in the two little brads set into the pre-drilled tiny holes in the two empty fret slots. They were left empty for just this reason.
These brads want to be pretty smll so that the fret will cover the hole they make, but long enough to penetrate the neck a bit and act as place holders when the glue and clamps are appied. We will pull these out with pliers after the glue has set.
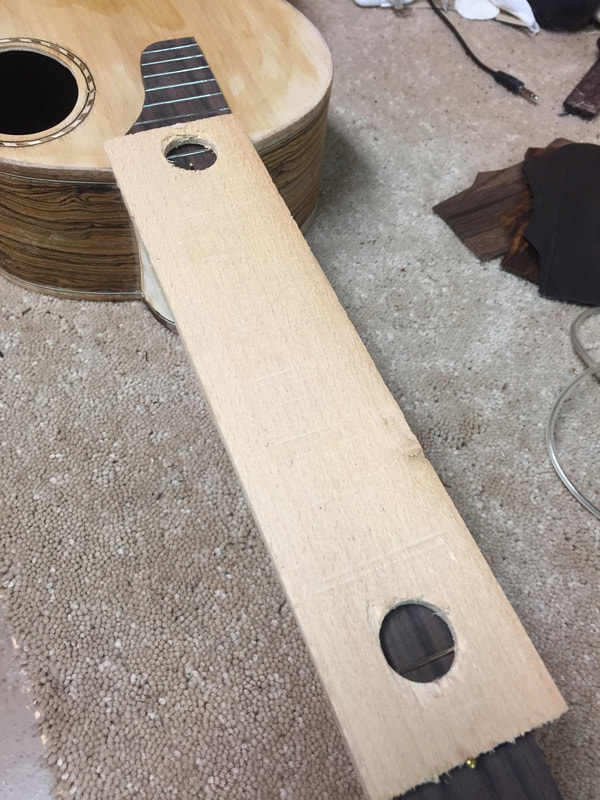
The glue is applied and the fretboard is re-set upon the neck guided to the proper place by the brads that return to their original holes. but this time driven in deeper. then a wooden caul is placed over the board to distribute the pressure of the clamps.
And finally the clamps are applied, with plenty of pressure. Thats all there is to it.
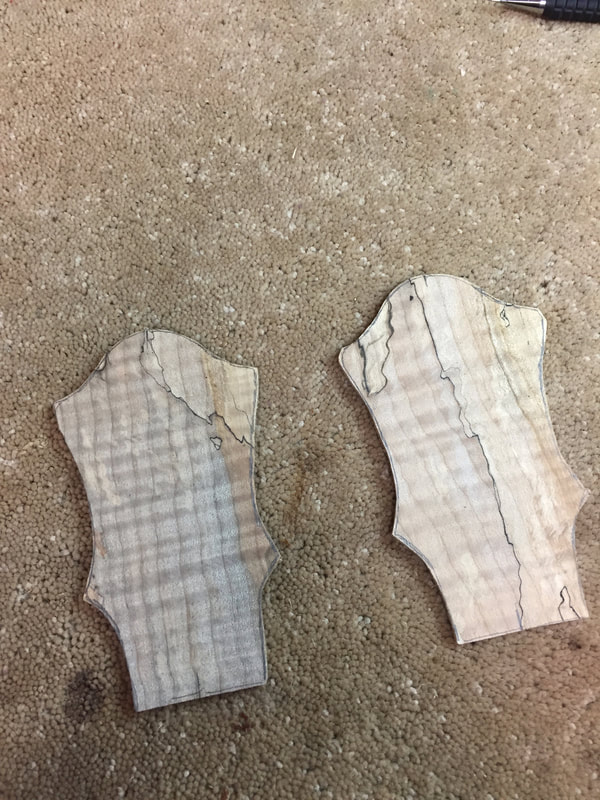
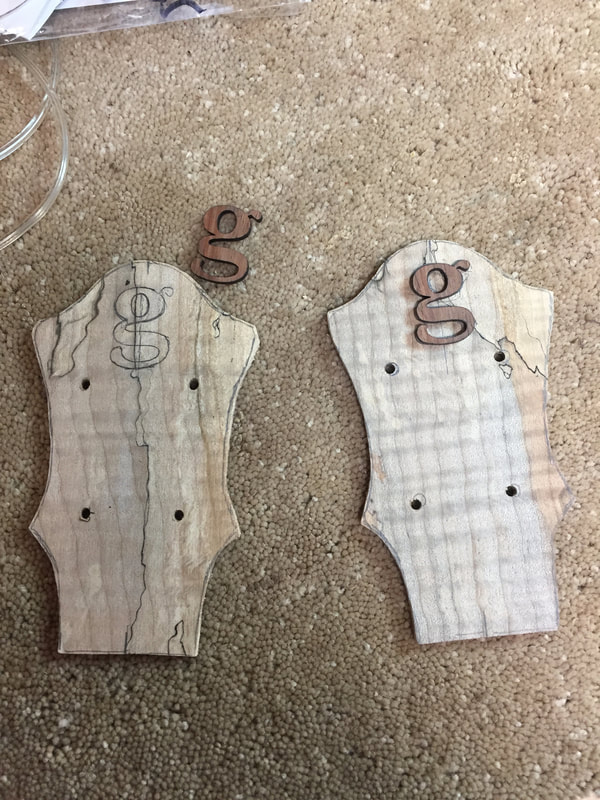
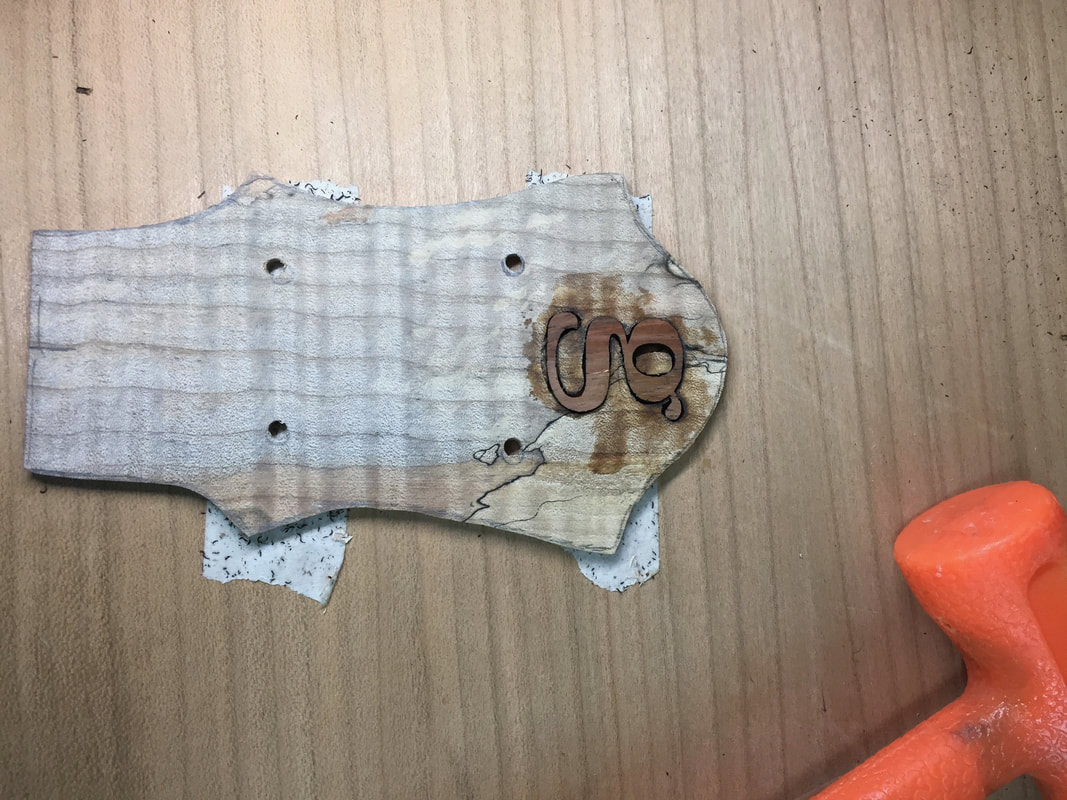
But the next project was a little tougher, Inlaying the little signature g into the peg head, Lots of potential for disaster here. First I sawed them to rough shape on the band saw.
But the next project was a little tougher, Inlaying the little signature g into the peg head, Lots of potential for disaster here. First I sawed them to rough shape on the band saw.
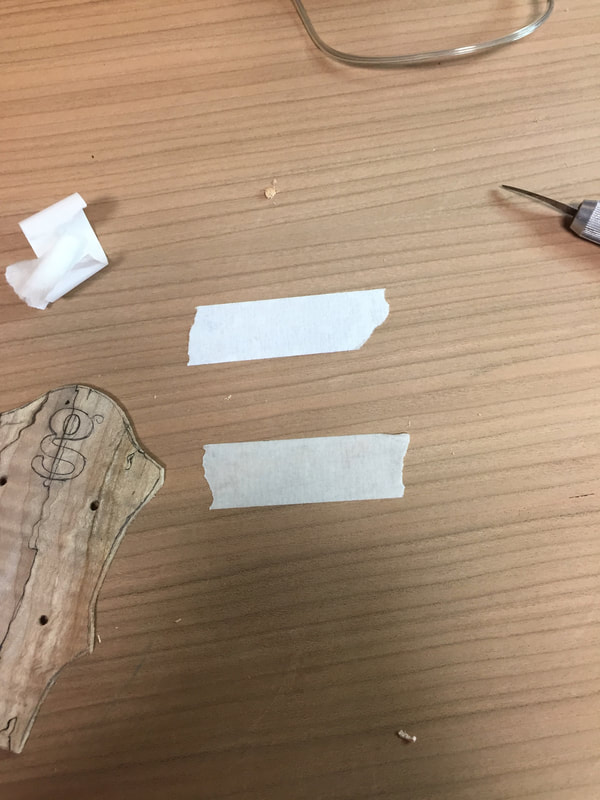
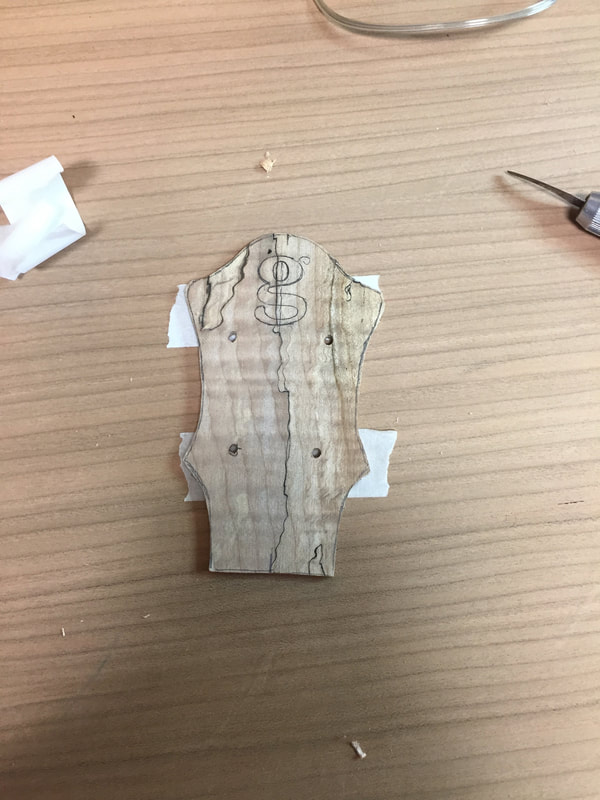
then with a thin lead pencil you trace where you must cut. You want to hold these pieces steady when you are cutting the inlay-so put down some double stick tape on a board- and stick em on.
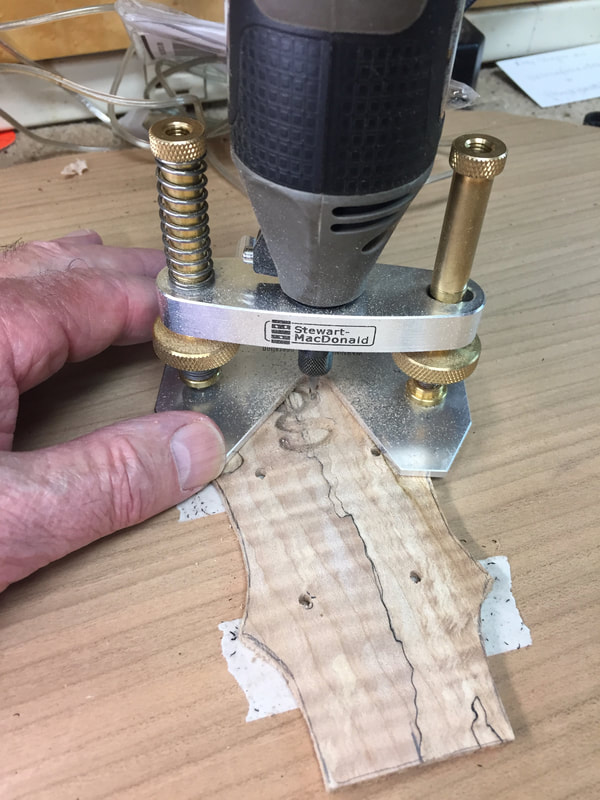
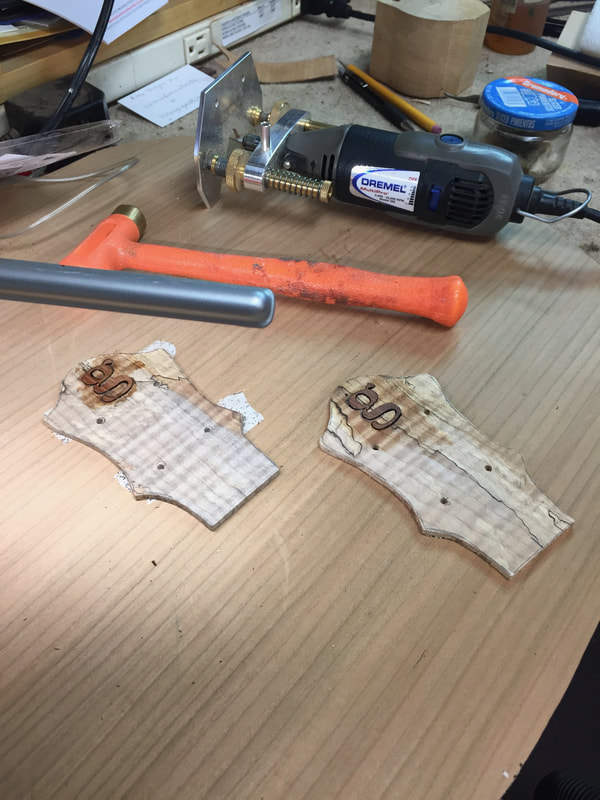
Now set the Dremel up with a tiny bitt and put your best eyeglasses on. It is time to cut Patience is important, Also good light, blowing away the sawdust, and a steady hand helps too!
But finally they get done. I am getting better at this but a still a long way from perfect. I doused this with a little shellac before flooding in the super glue to fix it. The shellac will seal the wood and hopefully prevent the super glue from staining it.
So here they are. Ready to sand flush and glue onto the peg heads once the fretboards have set up.
