BUT FIRST YOU HAVE TO BEND THEM TO SHAPE
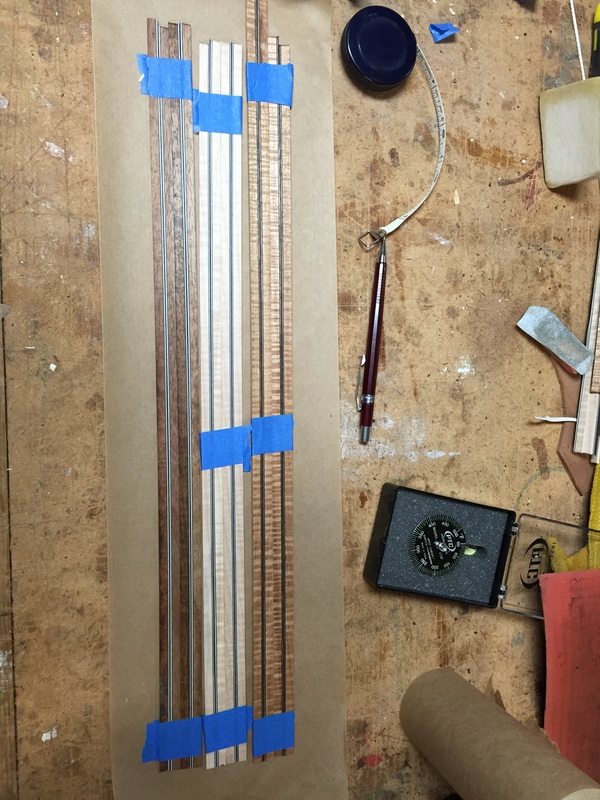
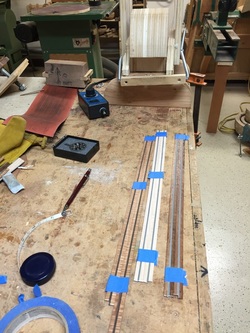
So here I have the bender and the heat blanket ready and I have taped the binders for each of the three tenors in flat bundles in their proper position. Next I will tape a paper cover over them
So here I have the bender and the heat blanket ready and I have taped the binders for each of the three tenors in flat bundles in their proper position. Next I will tape a paper cover over them
here they are sitting on the first sheet of paper, I will tape another piece over the top, trim them to size and make a neat package so all of the bindings will be bent at the same time. Then I will wet the paper thoroughly and wrap the package in tin foil. The theory is that the damp wood and paper will steam when wrapped in the foil, and properly soften the bindings.
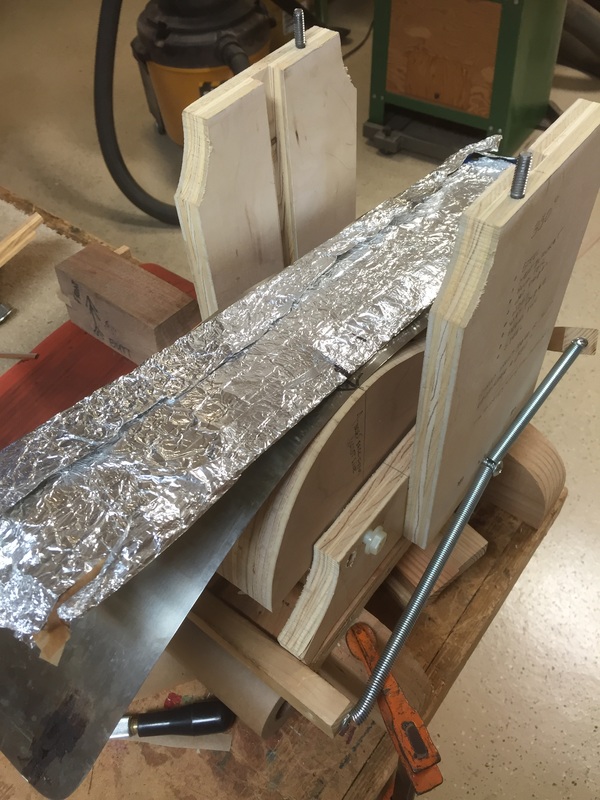
Here is the completed package set in the bender with a stainless steel bending sheet beneath it. I will put the heat blanket on top of this and another bending steel on top. Bring the heat up to 300 degrees and start the bend. By the time the waist is bent all the way down, the temp is at 350 and I will carefully and slowly bend the sides down not letting the heat get above 350. So cross your fingers, after the bend has cooled I will take it out.
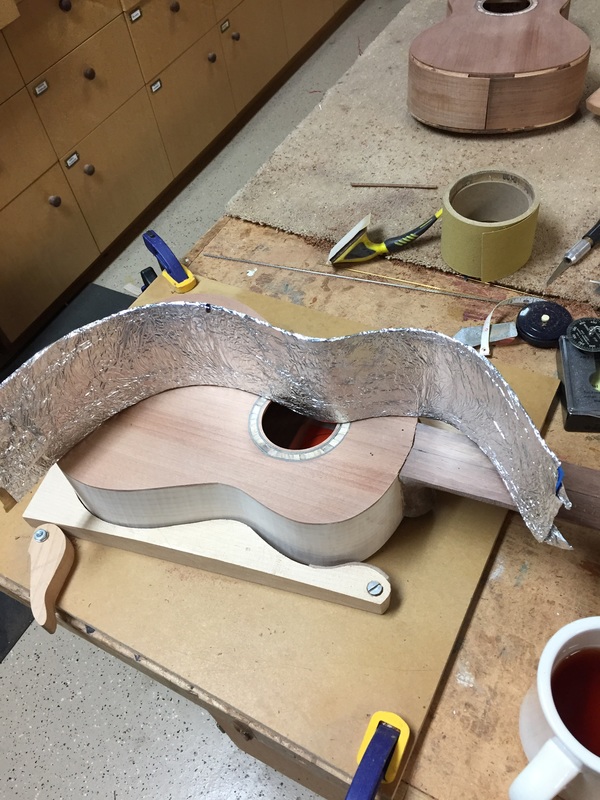
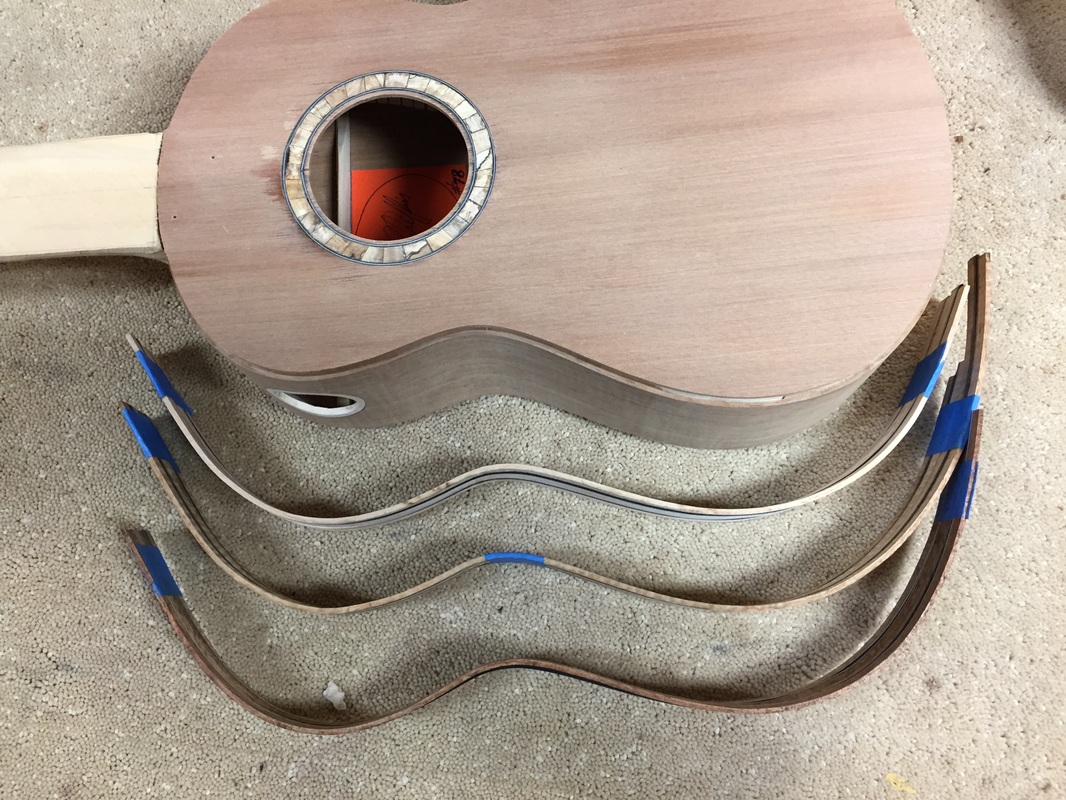
And here is the result, A well bent set of bindings that seem to be holding their shape nicely. Hopefully none are cracked and we have a success. Lets unwrap the sandwich and see.
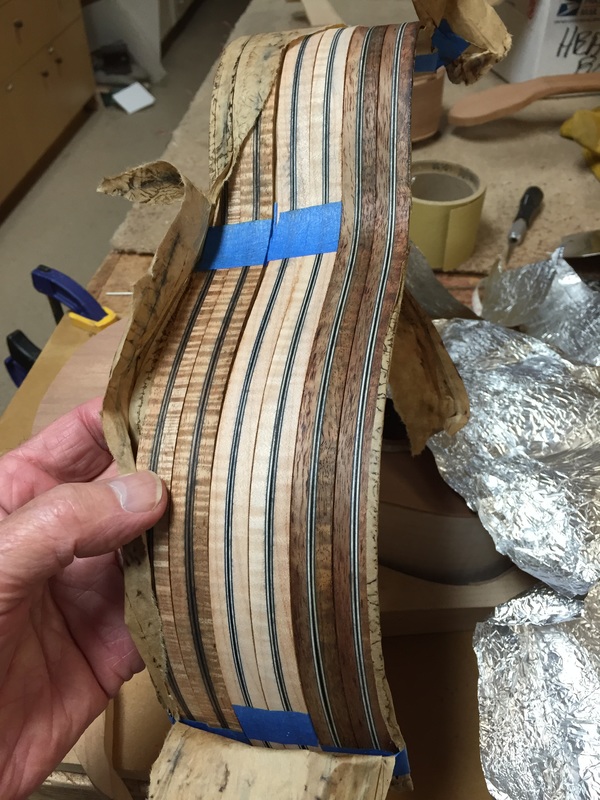
SUCCESS. None cracked or broken, No scorching, all looking perfect. I will clamp them in a mold to let them dry overnight so as to hold the bend. Now it is time to cut the grooves in the instruments for these bindings and an additional piece of black/white/black purfling. That is alway a bit nerve wracking.
And here we are, All the grooves cut successfully, The bindings bent and holding their shape well. A bit of fitting, a groove cut for the back joint inlay and we will be ready to glue on the binding and purling. Enough success for one day. I am heading upstairs for a drink.
