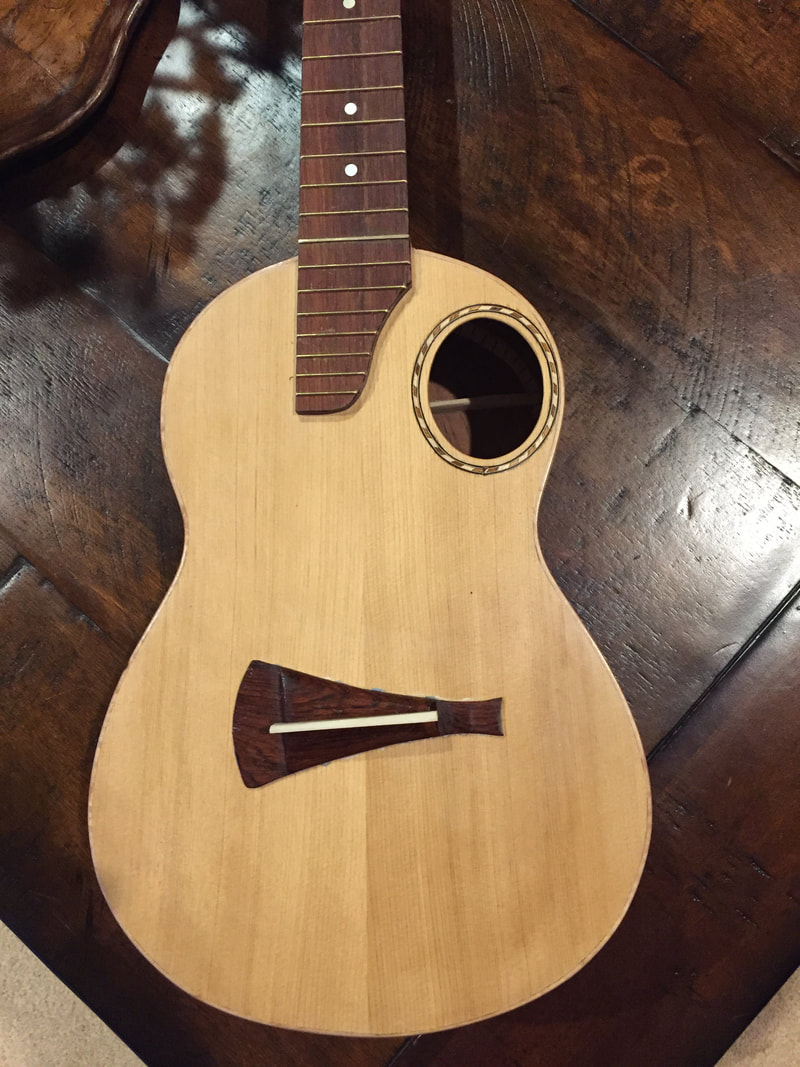
The strings I had ordered came today. I attached them to the compensating jig, located the bridge site and glued it on. In the morning I will drill the bridge holes and string this uke up. It is looking good!
So this morning, while waiting for the Postman, I started a new instrument. I have been thinking that Englemann Spruce might be perfect for the Kasha bracing design. It delivers a warm rich tone, not quite as punchy as Sitka, or Port Orchard. I have some lovely and well seasoned Englemann, so I got a piece out and began.
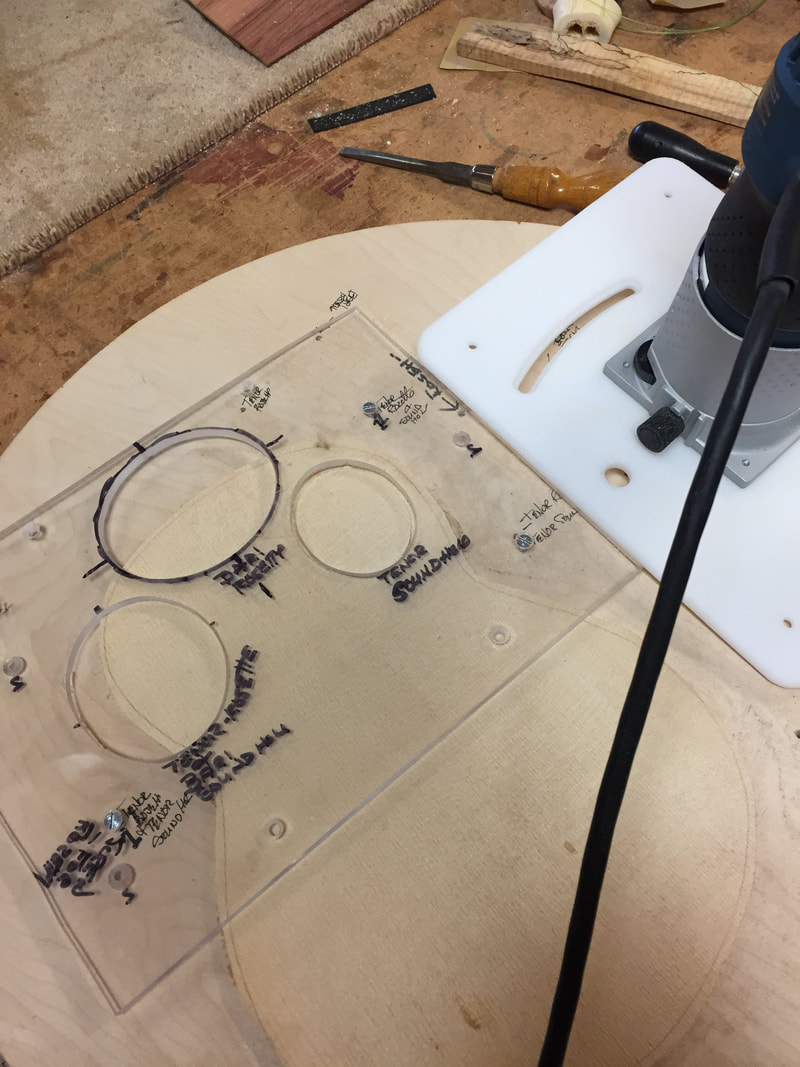
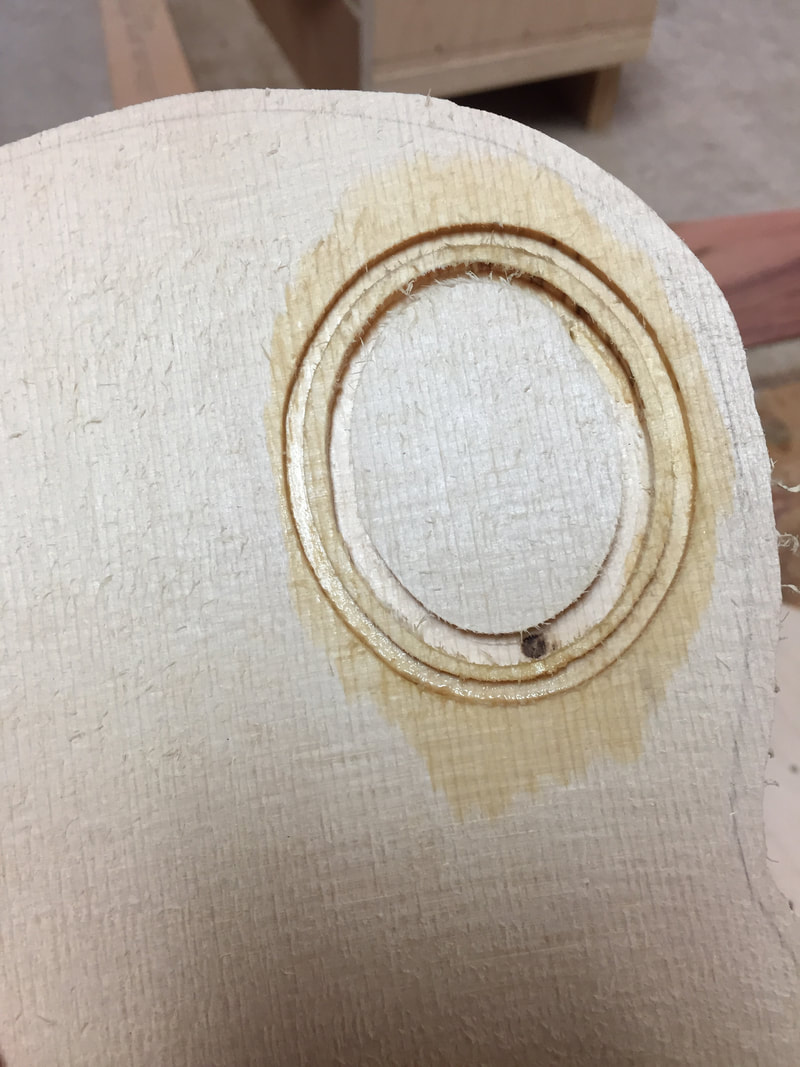
First step is cutting the groove for the decorative strip around the sound hole. Then the sound hole itself. This is all done in two steps with the above jig which guides the router. Get the jig positioned correctly and screw it down tight over the sound board.
 | 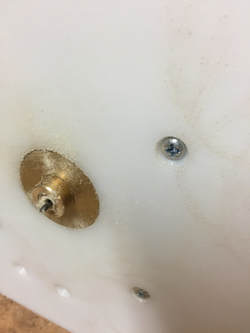 Here is the under side of the router plate showing the 1/8th inch bit protruding from the guide. |
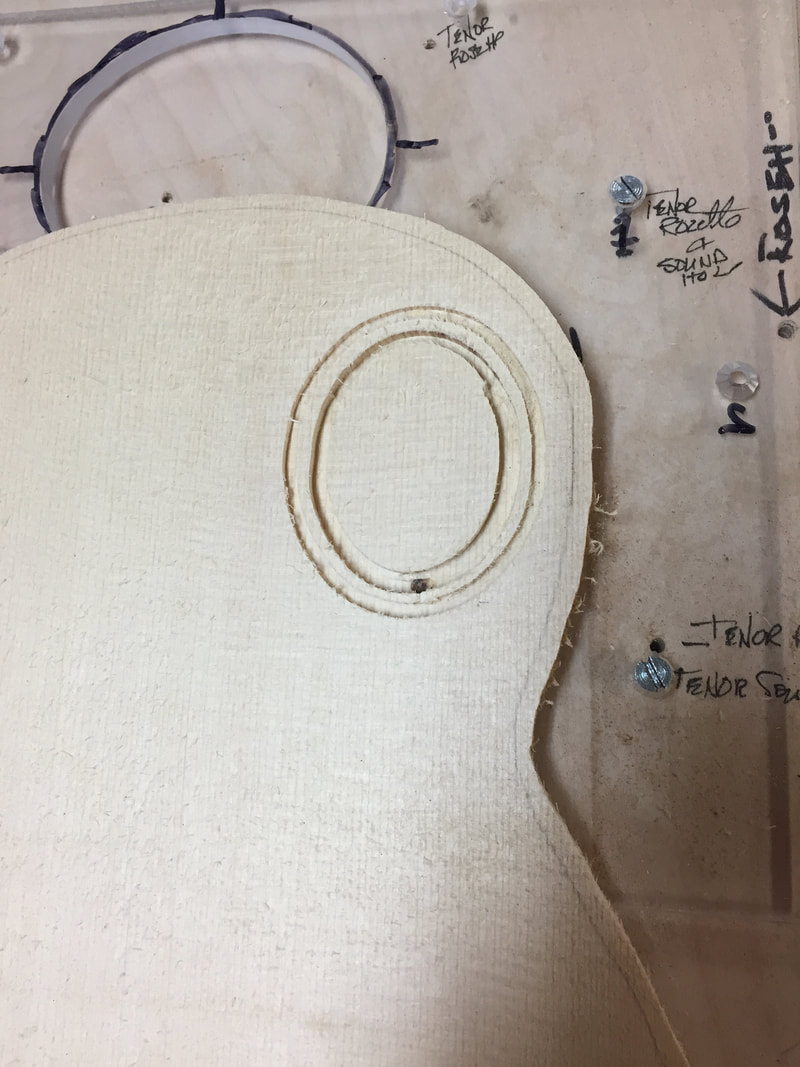
Here are the results. Worked out just right
 | 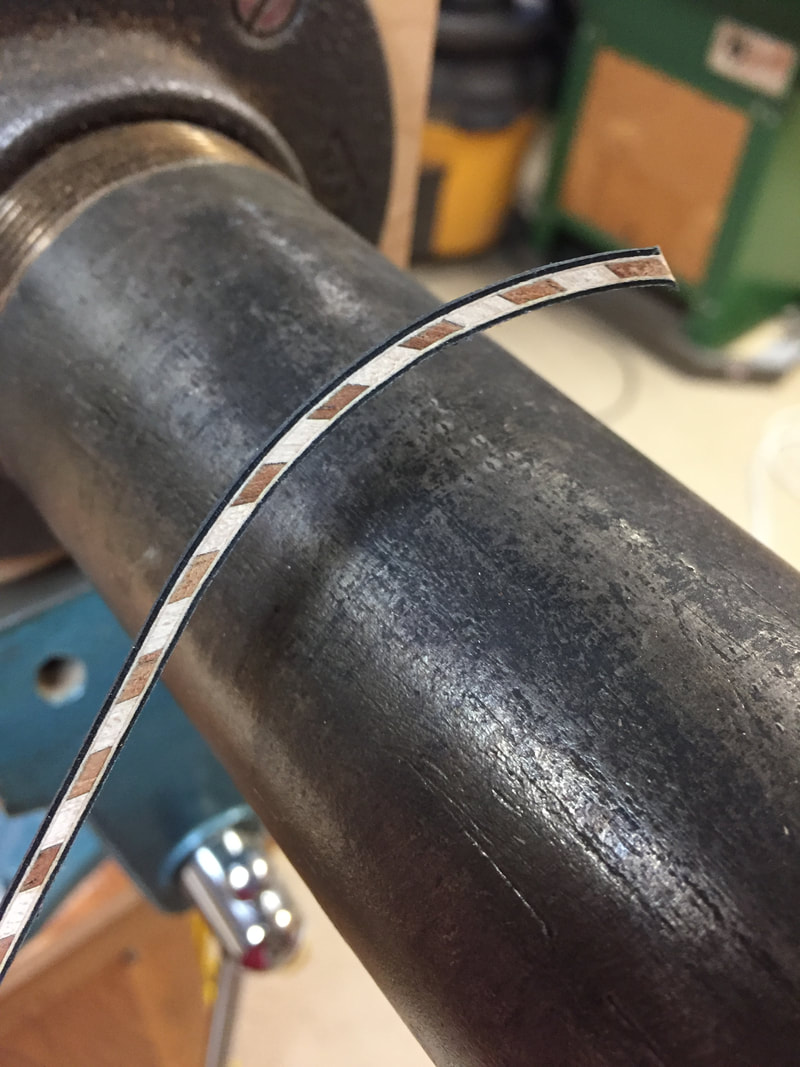 |
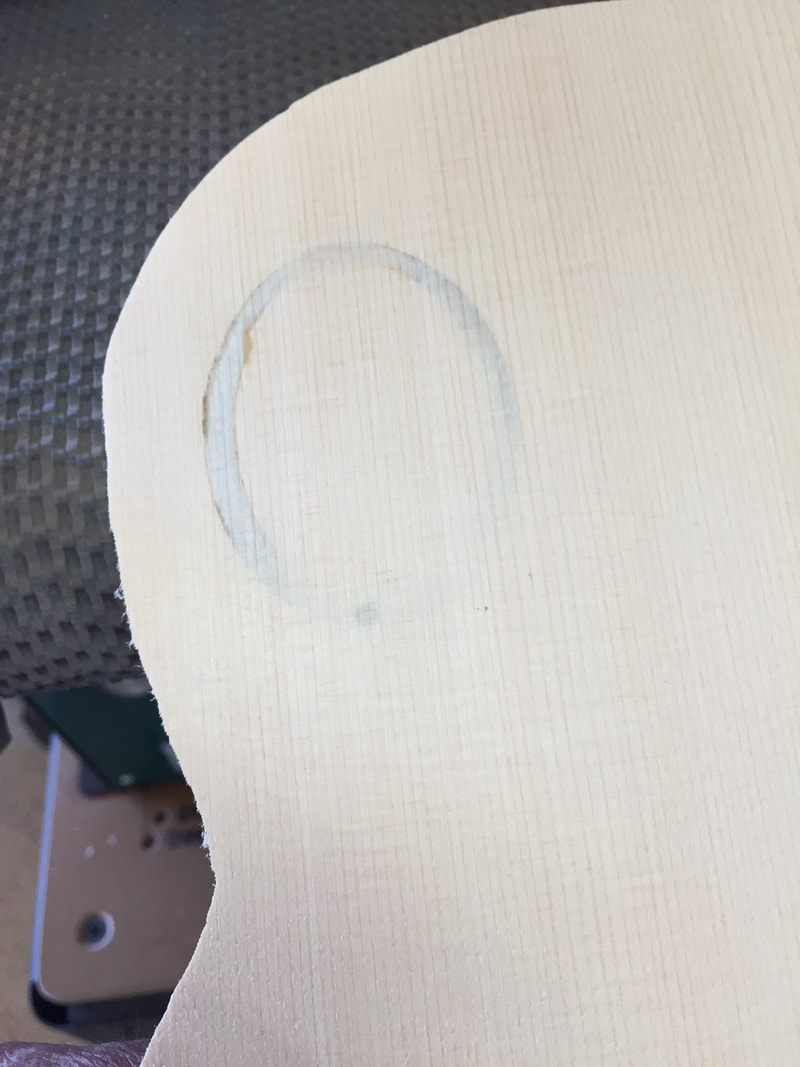
Now it is important to seal the surrounding wood with shellac because we will be using thin super-glue here which can soak into the wood and stain it. Once the shellac dries it is time to bend the decorative strip around the hot pipe.
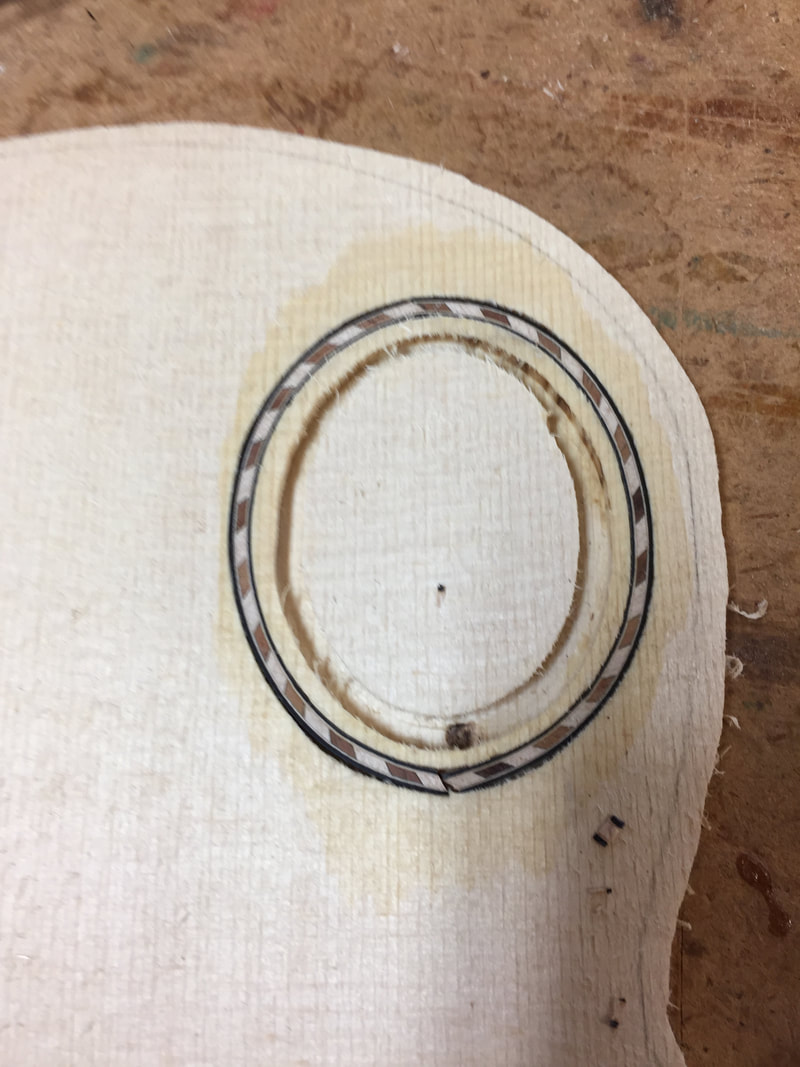 | 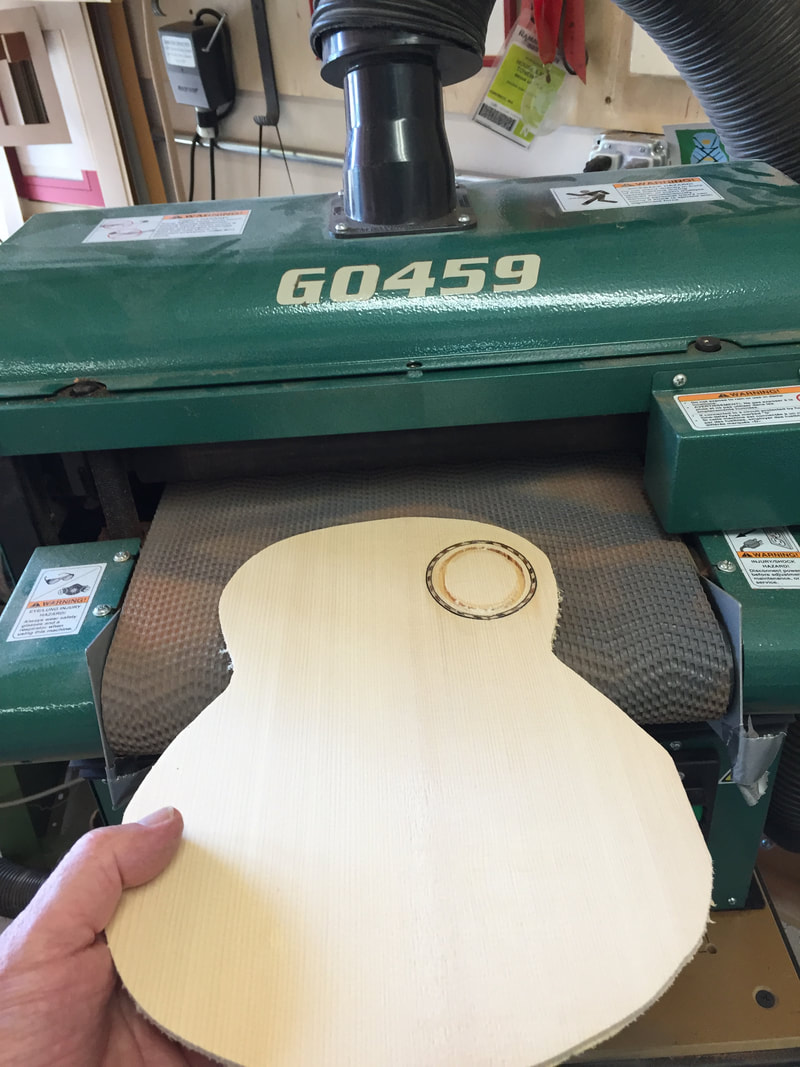 |
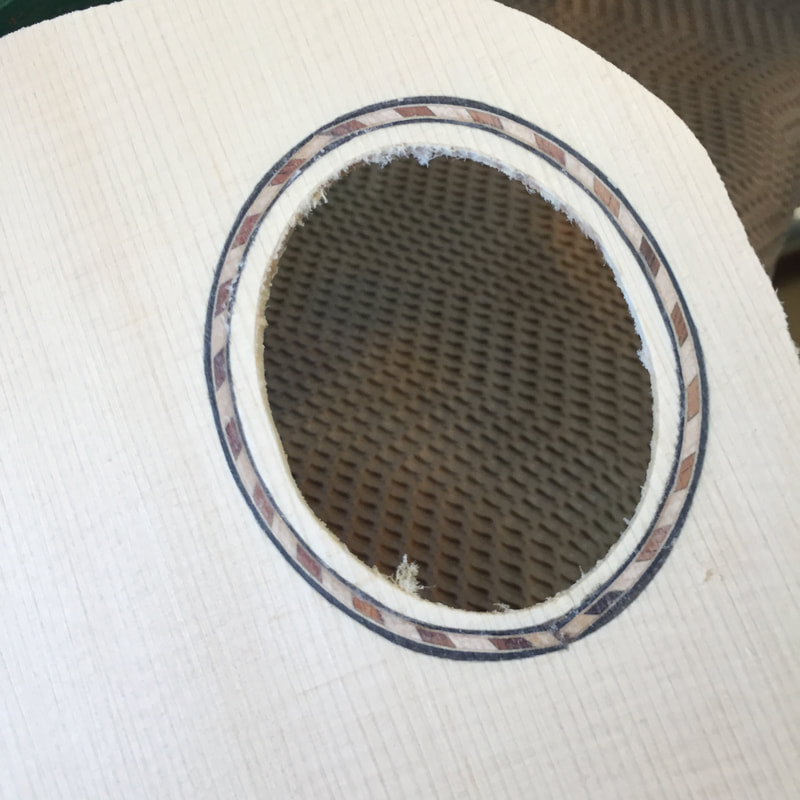
Once the strip is in you soak it with thin super glue that penetrates all around it, then top it off with some thick super glue to fill any cracks, Hit it with a spray of catalyzer and in a few minutes you are ready for the drum sander. First lets get this top surface smooth and level.
 Once the top side is level and smooth you turn it over and begin sanding down the back side to free the sound hole. Here you can see it almost done. | 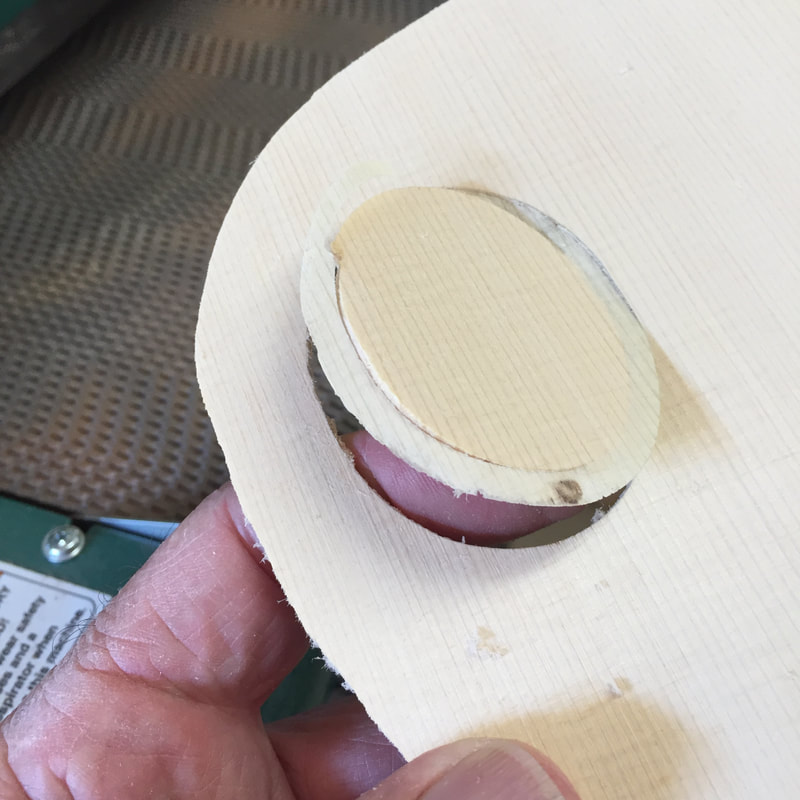 Aha! Now we have sanded the sound hole free. Now we will continue sanding the back of the top until we are at the final playing thickness of .80. |
 A little judicial hand sanding and we are ready to move on to the next step. The bracing | 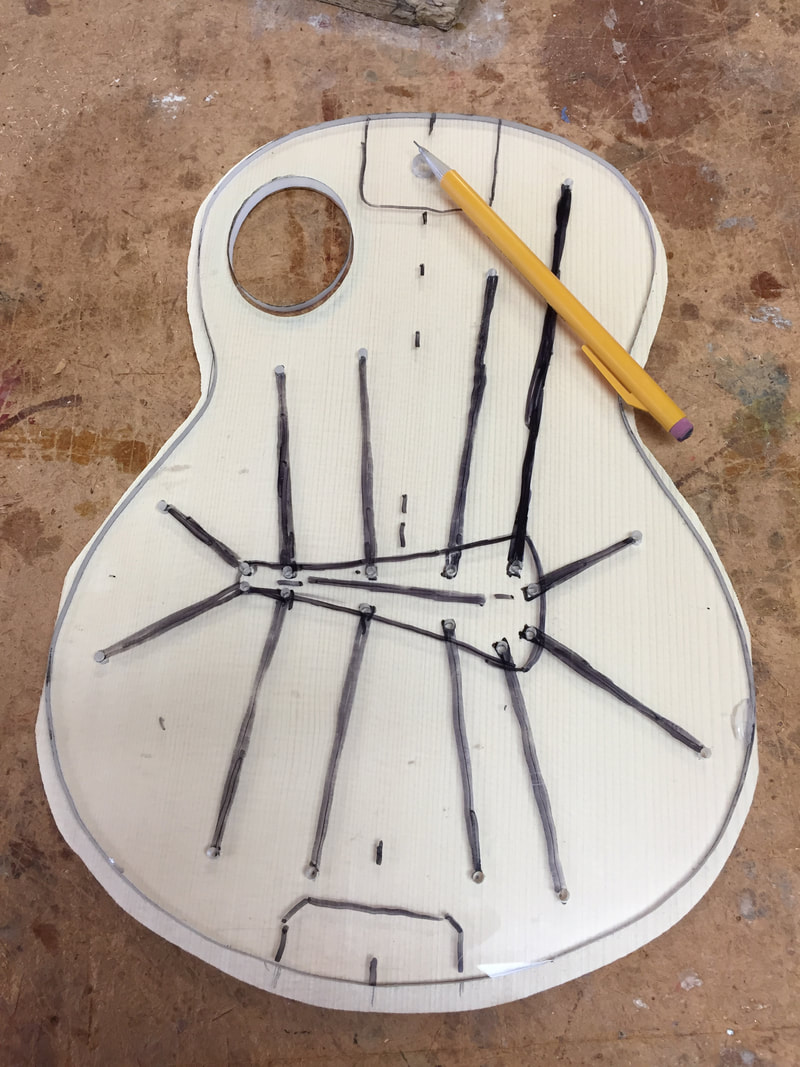 This is the template showing the goal. With a thin lead pencil all of the features are transferred to the wood. |
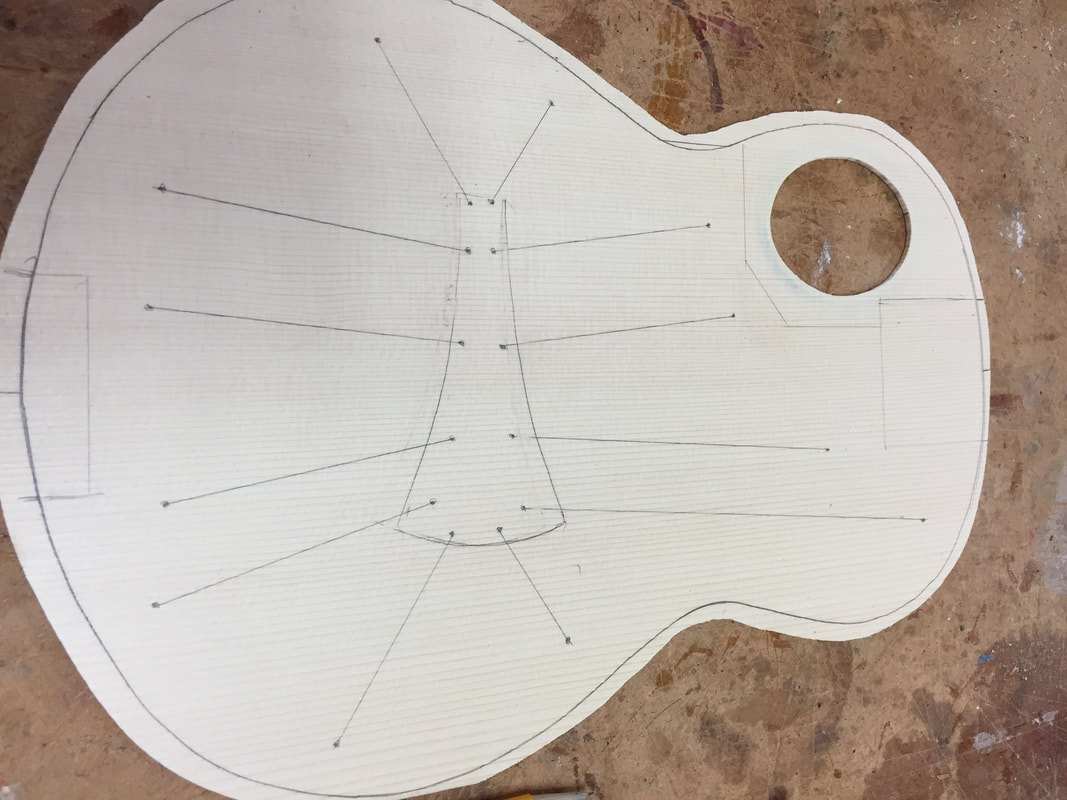
AND THE WHITTLING BEGINS.
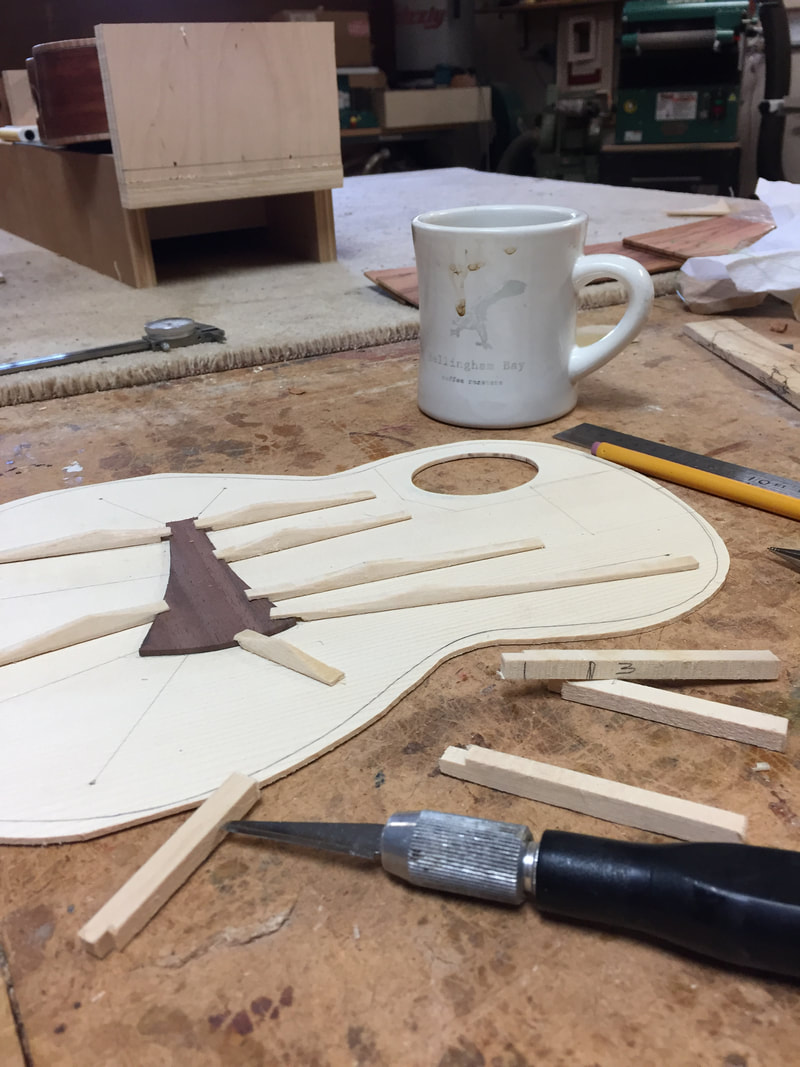
Using fine grained Sitka Spruce a dozen tone bars are fashioned using power saw for the notches, band saw for the lengths and the good old, sharp knife blade in the hands of a whittler. One of my favorite times in a build. Sharp exacto blades are essential. I use a new blade for every ukulele.
