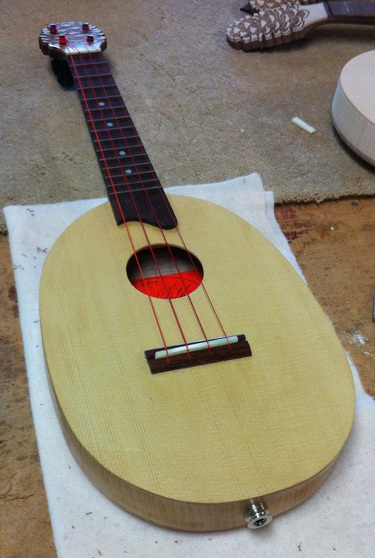
BUT SOMETIMES it seems like it. Today I installed a MiSi pickup for Joel in Maine who has purchased #48, a Concert Pinecone. It is kind of a delicate process and I thought you might enjoy seeing it in endless photographic detail. Here Goes!
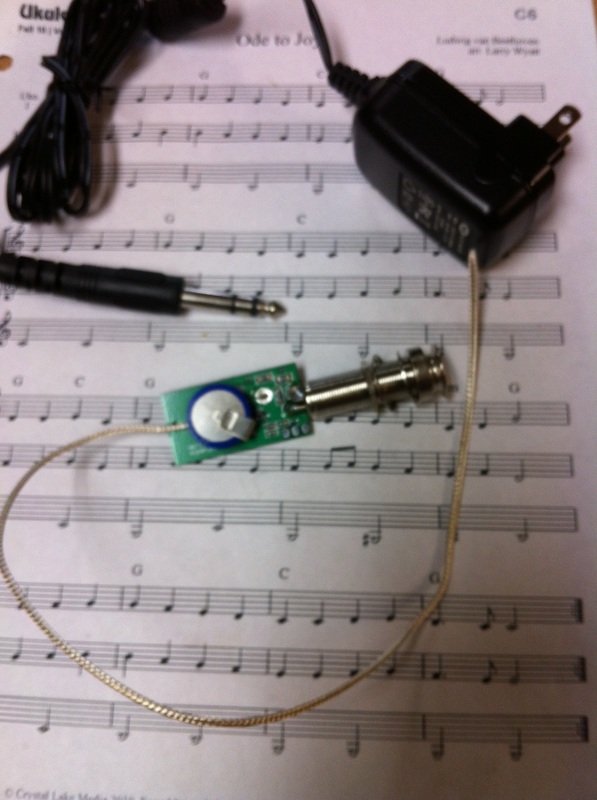
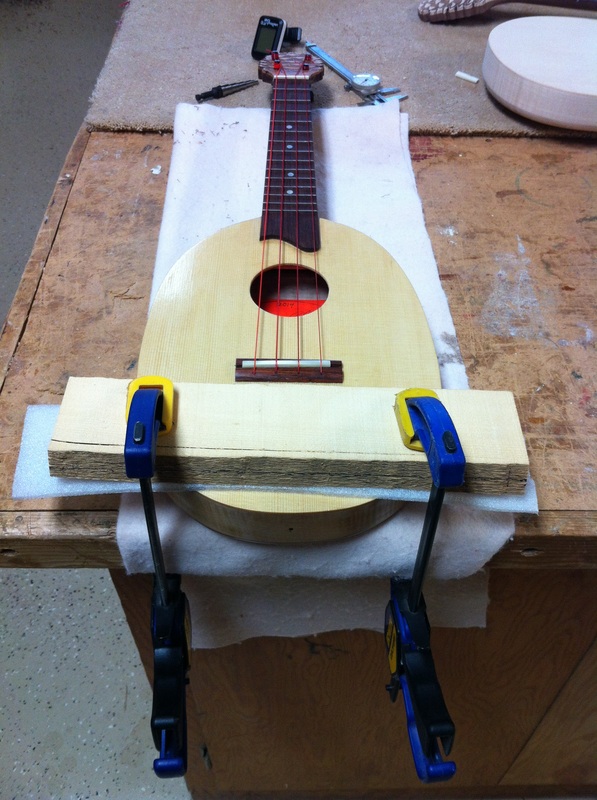
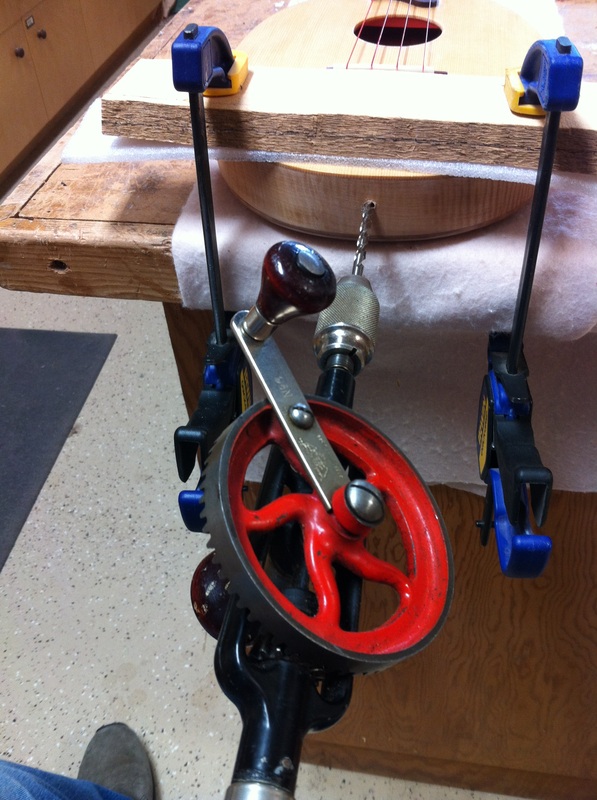
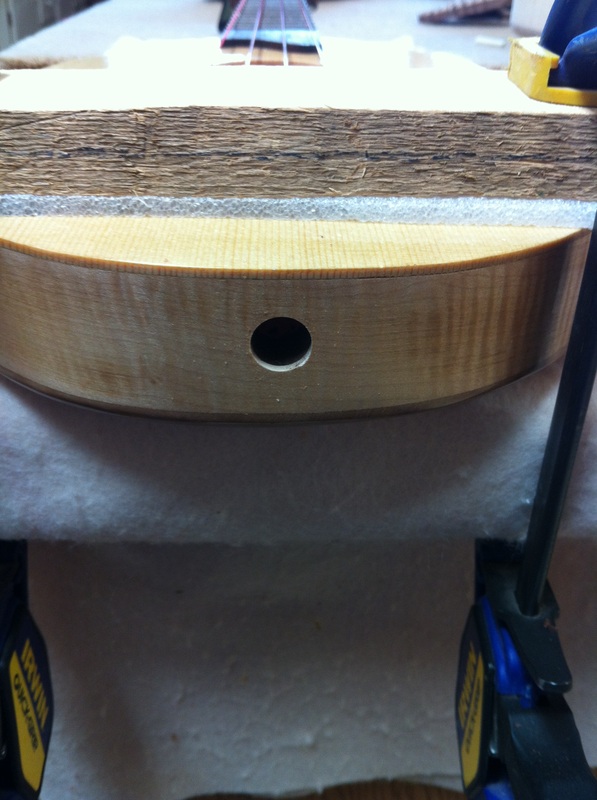
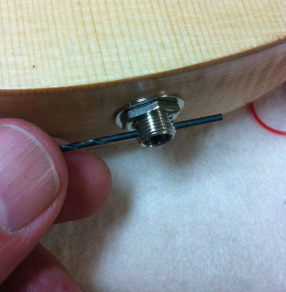
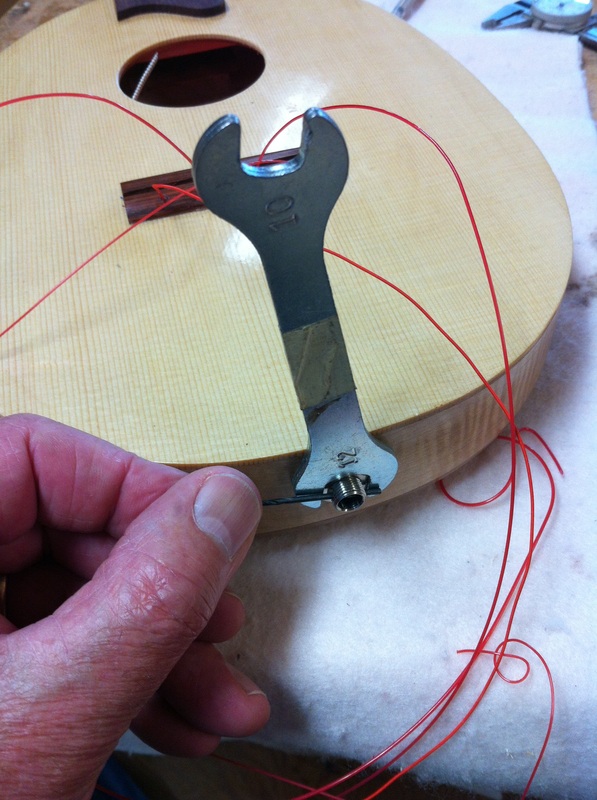
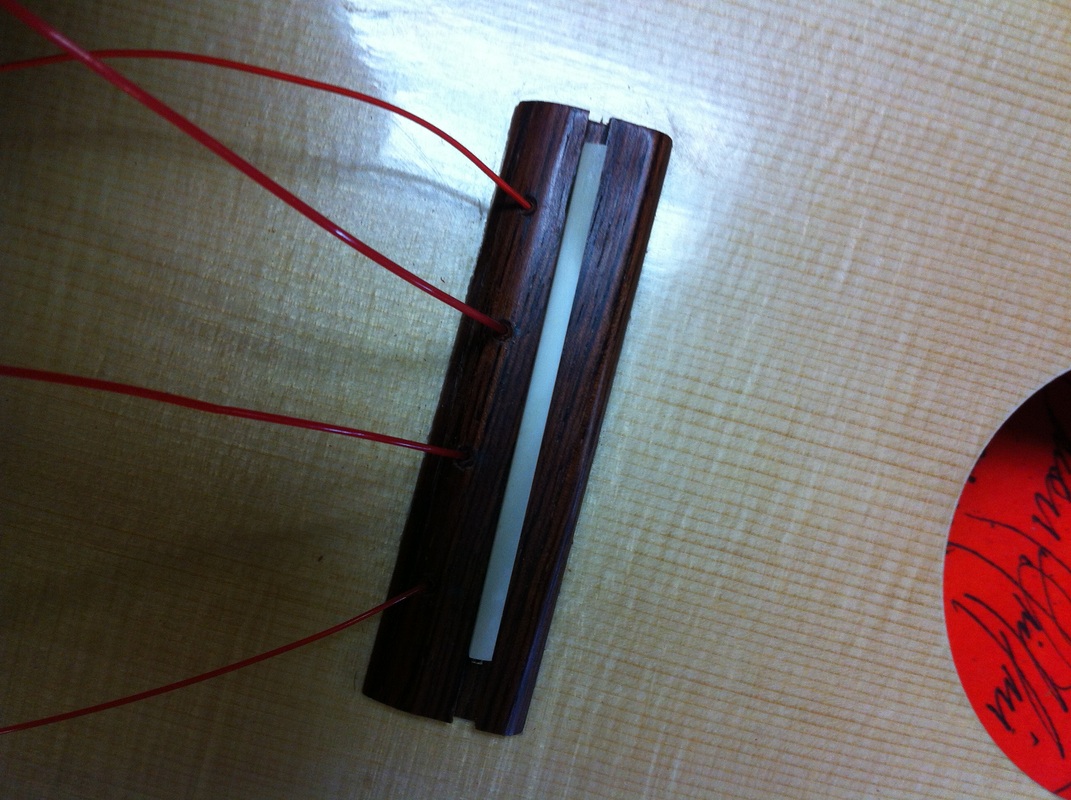
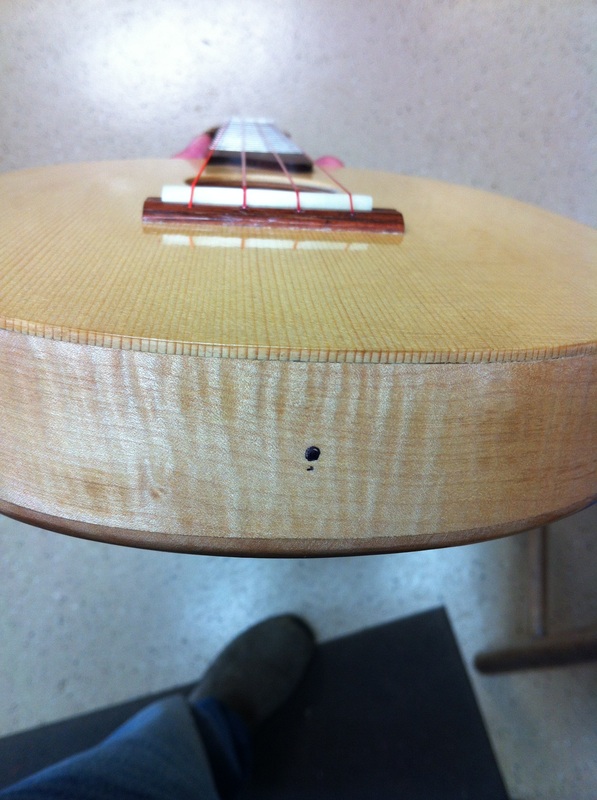
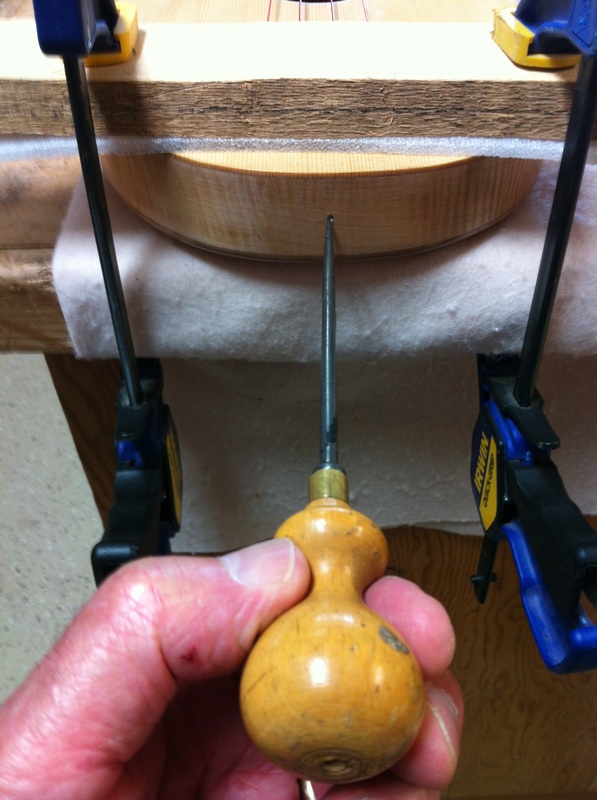
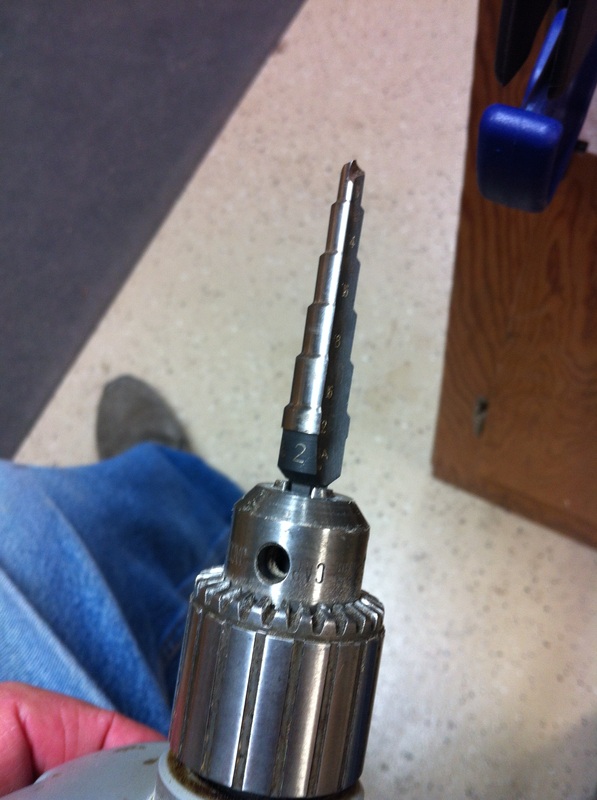
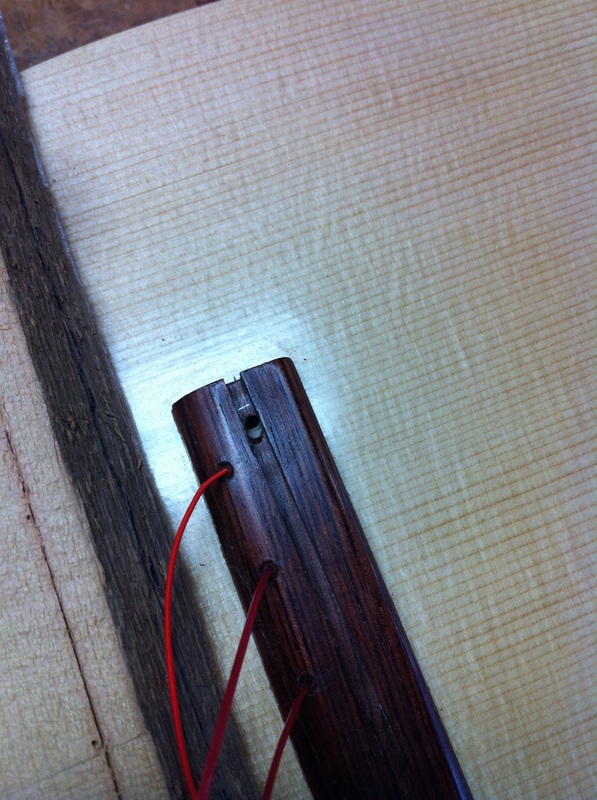
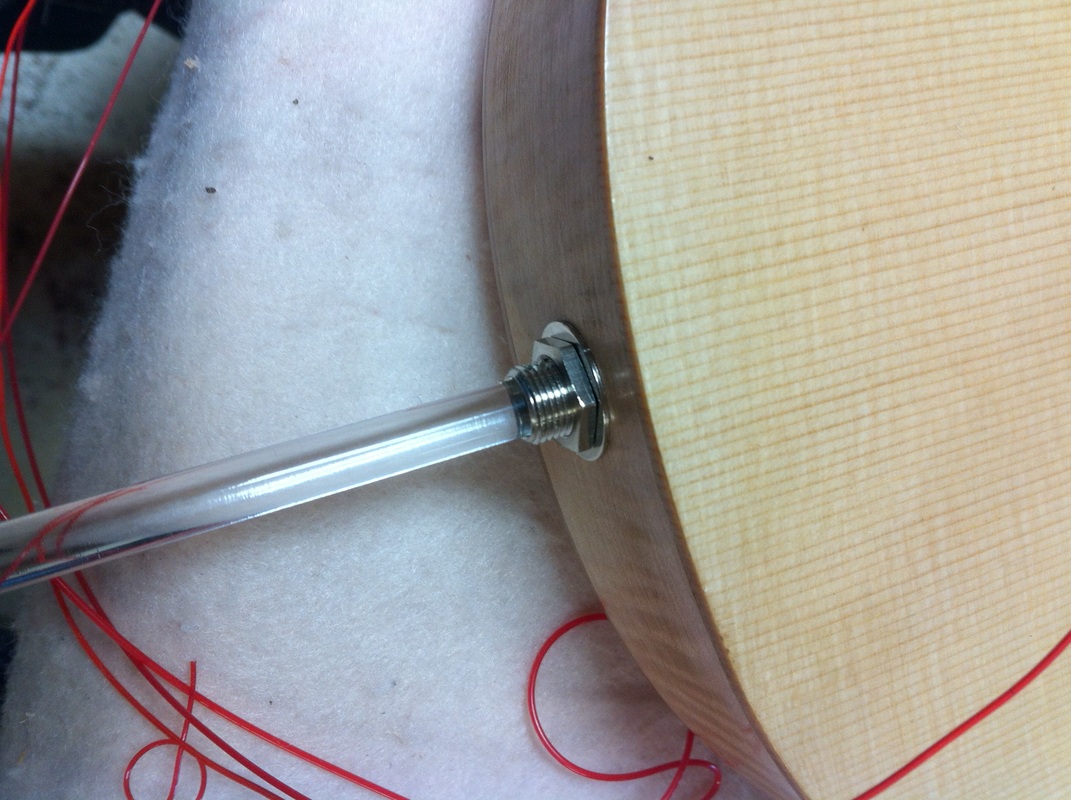
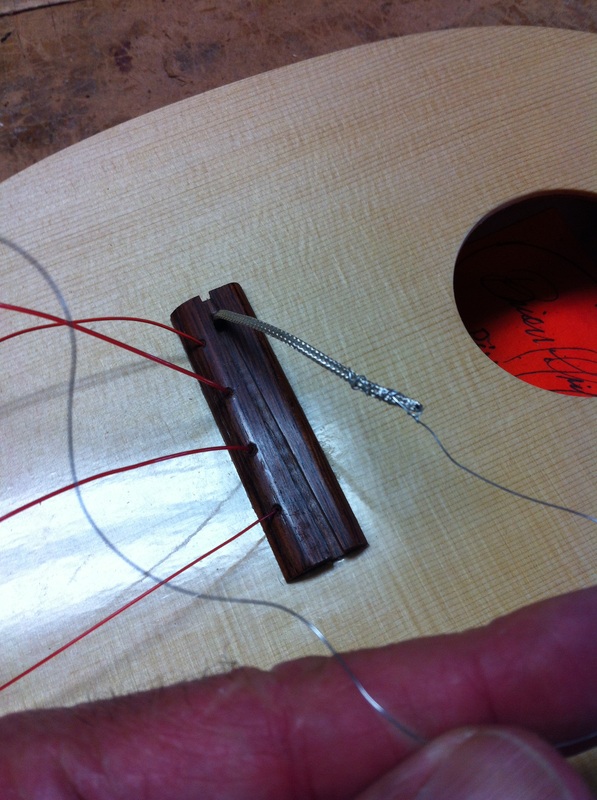
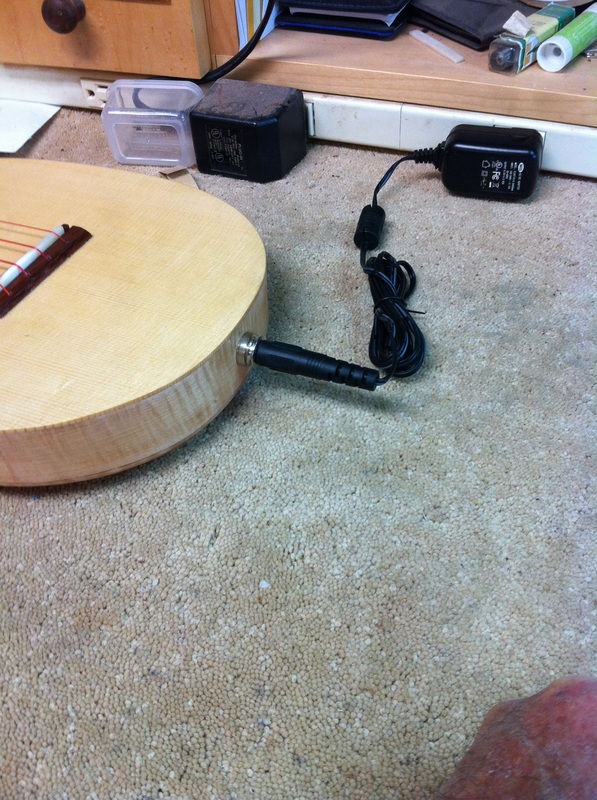
| 1. Here are the parts, note the round capacitor. Not a battery ,but it stores the power. The silver cable is looped in the uke and the sensitive end is set in the bridge groove under the saddle. Above is the power plug-in which is inserted into the MiSi to charge it 3. Strap the uke down firmly. As long as your clamps are over the vertical sides and not clamped down too tightly you won't hurt the uke. Just be sure to pad everything well so you don't mess up the finish 5. I prefer to make this first drill with the old fashioned hand drill. I is slow, safe and not prone to making high energy errors. The intent here is to drill the entry hole for the Step Drill. 7. Here is the gaping hole done by the step drill, clean smooth edges, Just right. This is the first hole in the process 9. Now the brain surgery begins. you must insert the MiSi through the sound hole and then find a way to get this threaded end of it out through the end hole. Not an easy task. 11.Once you have teased the threaded end of the pickup out of the hole you must solidify your gains. attach the washer and nut and tighten it down firmly using a slim wrench and a small drill bit inserted through the hole in the shaft so that it will not rotate as you tighten the nut. 13. You lay the sensor cable down in the groove and put the bone saddle back on top of it after you have sanded away the bottom of the saddle the exact thickness of the cable. | 2. first you must carefully locate the center of the uke and mark it for the drill. I simply use a sharpie pen, makes no difference as it will be drilled out anyway- but you can sure see the spot. 4. I find it really helpful to score the exact spot where I want to drill a hole, with the sharp point of an awl. I frequently enlarge this pin prick a bit so that the drill bit that will soon be used here will readily follow the lead and not stray from where I want it to cut. 6. This is the step drill mounted in my power drill. It was designed for holes in sheet metal I am told, but I find that it works perfectly for drilling the holes in the back of the uke that the MiSi will fit into. 8. Here is the second hole. A hole drilled into the groove of the bridge to allow the MiSi sensor cable to come up and lay under the saddle. This hole needs to be carefully drilled and slanted in the right direction so as to not pinch off the señsor cable. 10. The solution is this plastic rod which just fits into the end of the MiSi. You hold the MiSi in position in the sound hole and then push this rod from without, into the uke and into the MiSi. Then with infinite caution and precision you pull the MiSi out through the hole. 12. Now comes the challenge! you must fish that sensor cable up through that tiny hole you just drilled in the slot of the bridge. I insert a very thin wire into the hole from above and fish it out of the sound hole. I then wrap it around the sensor cable in such a way that it will be led through that tiny hole. Here is a picture of success. The cable is out through the hole and ready to be laid into the groove on the bridge. 14. You are almost done. insert the charger into the end of the MiSi and in just 60 seconds it is charged enough to play for 16 hours. |
Amazing as that is, there is more, the MiSi holds its charge indefinitely. After testing this installation successfully I plugged in my tenor uke that I had last charged four months ago. It worked perfectly with full power. Even better. If you are on a gig and run out of power and don't have your charger with you , you can get a full charge in 60 seconds using a flashlight battery held to the proper place on a Amplifier cord. These wonderful little devices work perfectly but it takes a little brain surgery to install them.
FINE
