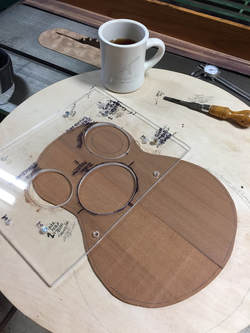
First thing, after coffee, is to set up the router jig to cut the groove for the rosette strip. The plexiglas sheet is screwed down tight holding the soundboard firmly in place.
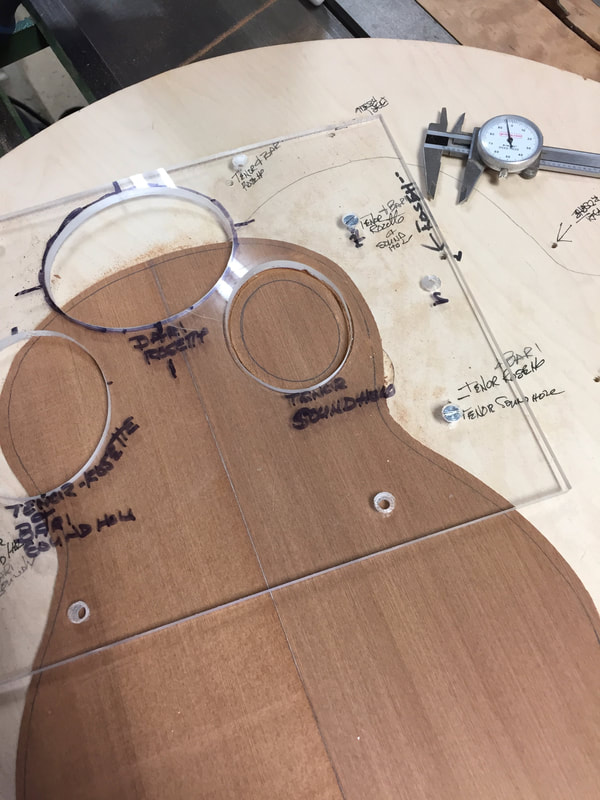
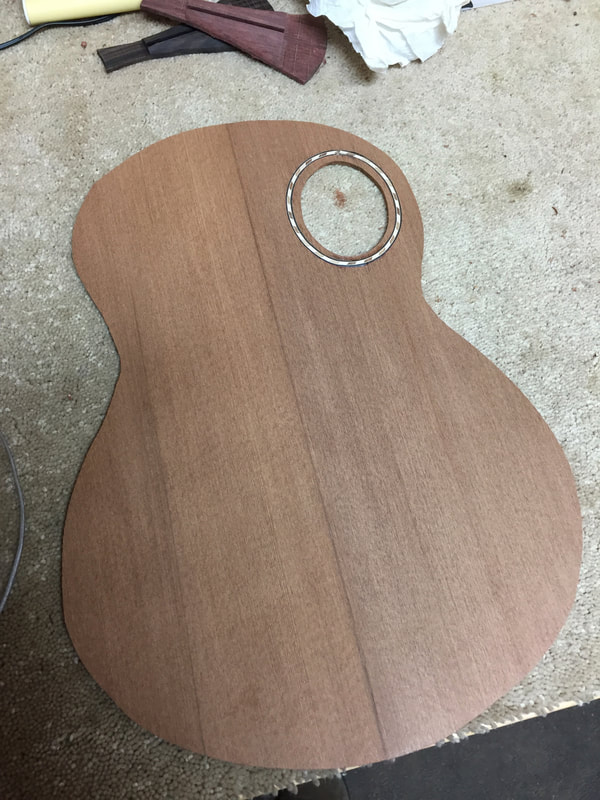
Once that is cut you then move the jig to cut the smaller sound hole. You want to be very careful to get the soundboard in exactly the right position. Measure carefully.
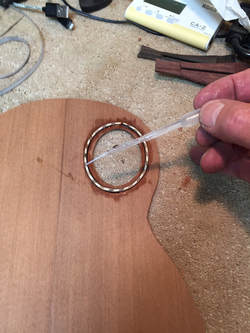
With the sound hole cut out, now it is time to install the rosette. I got out the "hot pipe" to bend the purfling.
Remember to put a coat of shellac in the groove to prevent the super glue from traveling down the grain and staining the wood. Carefully insert the purfling and glue it in with medium super glue. Very handy to use this tiny syringe. When finished with it just store it upside down. Lasts for a long time that way, and lots easier than applying it out of a bottle.
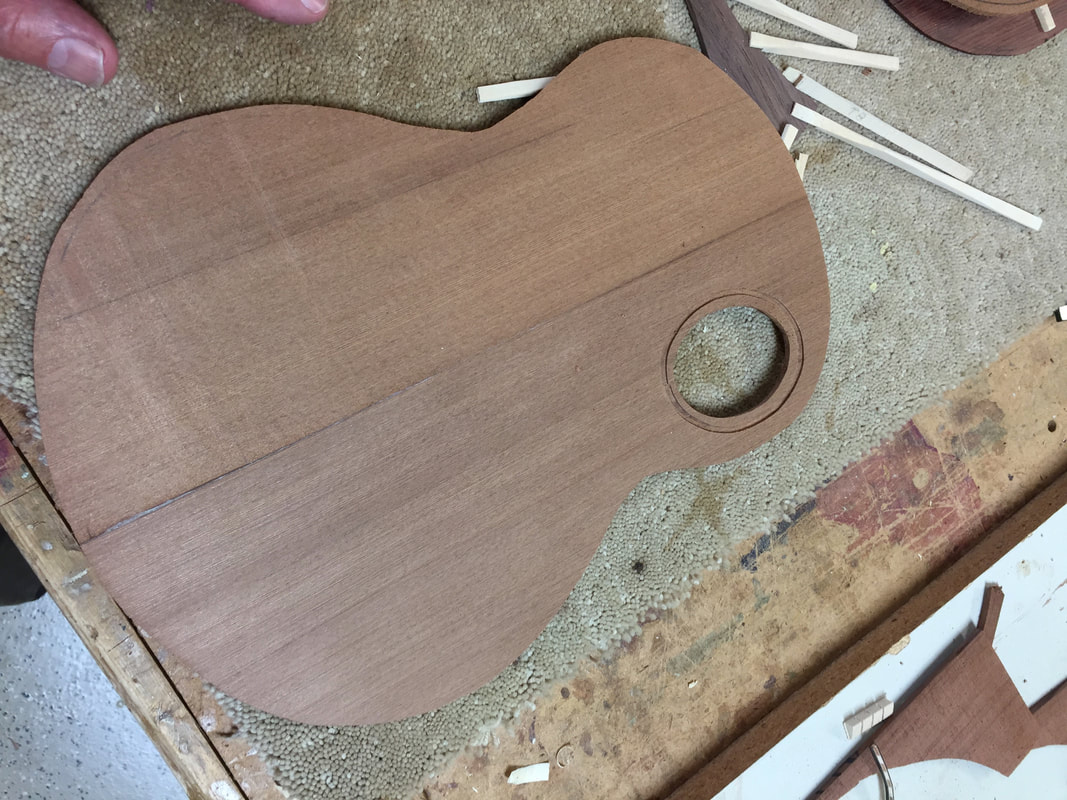
Now its time to take it to the sander and sand it down to final thickness.

Now thin and smooth, I have marked the location of the tone bars. Once I get the bridge brace glued on I can begin attaching the tone bars. This will be tomorrow.
