It is time to install "Journey"s side sound port. First we must trace, with a pencil, the place where we want to put it.
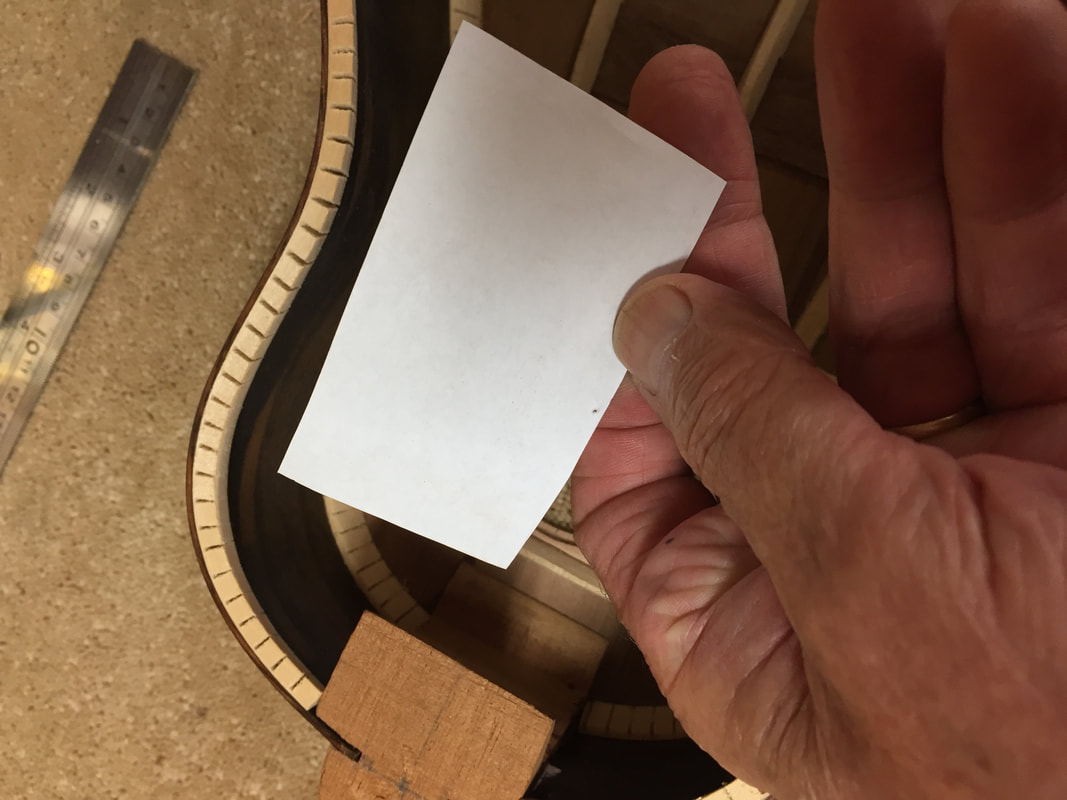
Next I want to glue in a little backing support for the area of the instrument side that I will be cutting this big hole into. I make a simple paper template fitted to the proper place.
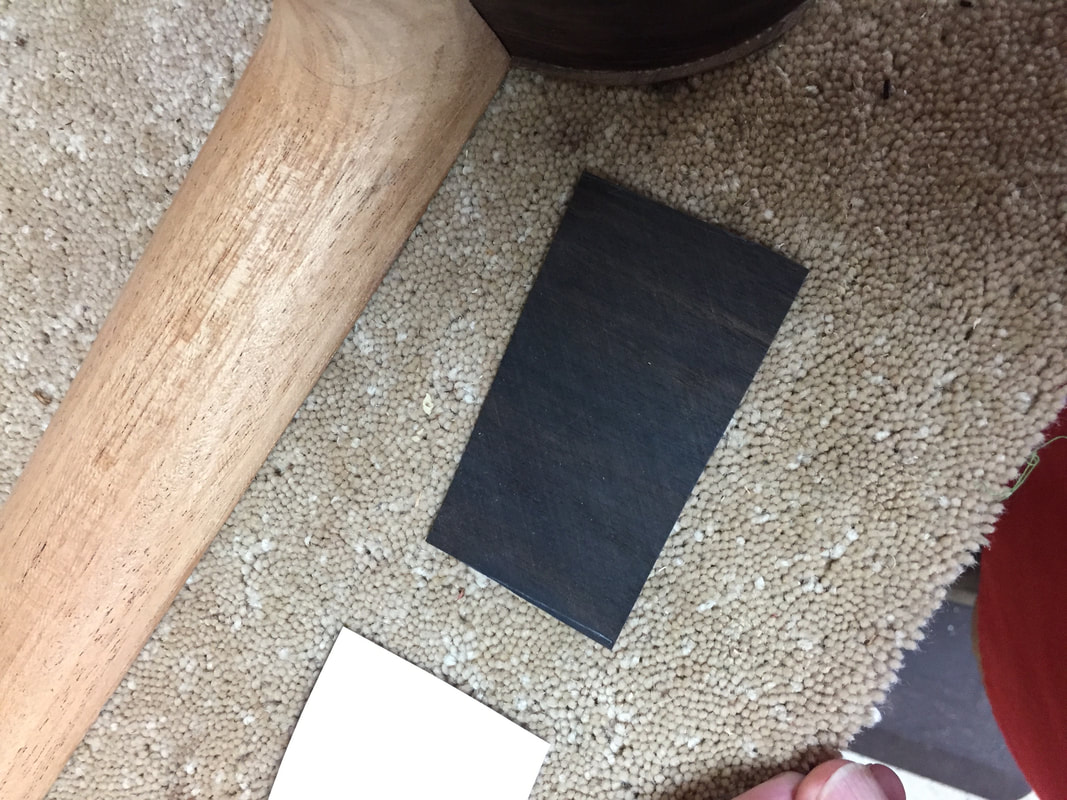
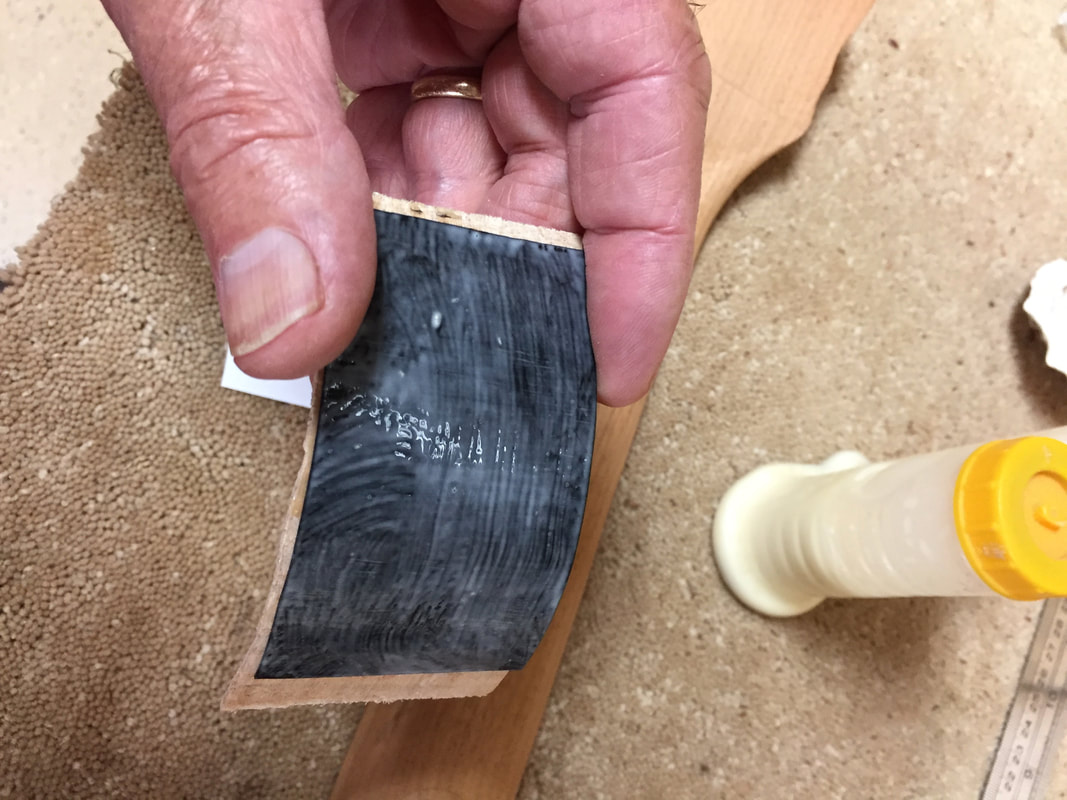
The template results in a tight fitting piece of ebony veneer cut to an exact fit. Its grain will be crosswise to the grain of the side, thus providing great protection against a split.
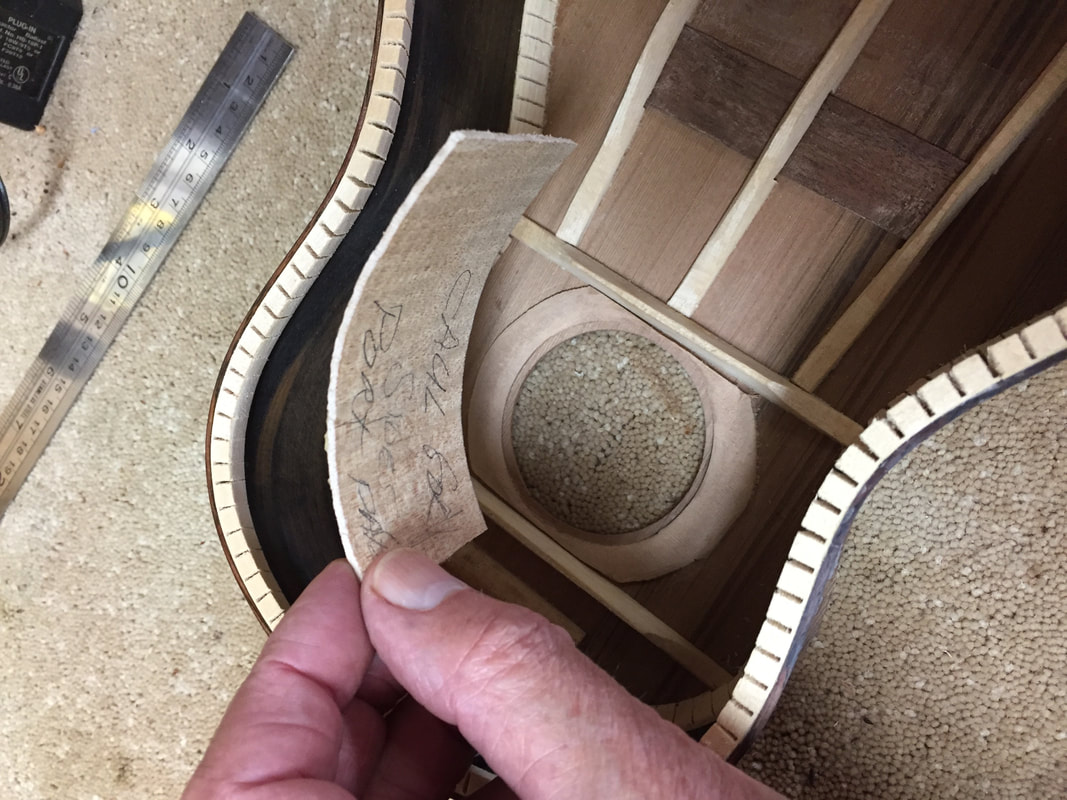
I use this gluing caul cut from a failed side bend. Scraps like these should be saved. You never know when one of your failures will turn into a victory.
 Apply the glue and clamp the clamp. Note the wedge jammed between the caul and the ebony veneer. I keep a drawer full of odd shapes, wedges, squares, this wedge pressed the glued veneer against the side and resulted in a perfect fitting. This ain't rocket science. If ya got a piece that works, use it. 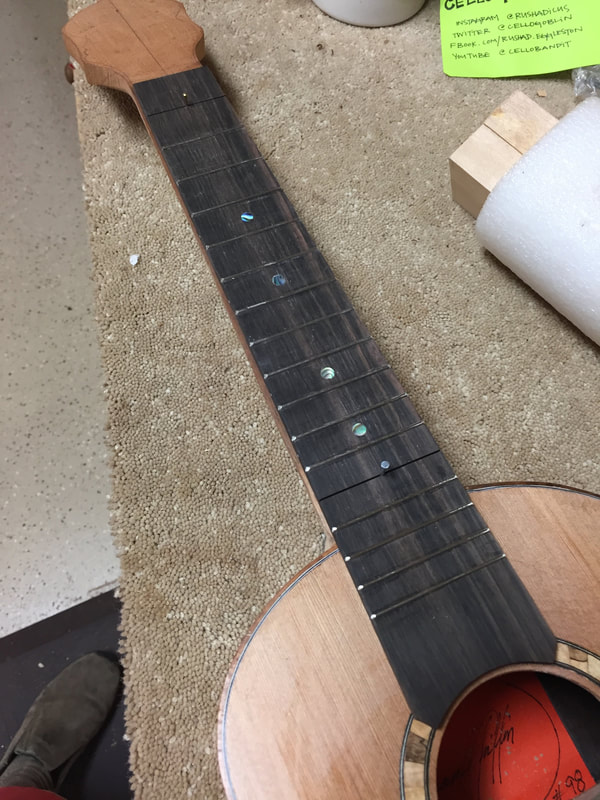 Notice the two brads in the empty fret slots. They are used to position the fretboard and to hold that position during the gluing. 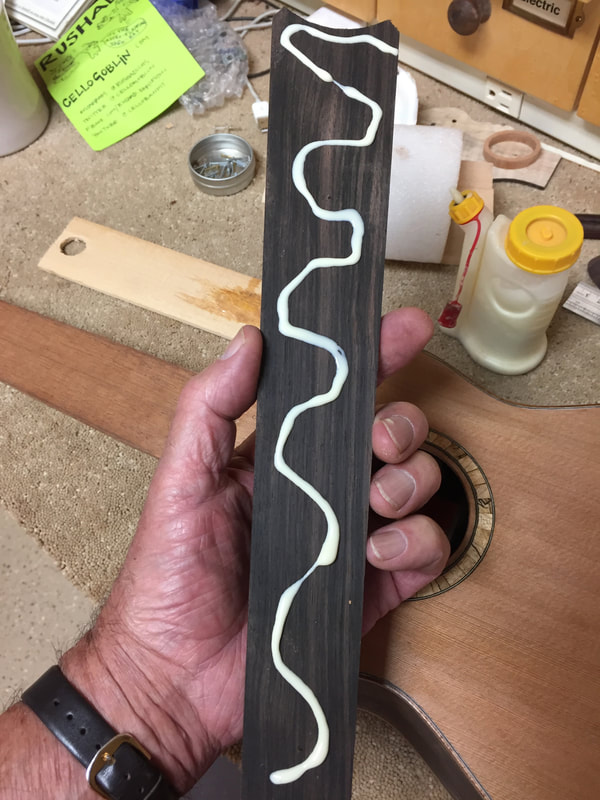 | 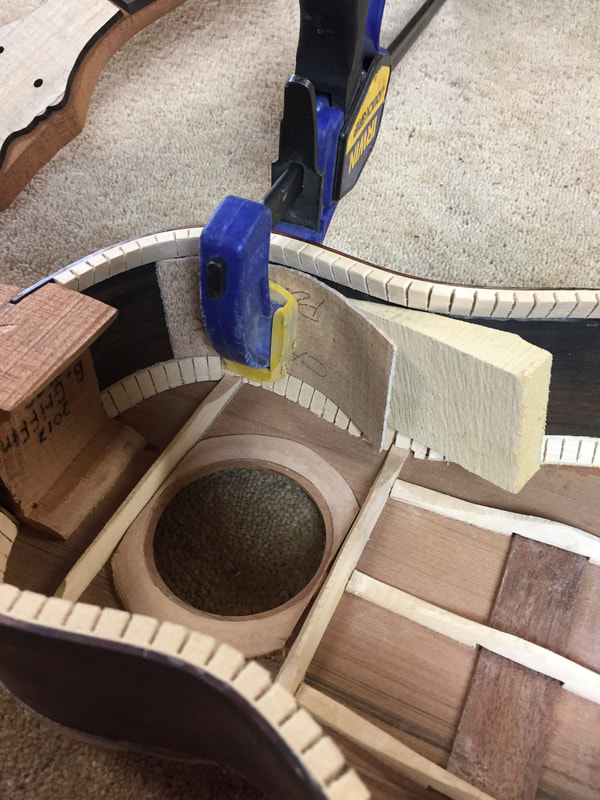 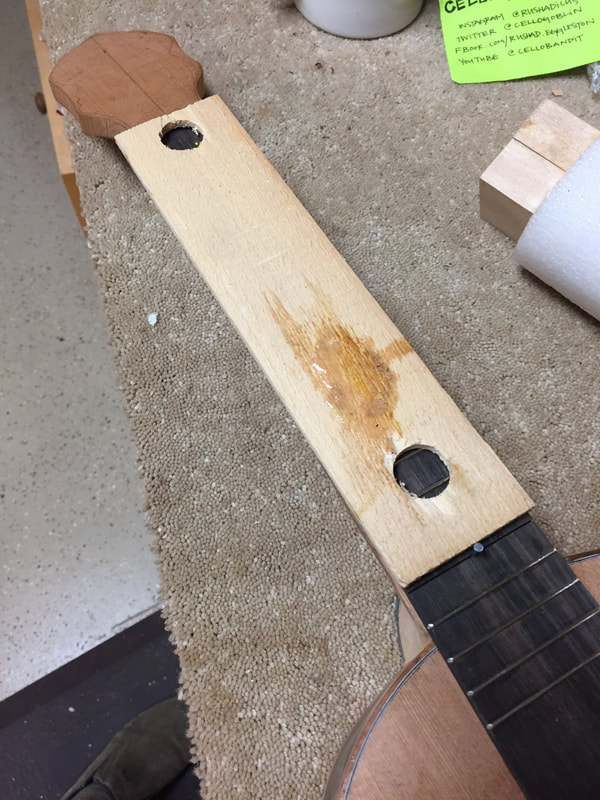 This simple scrap wood caul is used during the glueing. 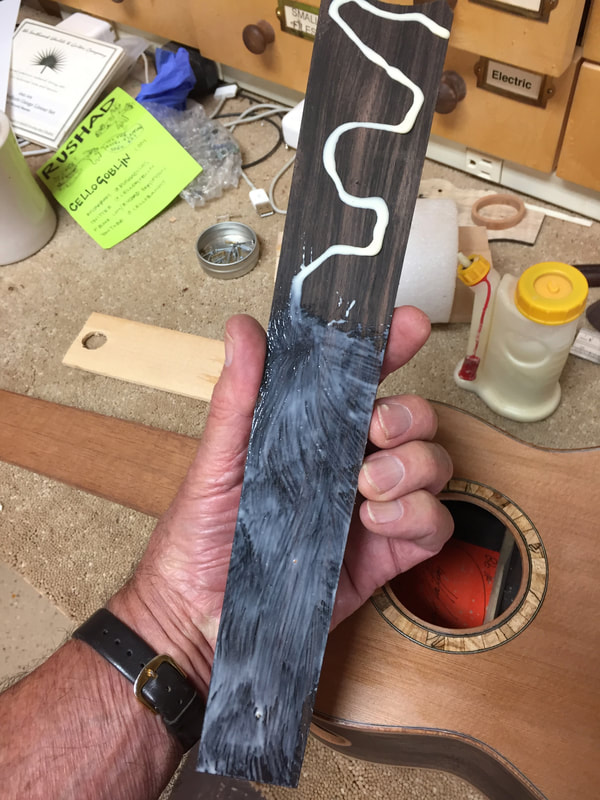 |
Then apply the glue and brush it on smooth. Not too much now, just enough
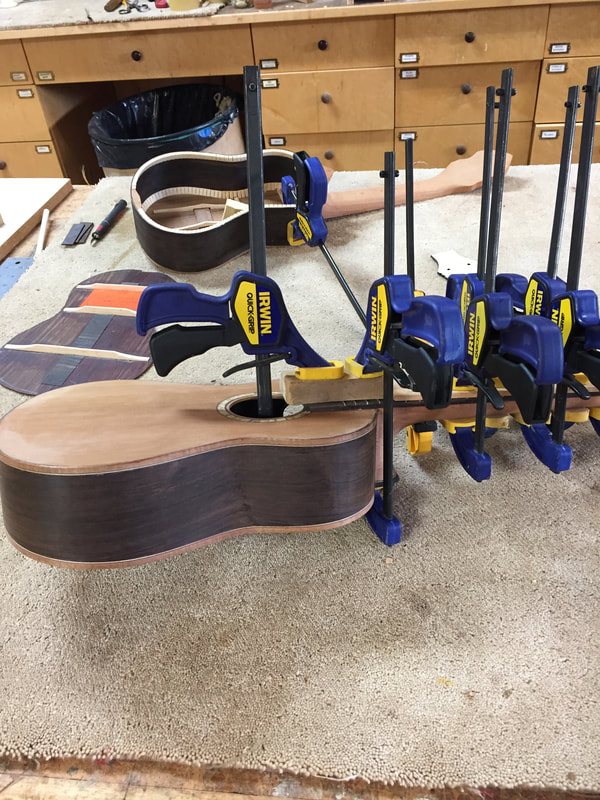
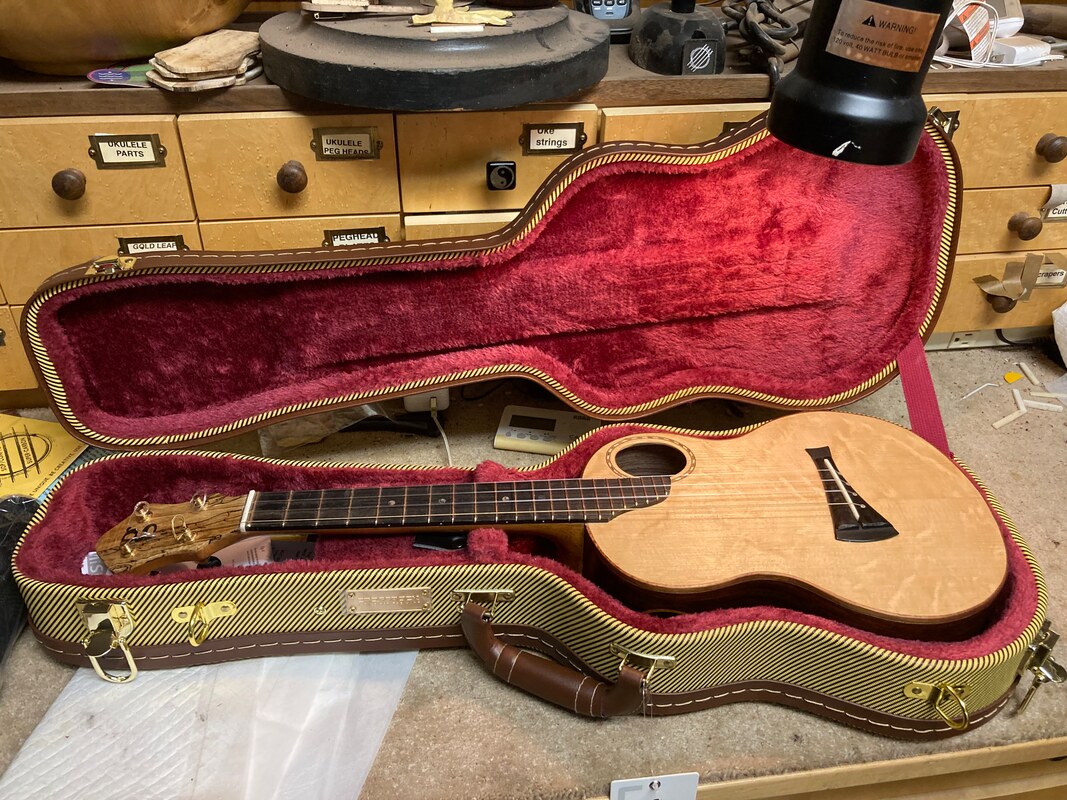
And clamp it down tight. In the background you can see the concert with it's sound hole backing clamped and glue drying. And we are off to a dinner party.

Well the party is over now, and we walked home under this crazy red full moon. The forest fires in Canada have turned our air to smoke and the moon and sunrise and sunset have been spectacularly red for several days now. This is the moon over the Chuckanut Mountains.
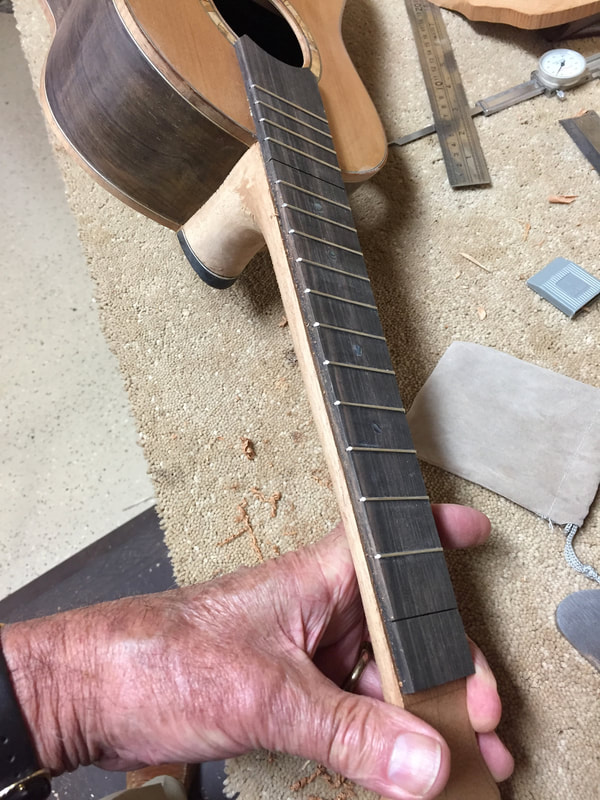
And the fretboard glue had set. I could not resist taking the clamps off and taking a few swipes with the scraper. Now is the time to finish shaping the neck. I want to make it slim and fast.
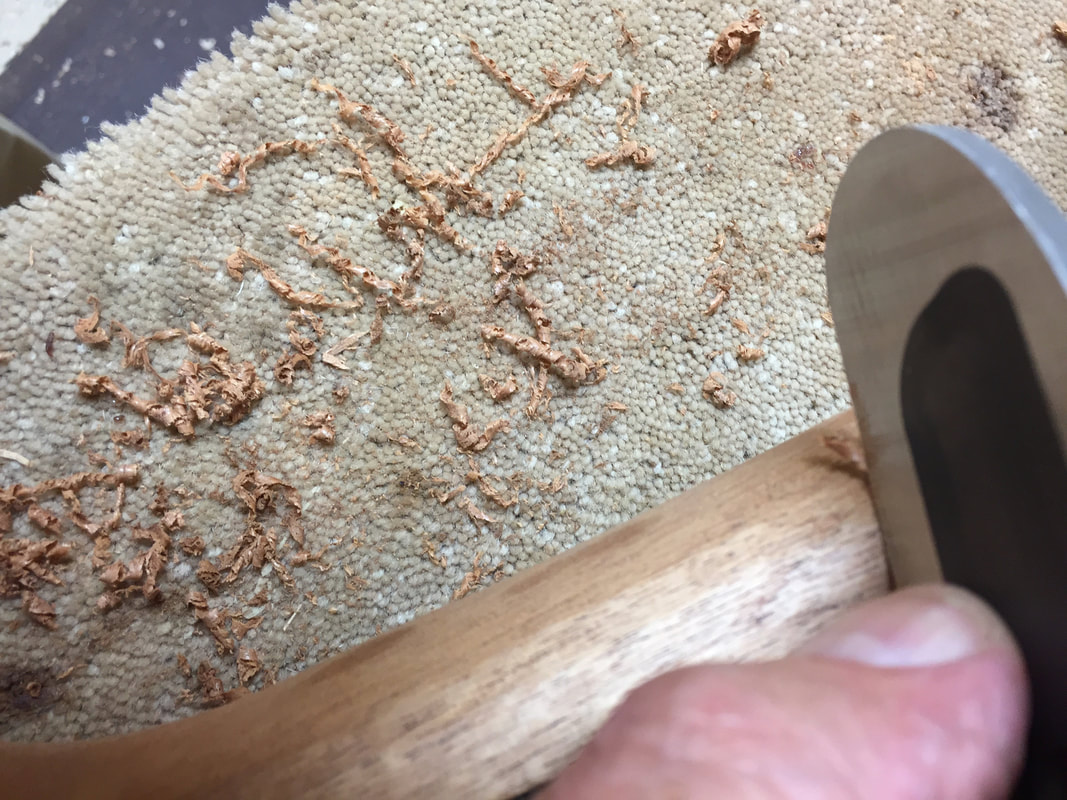
A sharp scraper is a remarkable tool, perfect for the fine finish shaping of a neck. It is also a lot of fun using it.
