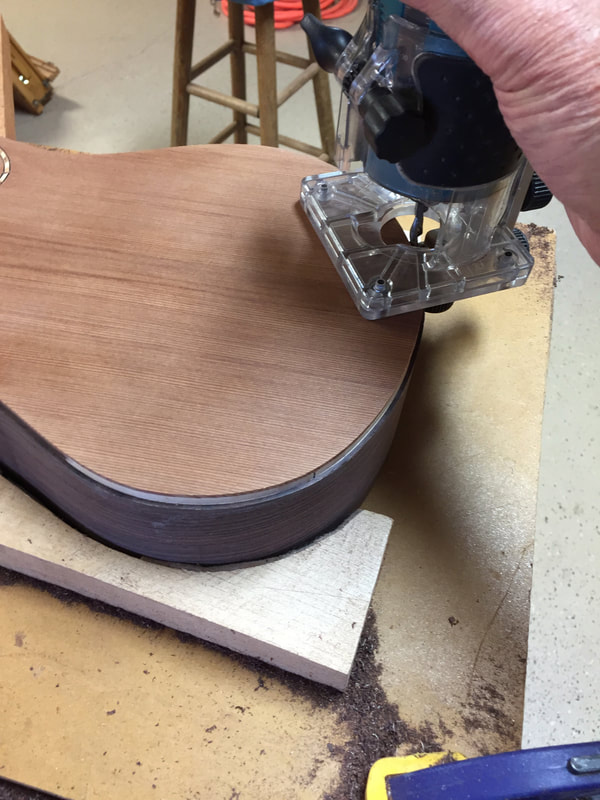
Taking the router to this delicate structure to cut the grooves for the binder is always a scary time. Today I took the plunge-and all went well.
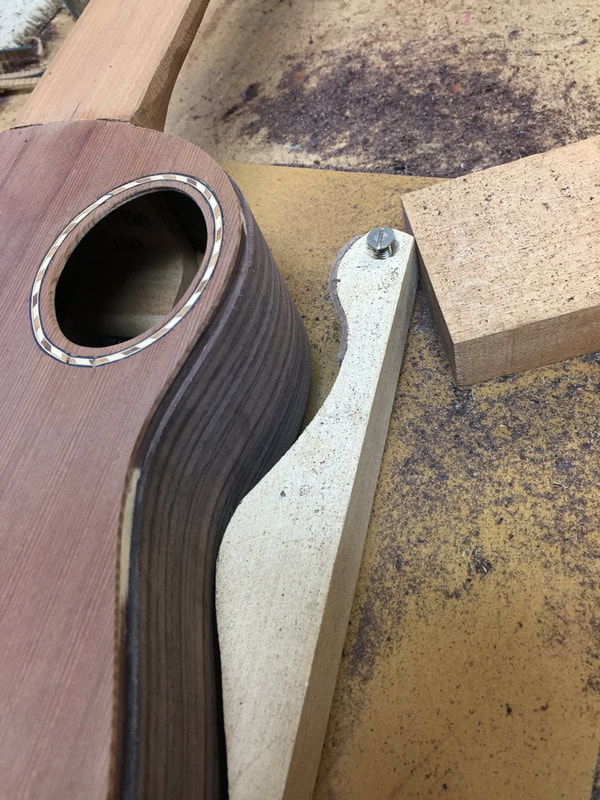
I am using a small router, commonly called a laminate cutter. The bitt is a downwards spiral bitt. The ukulele body is clamped into this simple jig. You want to have the instrument steady. The groove is made with depth determined by a roller bearing that rides the side.
Lots of sawdust is generated.
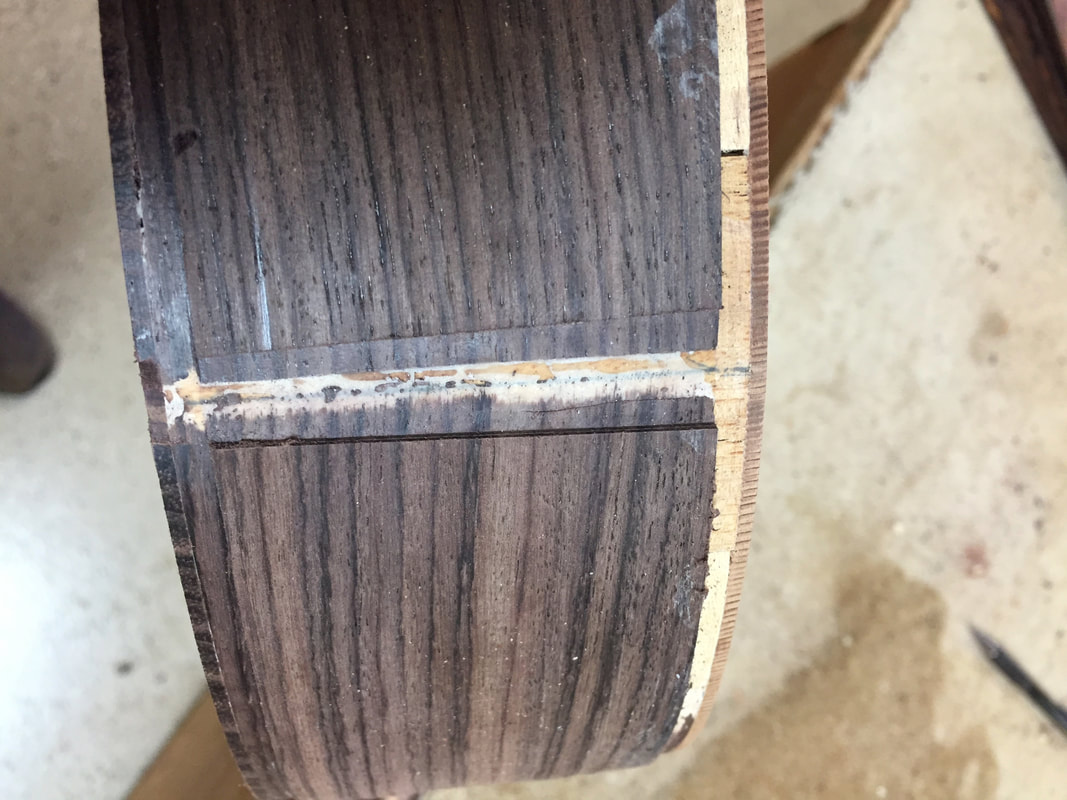
The groove is cut both top and bottom, and then using another jig the cut is made for the back piece.
And then it is time to cover up these ugly scars with a pretty piece of binding. I am using some highly figured Australian Blackwood binding made by Pacific Rim Tonewood. I had bent it some time ago.
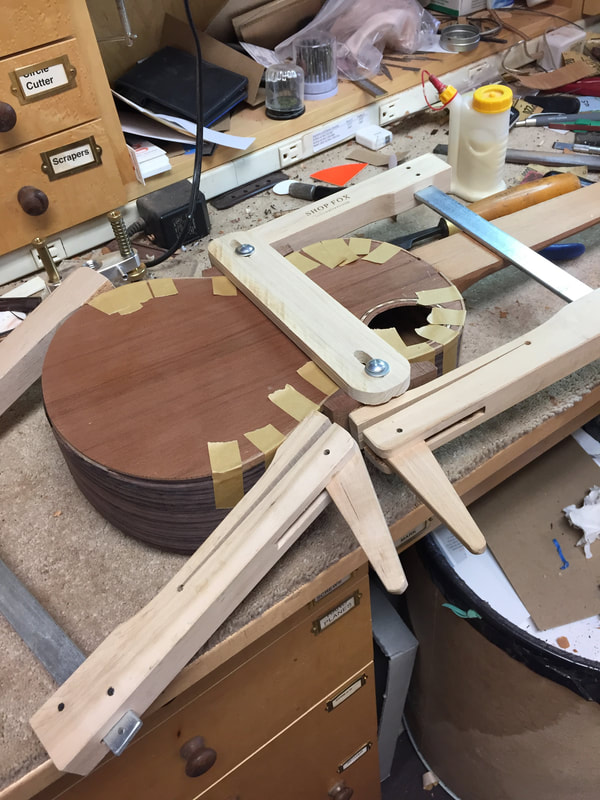
Here the first pieces are glued and held tightly in place with binding tape and a variety of clamps.
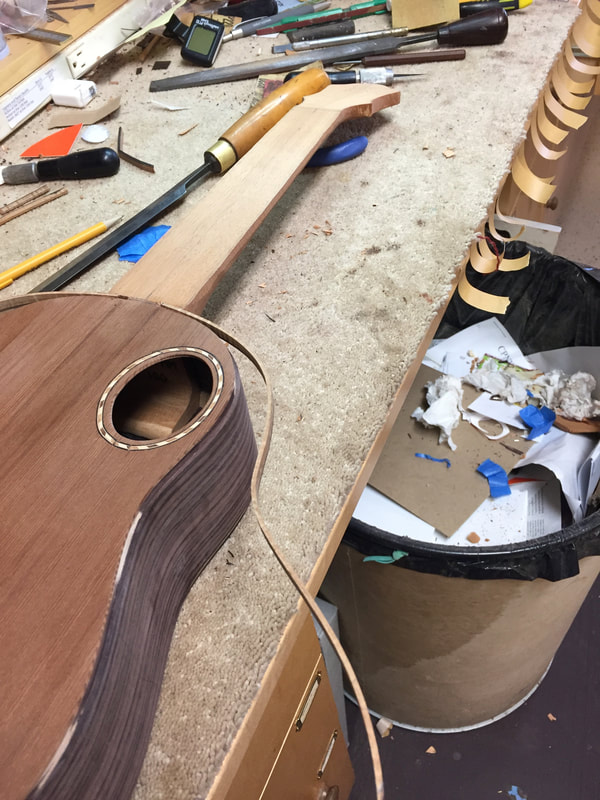
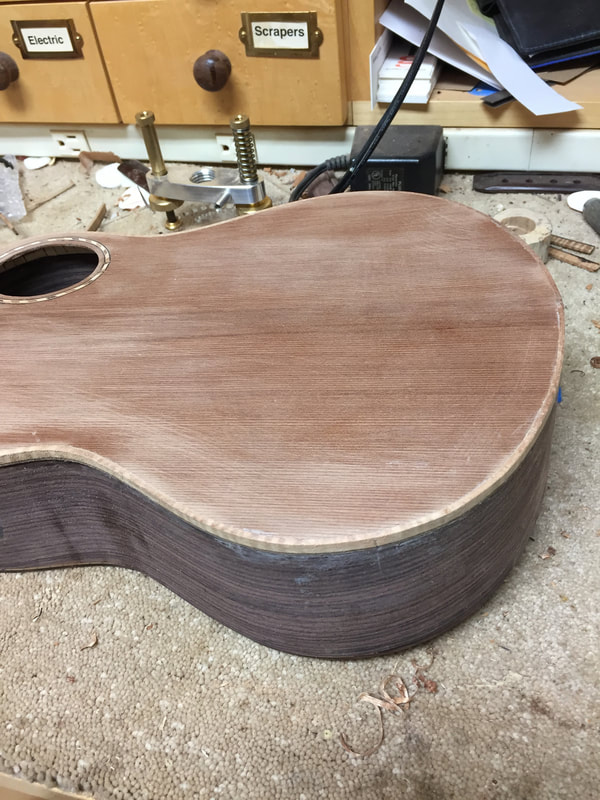
By 7:00 PM the upper binding was completed and the glued dried, I faired it up with a small plane and some sand paper and it is looking good. Now for the binding on the bottom.
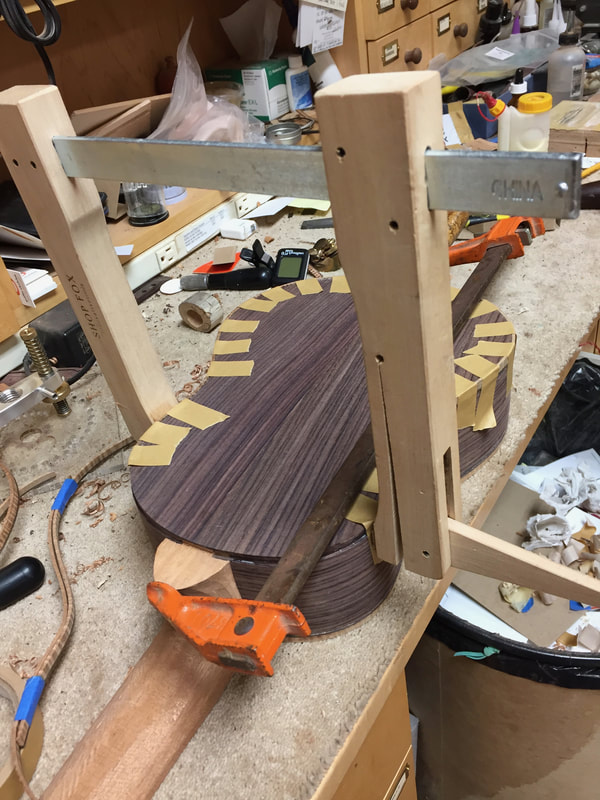
Now this much of the bottom has its binding glued, taped and clamped. I will leave it this way overnight and finish the job in the morning. This ukulele will be singing before you know it.
