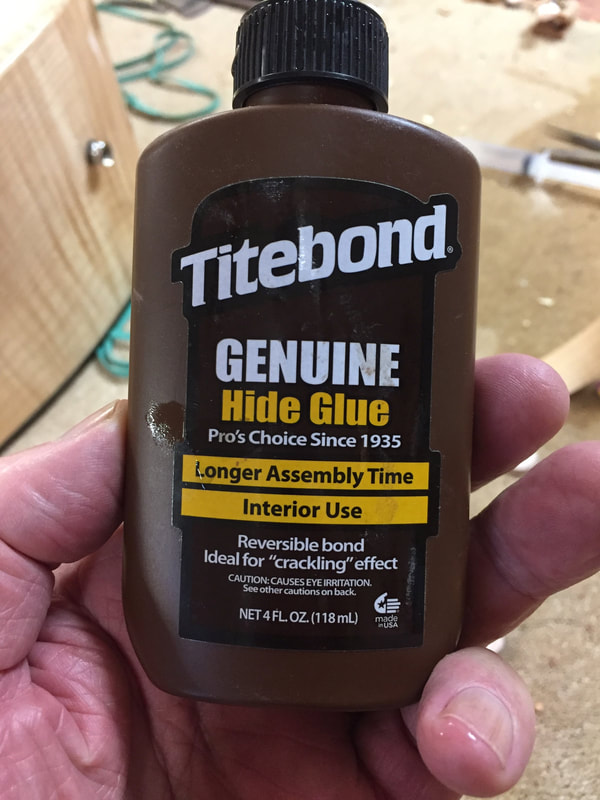
I decided to repair my cracked bass with this hide glue because it gives you a longer working time before setting up.
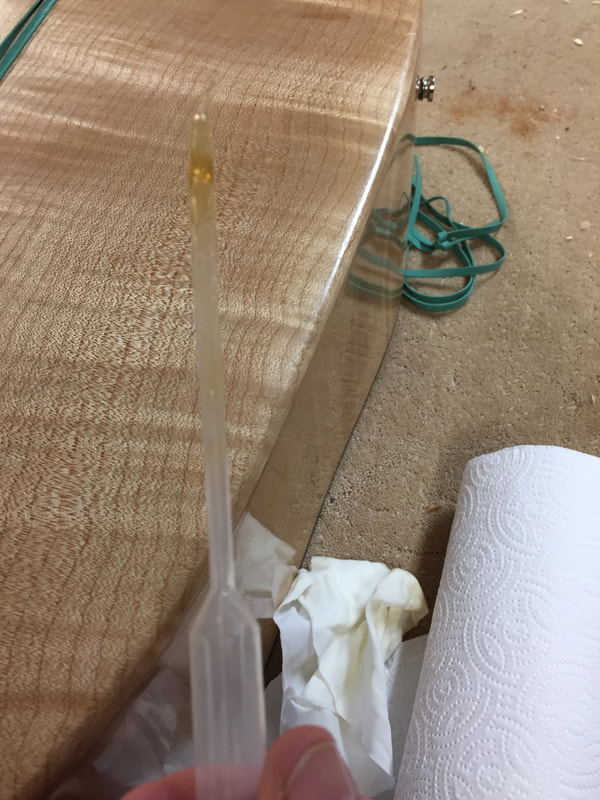
I also wanted to inject glue into the crack as deeply as possible so I used this plastic syringe which allows you to inject with a little pressure through a thin tip. Here you can see it with some hide glue loaded and ready to squirt. It was kind of a slow process to suck it into the syringe and then apply it so it was good the glue has a slow set up time.
I held a light insde the instrument so I could see when the glue had penetrated the crack and was showing on the inside-and then I clamped it down tight. I think I got a good connection.
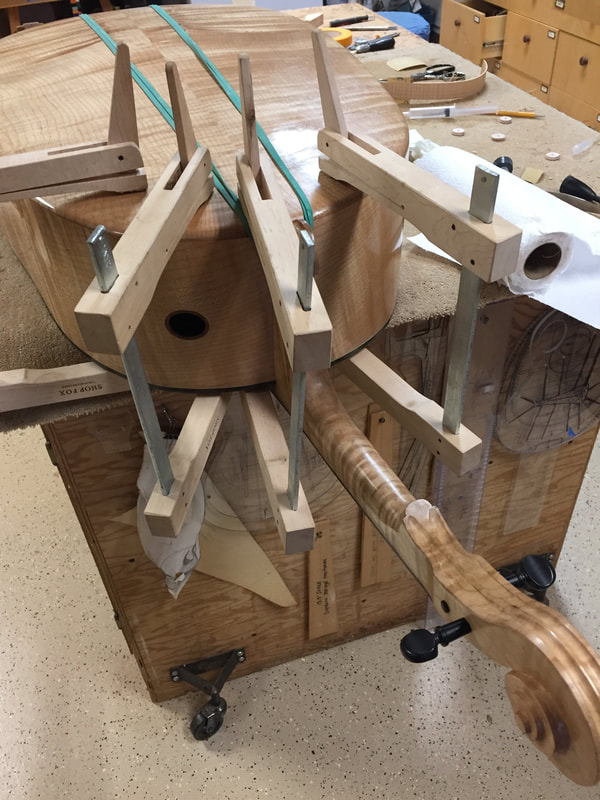
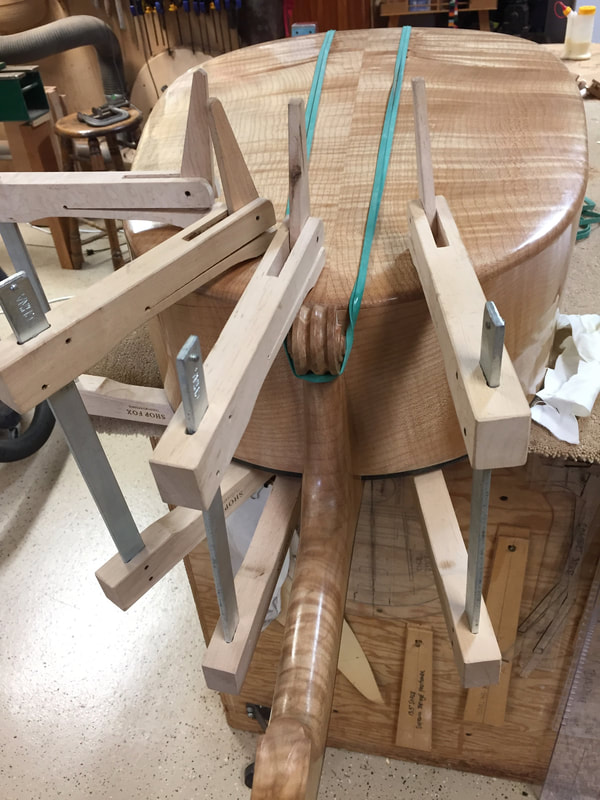
The big green rubber band did a fine job of bringing the crack back together from a lengthwise direction, and thank goodness for the wide variety of clamps I have collected over the years. These did the job just right. But just glueing the crack together is not enough!
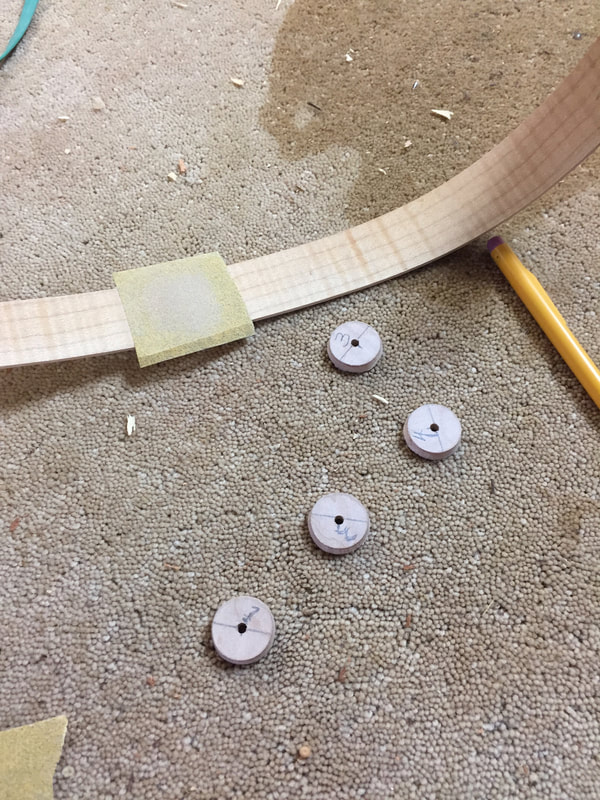
Tomorrow I will glue these four round cleats across the crack on the inside of the instrument. Because that side is curved, I put a piece of stickem sandpaper on a similar curved scrap and sanded a slight curve in each of the cleats. Hopefully they will fit the side curve and glue perfectly. I will be using the cute little winches that I showed you a couple of days ago to hold them tight against the inside wall. Ought to be interesting. I will take photos for you.
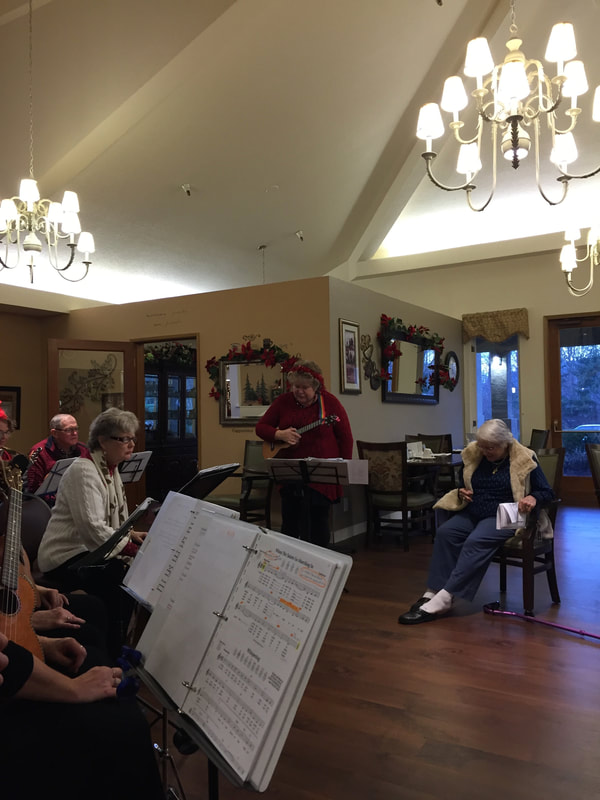
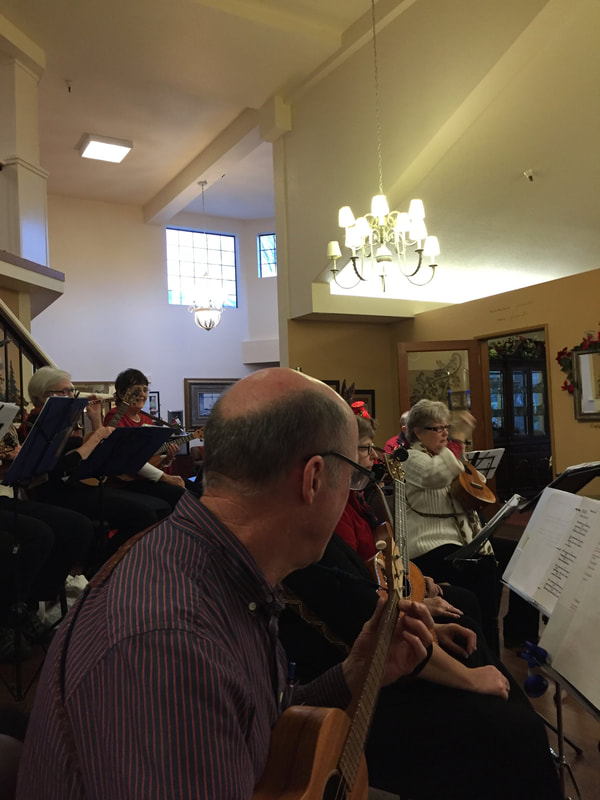
I delayed repairing the bass until we had completed our gig at the Parkway Chateau last week. I taped up the crack and was able to provide bass accompaniment for the Community Players Ukulele Group. It was fun as always.