The first challenge is to get the bridge set perfectly centered and at exactly the right distance from the nut. The first measurement affects playability, the second is vital to proper intonation.
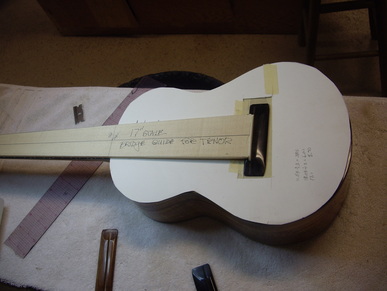
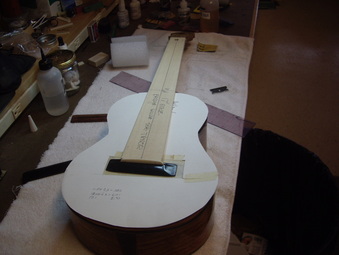
I eliminate mental lapses and measurement errors by using a piece of spruce cut to exactly the right dimensions. I know when that piece is snug against the nut at one end and the saddle at the other that the uke will have proper intonation. I have covered the finished top with a cardboard mask to avoid scratches.
I eliminate mental lapses and measurement errors by using a piece of spruce cut to exactly the right dimensions. I know when that piece is snug against the nut at one end and the saddle at the other that the uke will have proper intonation. I have covered the finished top with a cardboard mask to avoid scratches.

Masking tape is placed around the bridge to mark its location. Then with a razor blade you scrape away the finish to prepare for the glue.

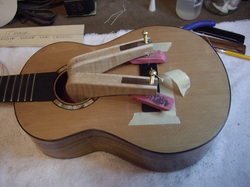
Then I carefully mark the string holes in the bridge, Place the bridge in position and drill the holes clear through both bridge and top. Now I can slip a wire or brad through the holes to keep the bridge from moving when the clamps are applied. As soon as the glue tacks up, remove the tape and the pins, I let these home made clamps do their work for at least four hours,
