NOW TO CUT and fit the sound hole end where I like to follow the curve of the purfling of the rosette.
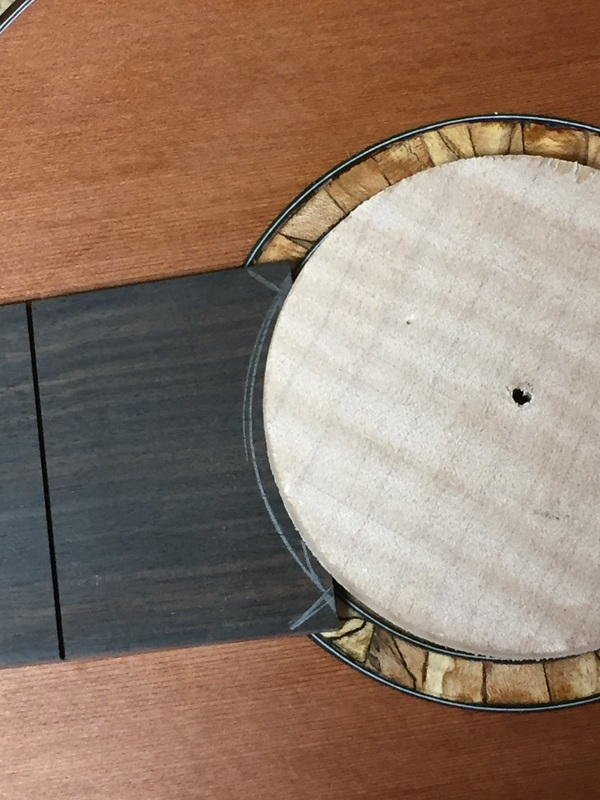
If you save a handful of the circles you cut out of soundboards you are apt to have one that is the perfect pattern for marking the end to the fretboard for cutting.
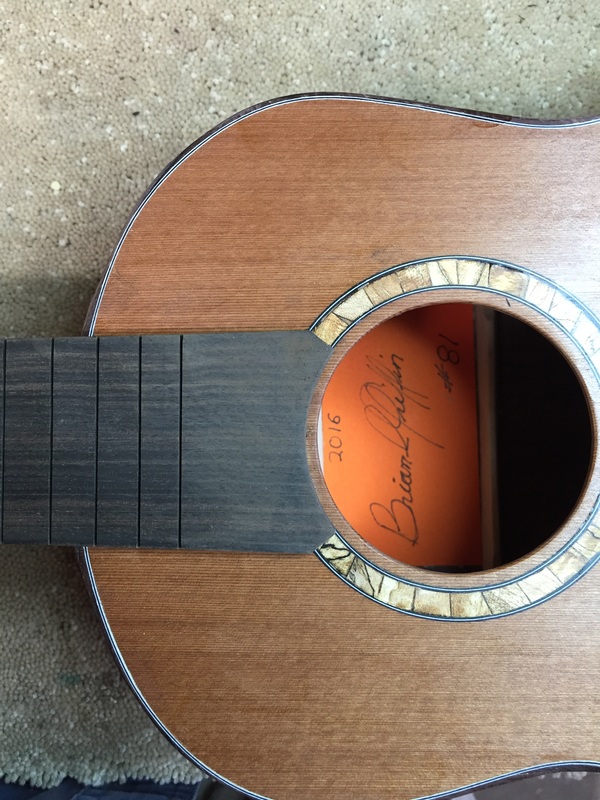
After a quick trip to the band saw, and then to the oscillating sander, this fretboard fits just the way I like it.
Now for the frets themselves
Now for the frets themselves
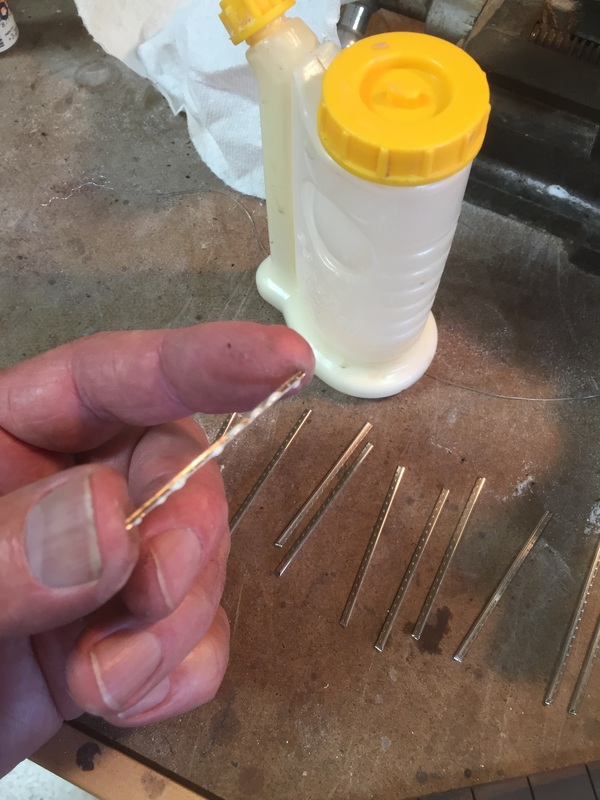
Cut the frets to length, set them in proper order, apply a little glue, smooth it out with your finger and--
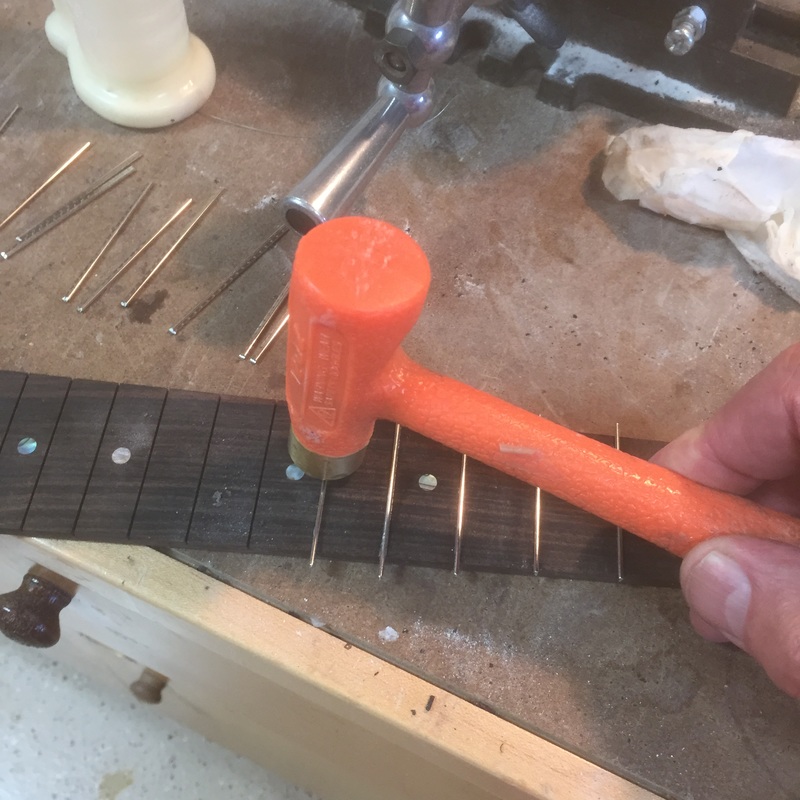
Tap it into the slot gently with the brass end of the hammer. Just get it started and then---
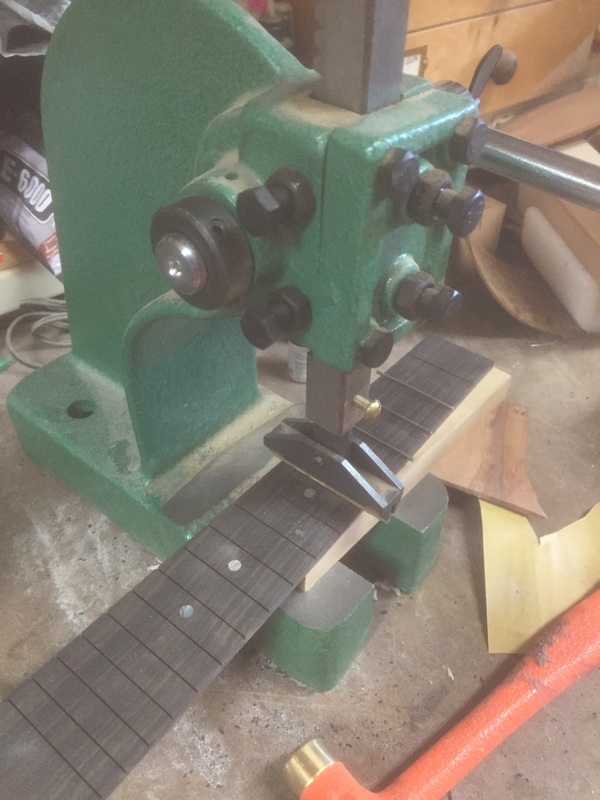
Press it in firmly with the press. I bought this press from Grizzley Imports and adapted it to hold the brass press device from Stew Mac. An invaluable tool for setting frets
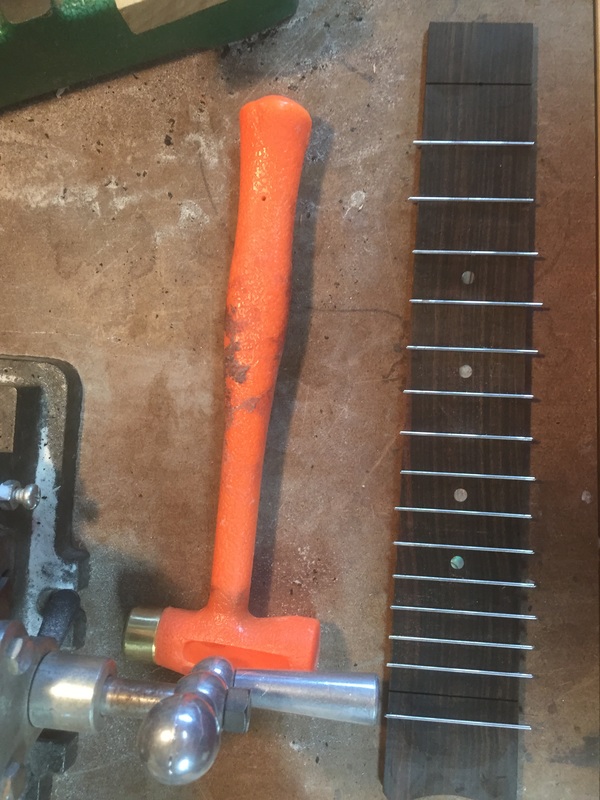
Here is the fretted board. Notice I have left out two frets. Those slots have tiny holes drilled in them to accept brads that will hold the board exactly in place when gluing it to the neck. The missing frets will be installed after the board is glued to the neck. When the glue is dried on the frets, the ends are snipped off, sanded flat on the belt sander and hand filed to round off their sharp edges.
