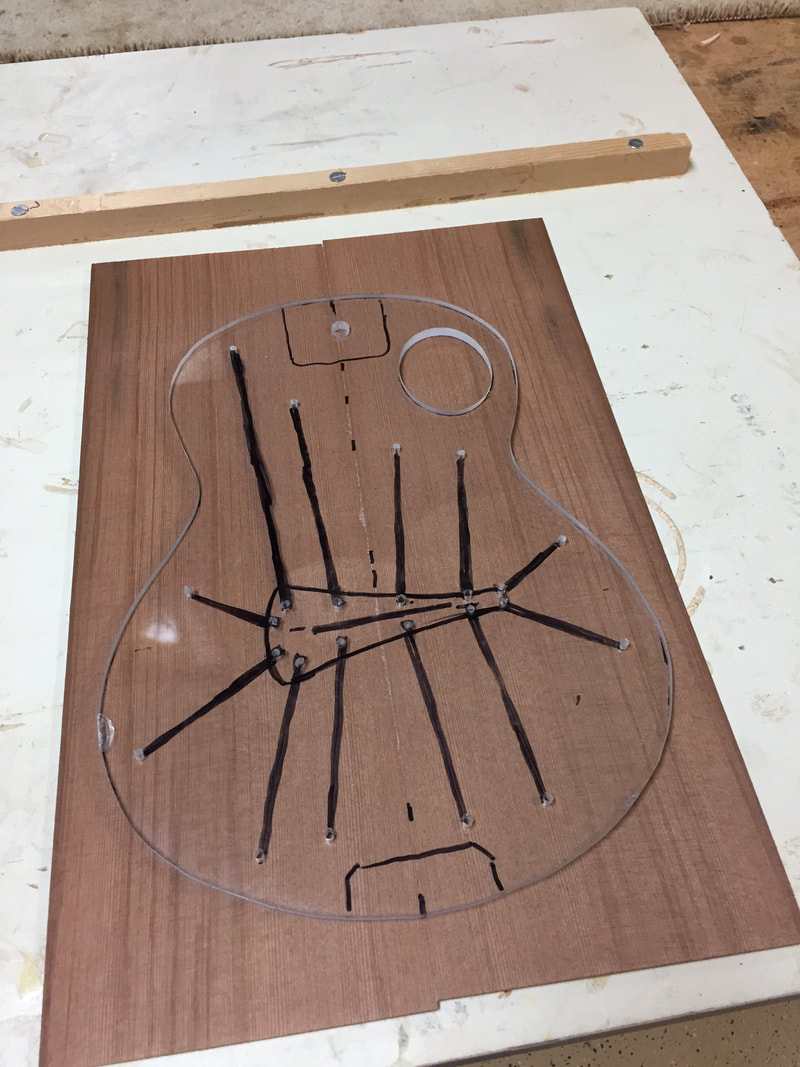
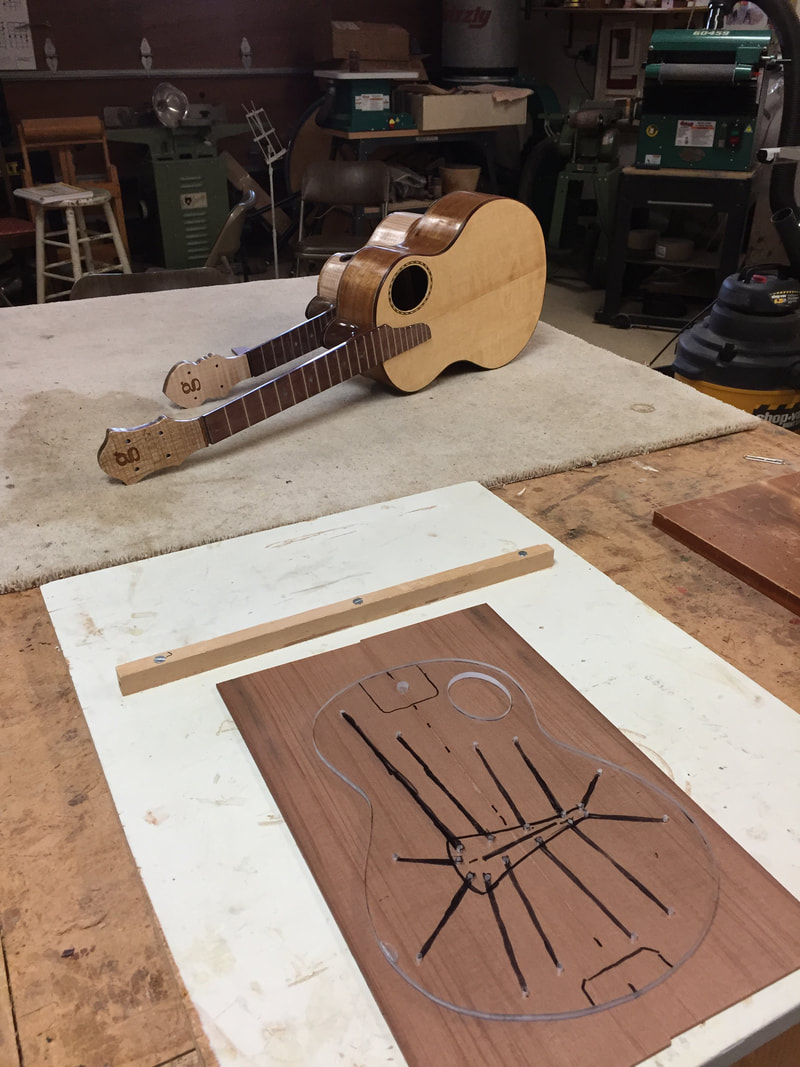
Now that this lovely Watertank Redwood has been glued together it is time to begin. Lets lay the Kasha Tenor template over the top and mark off the tenor shape and the location of the sound hole.
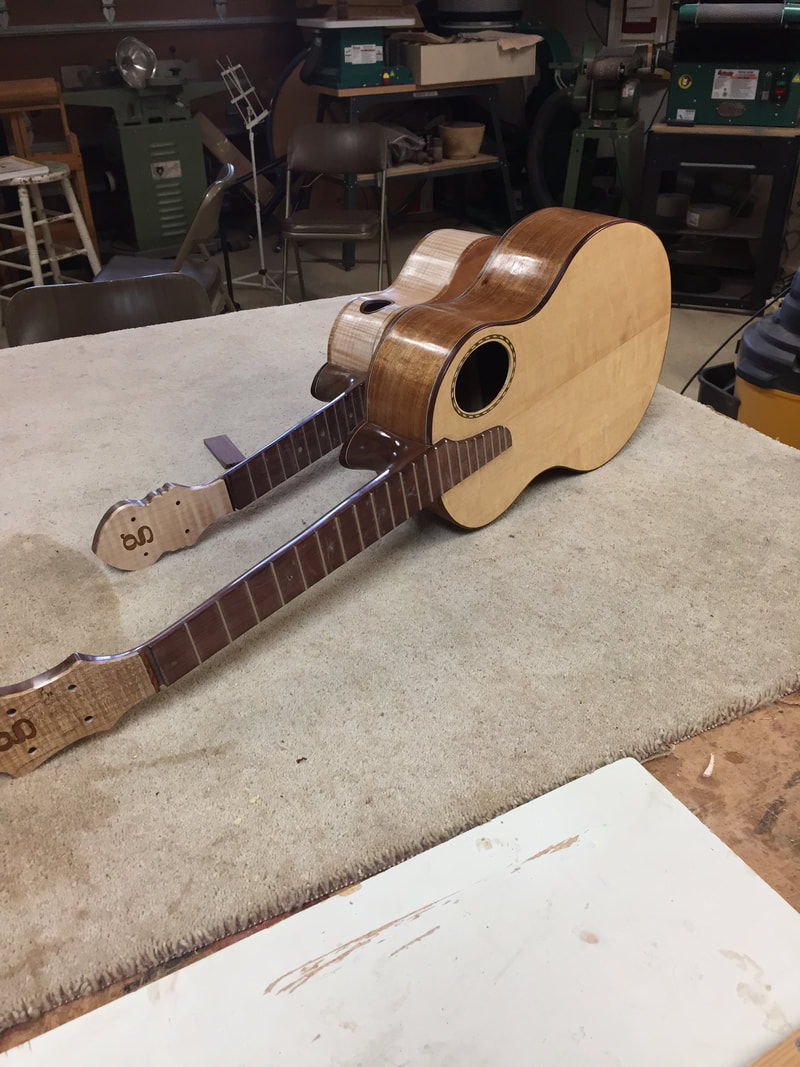
But lets not forget the baritone and the concert. They are sitting on the worktable hardening up thieir French Polish. It is about time to give them both a sanding before more French Polish. they are beginning to look pretty good.
Here is a better picture, shows the old and the new.
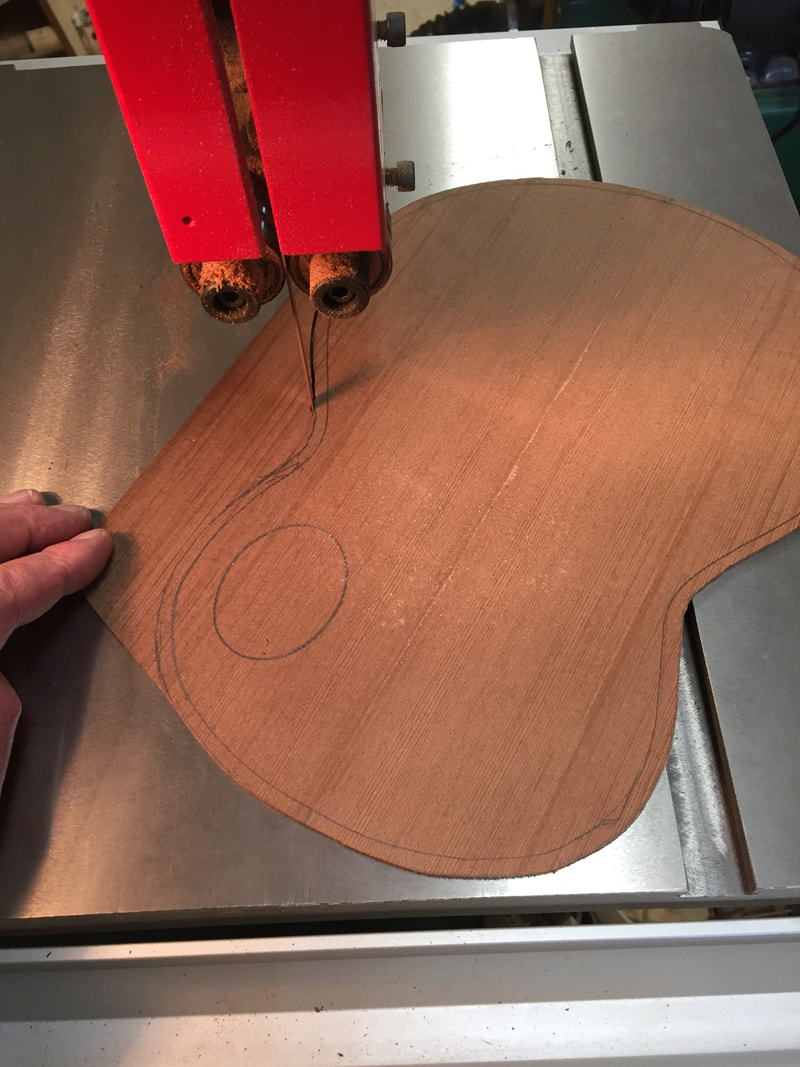
Now that we have the pattern marked lets cut out the shape on the bandsaw, leaving about a quarter of an inch for error.
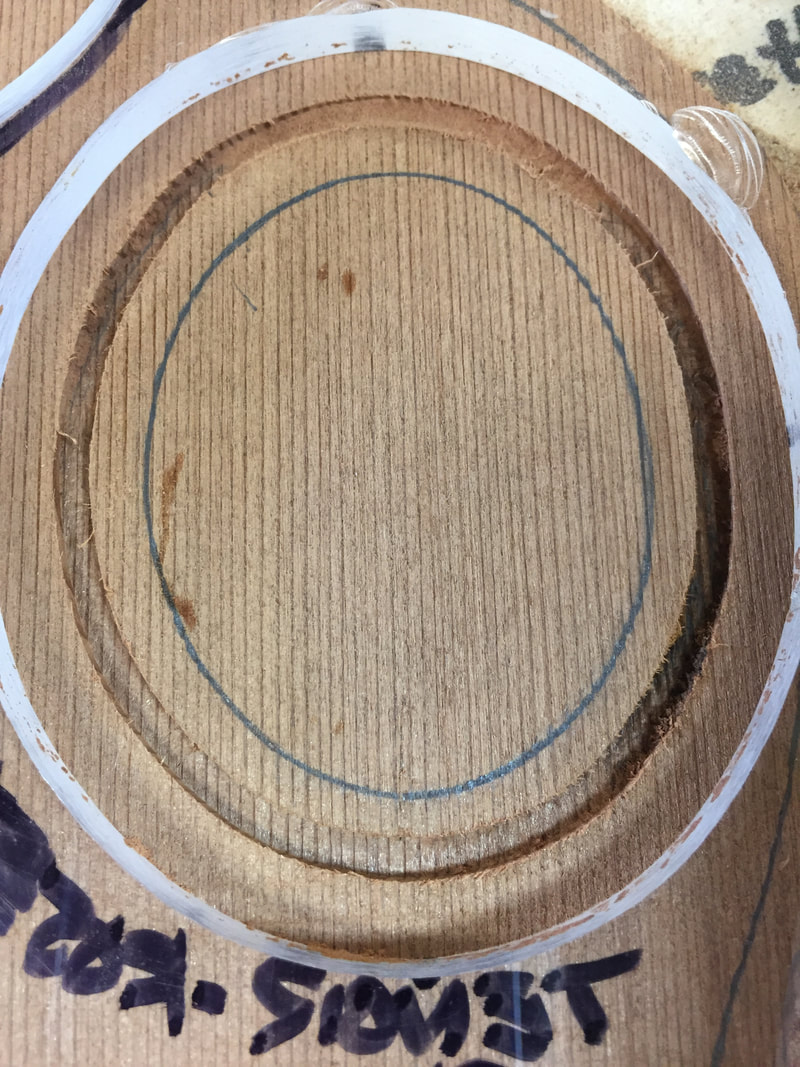
Now it is time to cut the groove for the decorative rosette, and for the sound hole itself. With the aid of these 1/2 inch thick acrylic guides I will attempt to do this without mishap with the 1/8th inch router bit mounted on the " Otter", small router tool that I bought at the Luthier convention recently. It has a round guide which will follow the oval of the sound hole.
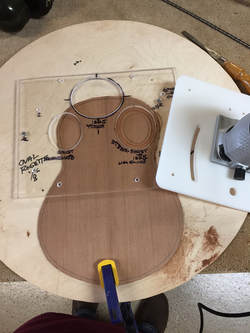
I screw the acrylic plate firmly over the wood (not thru it), holding it in place. The clamp is just for safety purposes. The first cut was a success. This groove is just deep enough to keep the purfling above the level of the Redwood.l
The next cut will be the sound hole, and I might as well go all of the way so I will lengthen the depth of the cut.
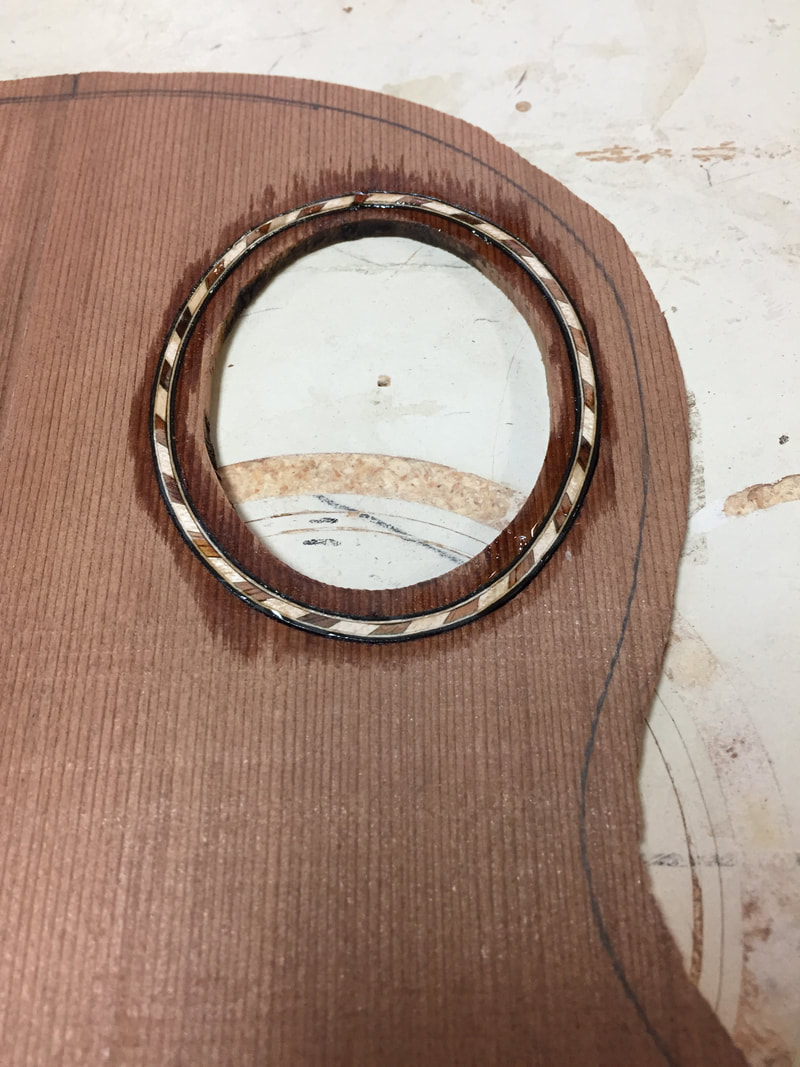
I brushed on a good thick coat of shellac to prevent the superglue I will be using from staining the redwood. Here I have bent the rosette material and got it in place waiting for the thin superglue to fix it permanently.
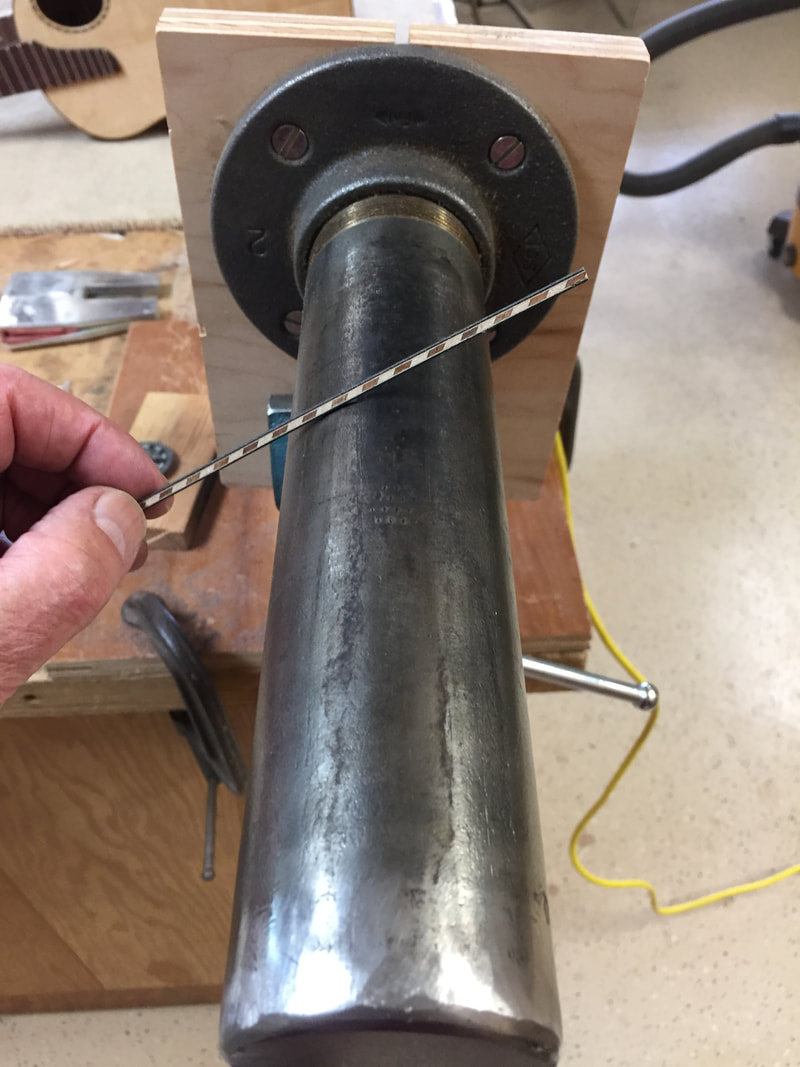
Bending that stuff into an oval is getting easier and easier over this 250 degree hot pipe heated with a soldering iron
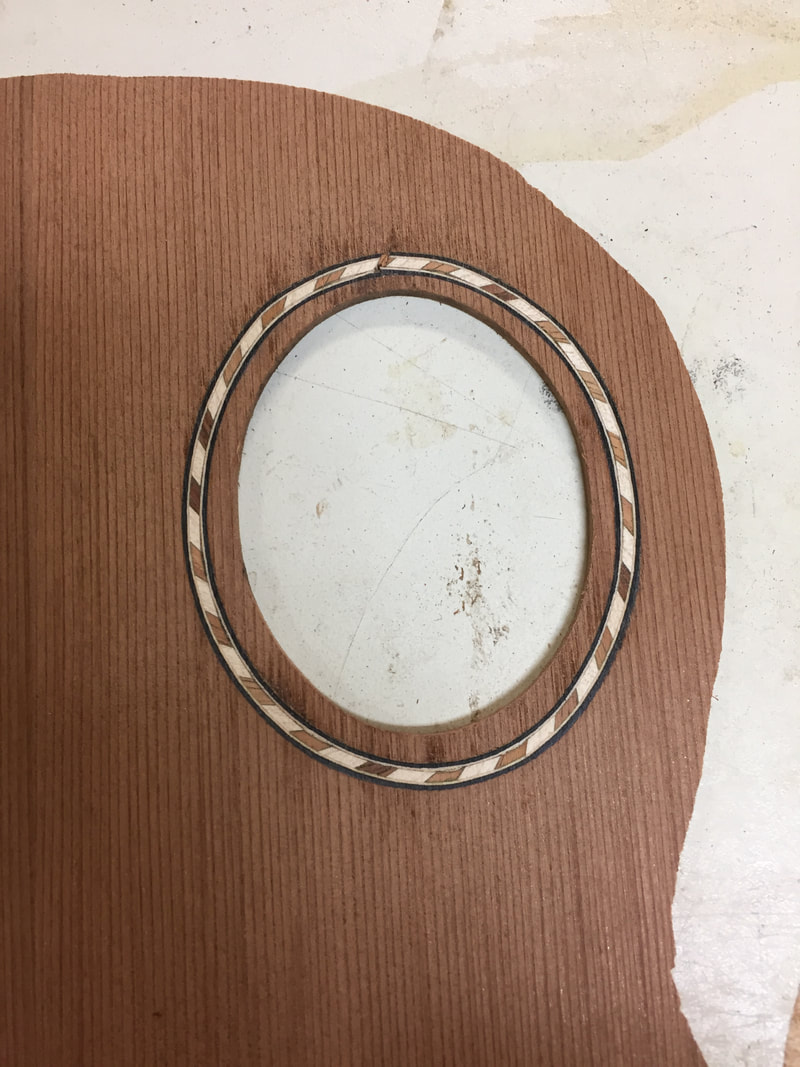
Here is the finished product. I will run this through the thickness sander a couple more times to get it thinned down to .080. The slight stain will be gone by that time and it will be ready to turn over and receive the 23 tone bars and braces. Tune in tomorrow.
