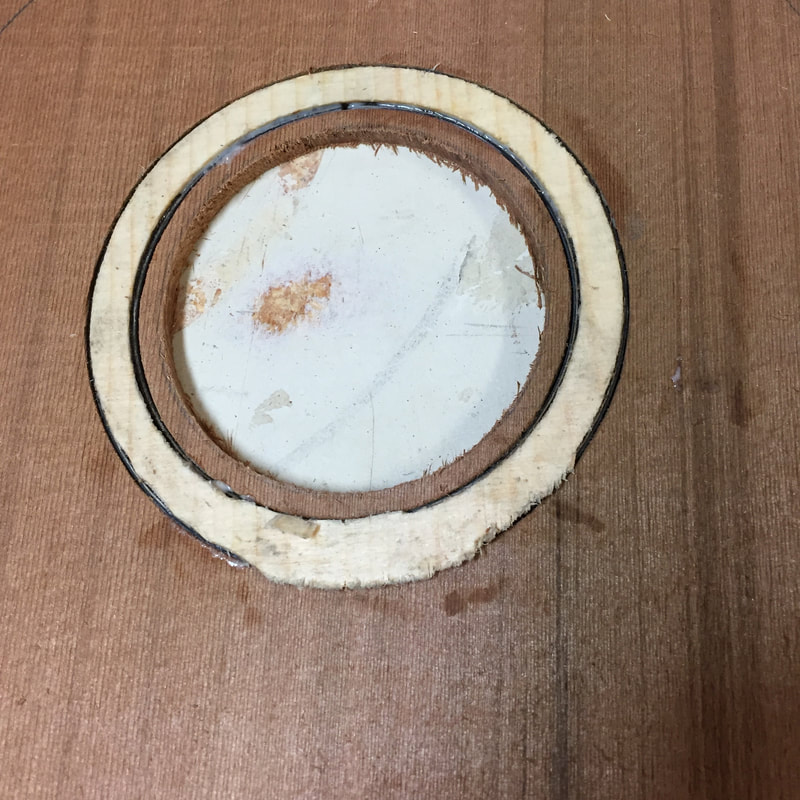
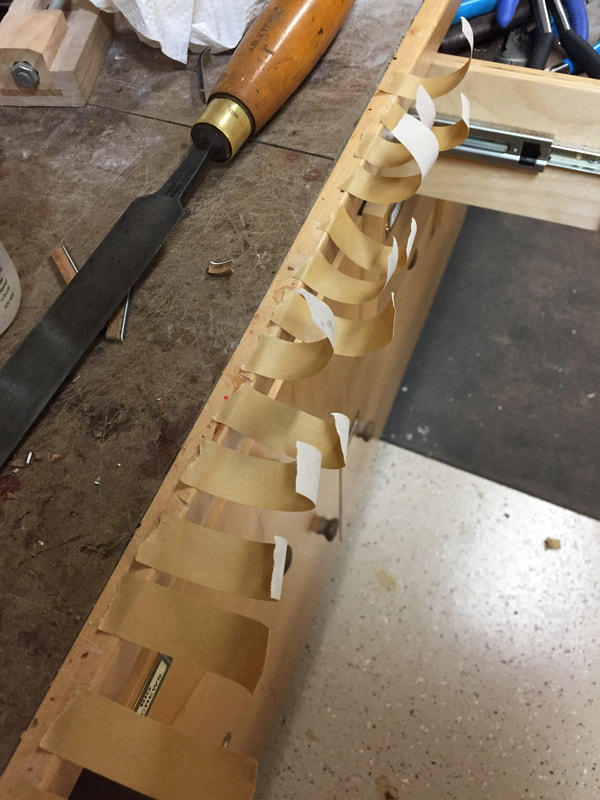
I am working on a concert ukulele for a woman who has name it "Journey", It will be a Cocobolo body and Cedar soundboard, a combination that I have found very pleasing. The sides are bent, the back is joined and braced and the soundboard completed, but I was not pleased with the fit of the rosette. Today I made a new rosette and with the aide of Jon Dale's unique circle cutting guide, got a perfect fit. I will whittle the braces and tone bars tomorrow and will feel much better about "Journey" with its new soundboard.
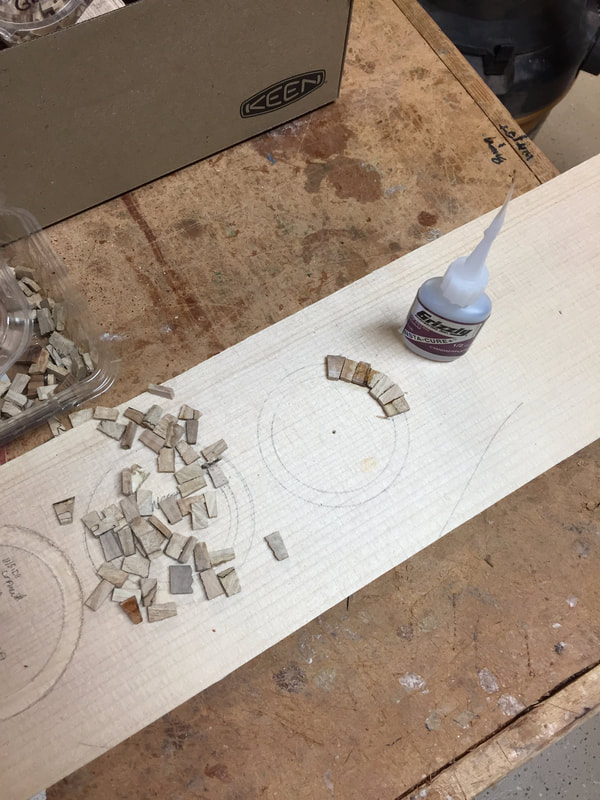
Here are the tiny pieces of spalted maple being glued over the traced rosette
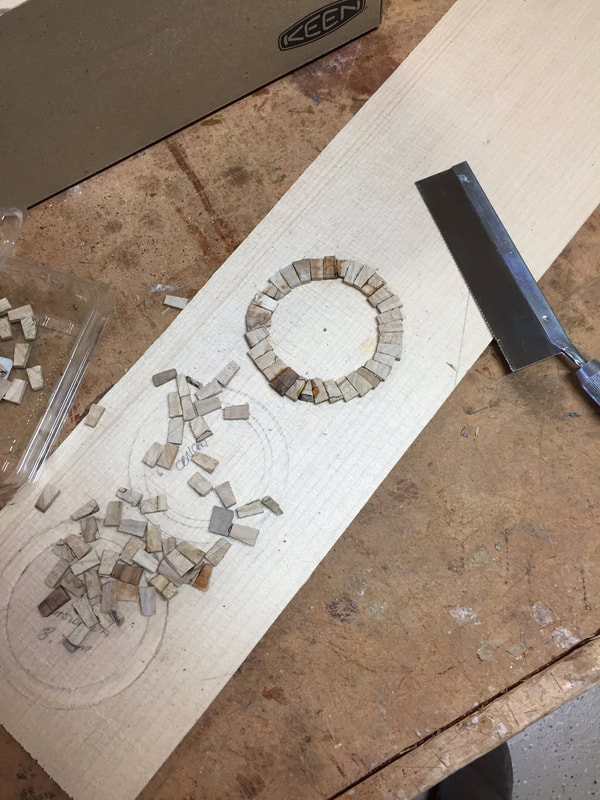
Here are the pieces all glued down. I will give that super-glue a while to harden up before I trim it into a perfect circle using the clever guide that works with a Dremel tool.
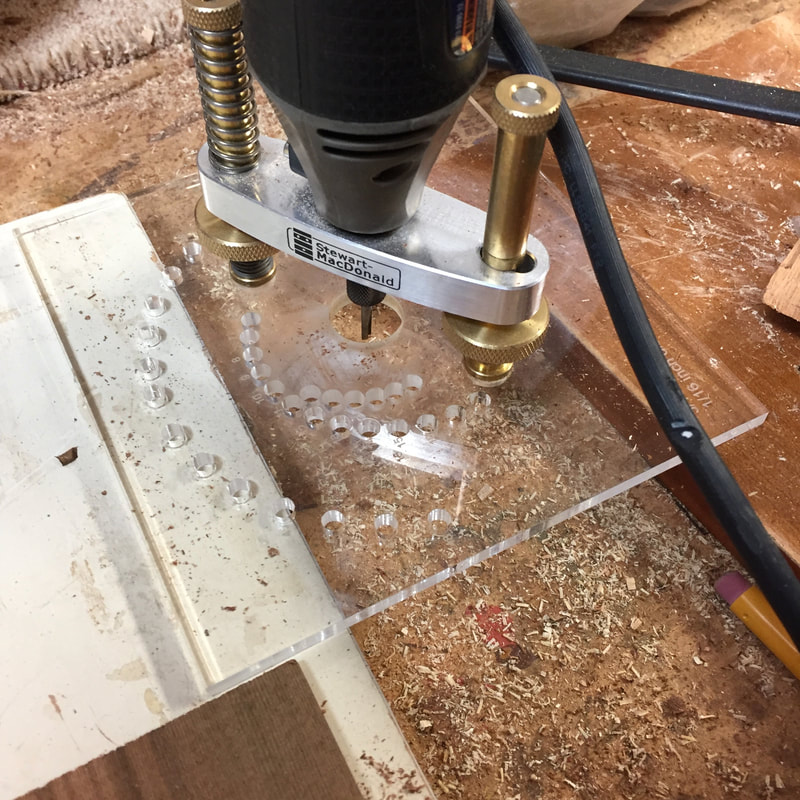
Here is the ingenious cutting guide that my friend invented. It screws to the Stewart MacDonald router guide for the Dremel. You pivot it on a 3/16ths pin. Each of the numbered holes changes the diameter of the cut by a 16th of an inch. I used an 8th inch bit. I Cut out the rosette and recorded the number of each hole used. Then cut the channel for the rosette in the new top making it one number larger than the rosette both inside the circle and out. The channel then was 1/16th larger then the rosette. By the way, Jon has sold the production rights to his invention to Stewart MacDonald who will produce and market it.
Good for you Jon. Jon makes ukes as Jupiter Ukuleles, google him.
Good for you Jon. Jon makes ukes as Jupiter Ukuleles, google him.
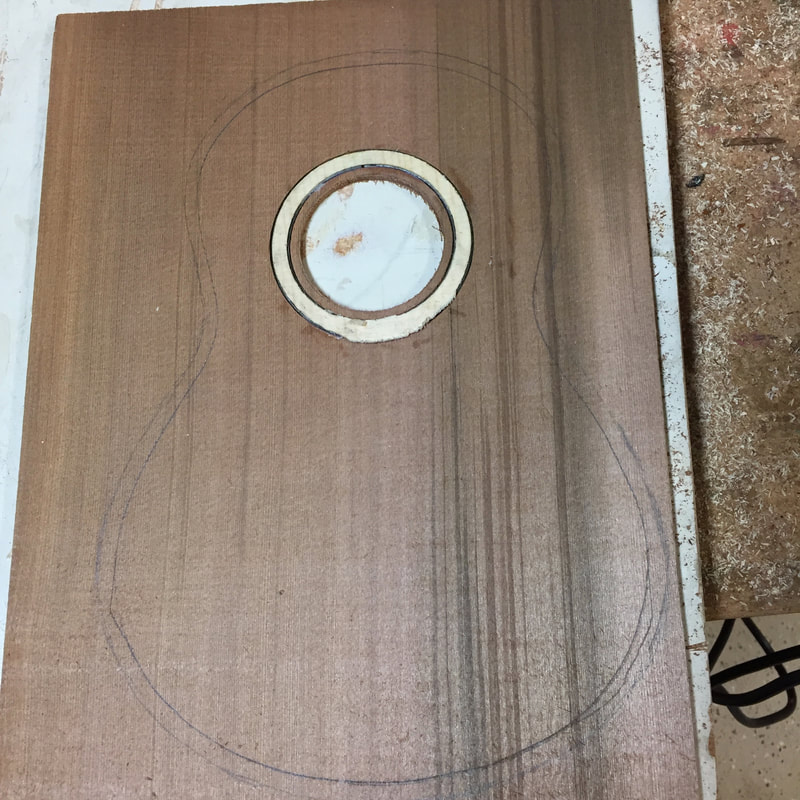
I selected purfling that was exactly 1/16th thick. I then glued the purfling around the inner and outer circumference of the rosette before trying to fit it into the channel. I lightly sanded the purfling, cleaned up the channel edges with a little sanding stick. ran a bead of glue around the channel, and slipped the rosette in. It fit perfectly. It could not have been a tighter fit. Tomorrow, when the glue is dry, I will run this through the thickness sander, sanding away the spruce backing of the rosette and taking the top down to a thickness of .o80. Then it will be ready for bracing and toners and the "Journey" will begin anew.
This is the before picture. I will show you the after picture tomorrow. It will be lovely.
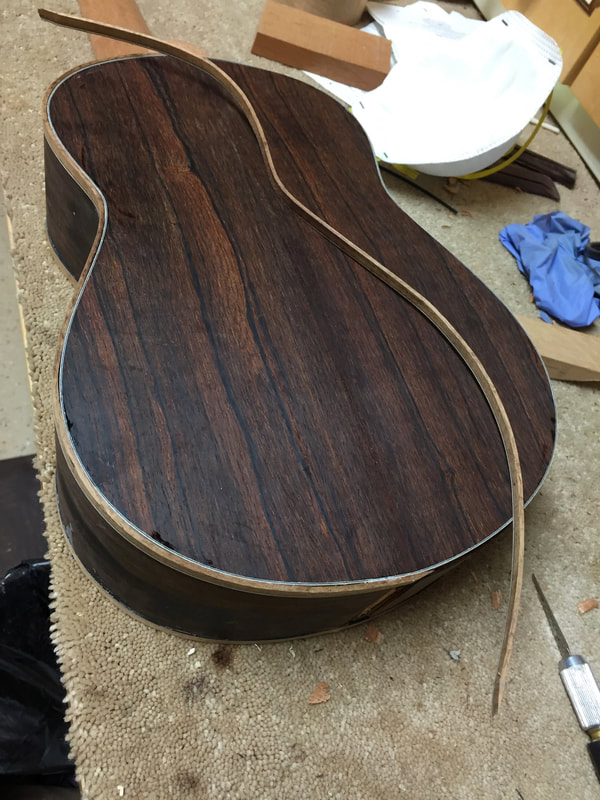
Now back to the Tenor, #98. I got the third binding piece on this morning, Now this evening it is time for the final piece of binding. I have carefully sized it, cut the end with a long slim taper to mate with the existing binding smoothly, and we are almost ready for the glue.
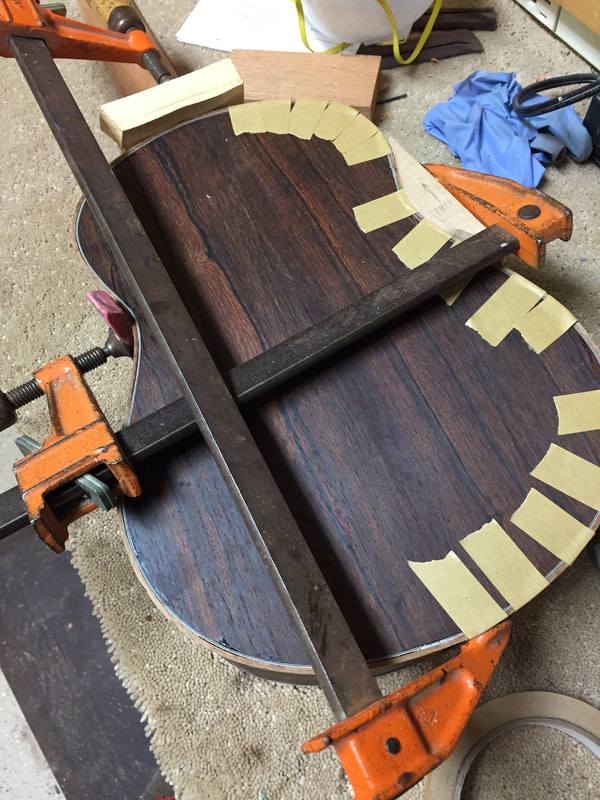
But first don't forget to get the binding tape ready. You want to do this quickly so the glue doesn't begin to dry up on you.
And here it is all glued up and in place. It is great to get to this point of the build. The basic structure is completed and now the refining work begins. The realm of the scraper and sandpaper and hours of pleasant work. Then pore filling and french polish. This tenor is coming along very nicely-and it is still available.
