Most acoustic instruments are made with backs and tone board tops made of two pieces of book matched wood glued together on the centerline. This build will be no different, and today I have begun the joining of the book matched halves.
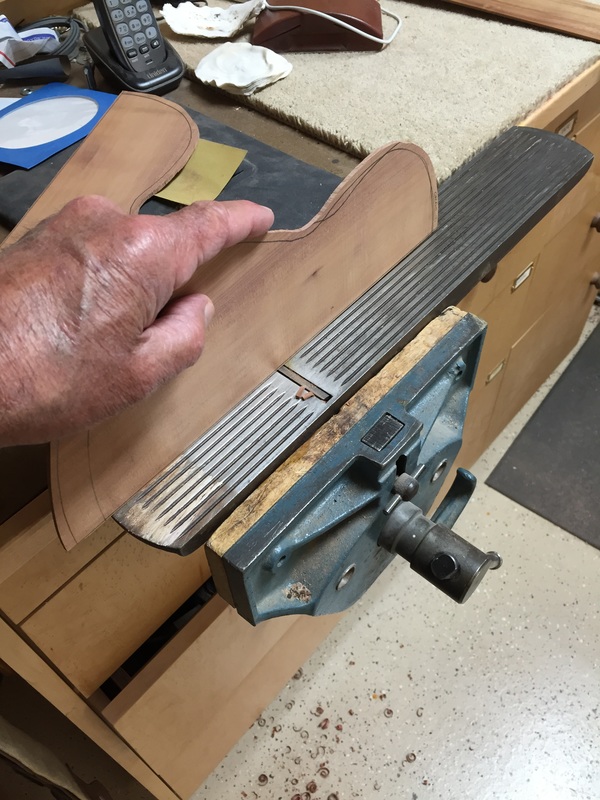
The first challenge is to get the edges to be joined perfectly straight. Here I begin with a simple use of an old plane. Clamping the plane upside down in the bench vise gives you an nice manual planer for small work and gets things almost perfect.
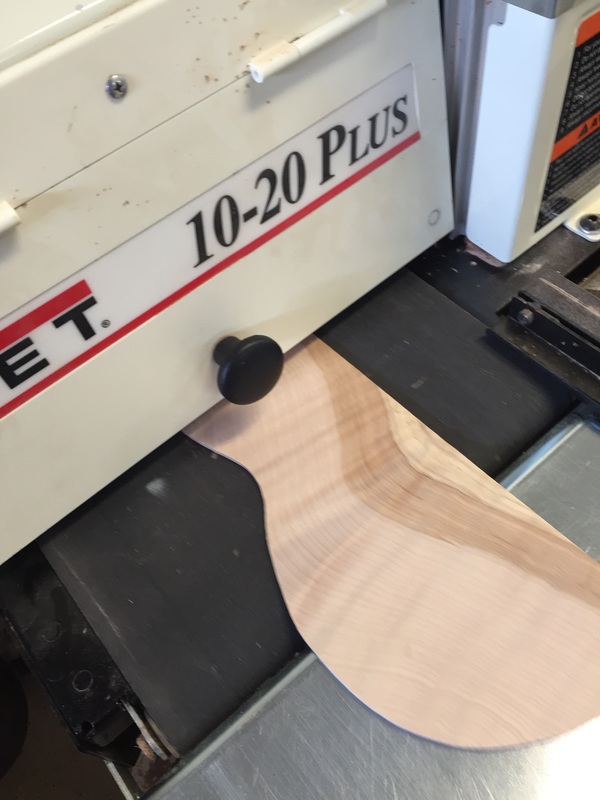
Next I want to thin the wood down to very close to its final thickness. I will finalise the thickness after I have them glued together. Here is half of this unusual figured maple back going through the thickness sander.
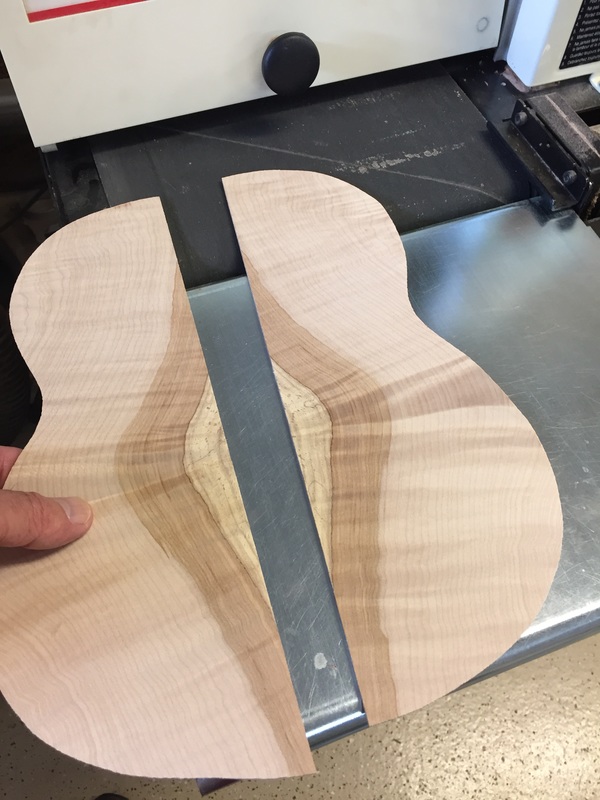
Here is another hint at what it will look like when joined. I have never had a piece of maple like this. I think it will be spectacular when finished.

And here is half of the east Indian rosewood being thinned down
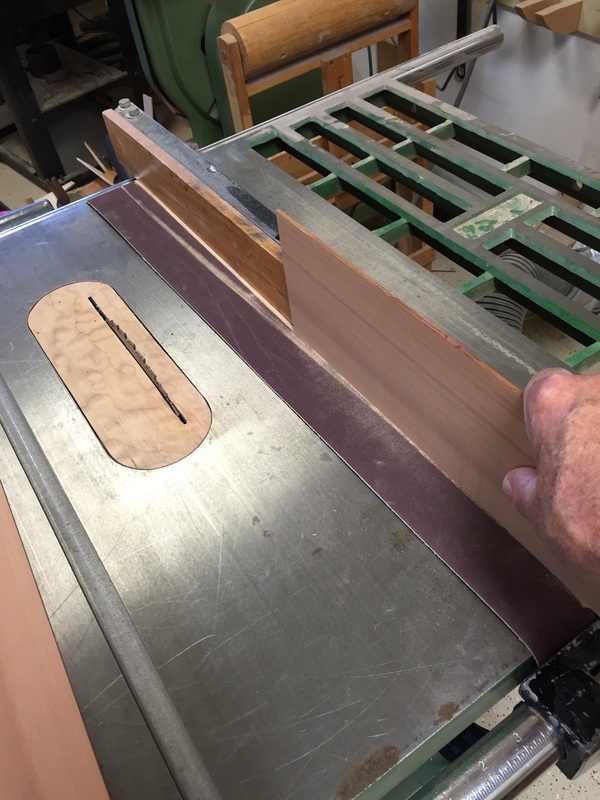
Now to perfect the joints I put a long strip of sand paper on the table saw and slide the rip fence over it both to hold it down and to provide a vertical surface to guide me. Then you run your pieces to be joined over the sand paper BEING SURE TO SAND IN ONLY ONE DIRECTION !. When you can hold the two edges up to a light and see no light between them you are ready to glue.
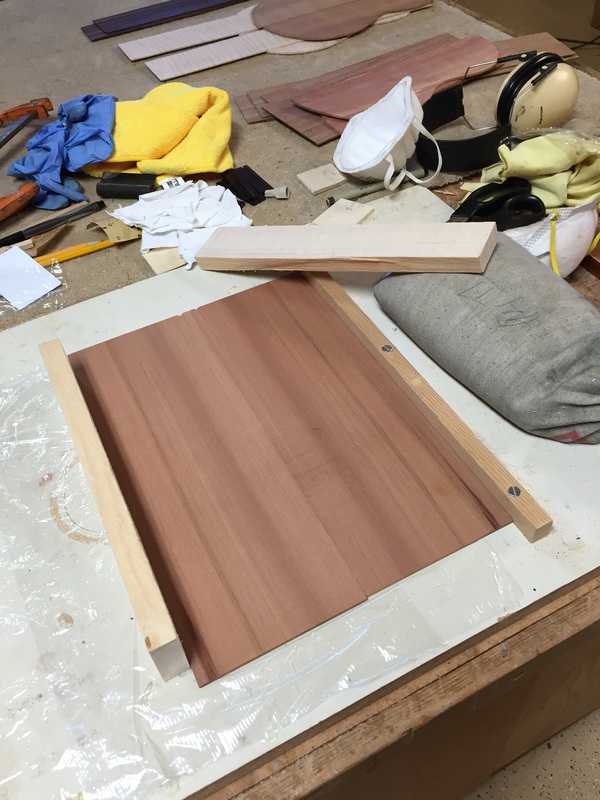
Here in the gluing press the two pieces are laid over a piece of saran wrap so they won't be glued to the board beneath. I have a straight board on the left ready to apply the clamping pressure, and a heavy bag of lead shot to keep the boards flat when the clamps are tightened. Now put another piece of saran wrap on top, the spruce board on top of the joint and the lead bag on top of all to hold it down.

Now tighten the clamps and in a couple of hours you will have a perfectly joined redwood tone board ready to saw to shape and install a rosette in. But that comes a bit later. Stay tuned.
