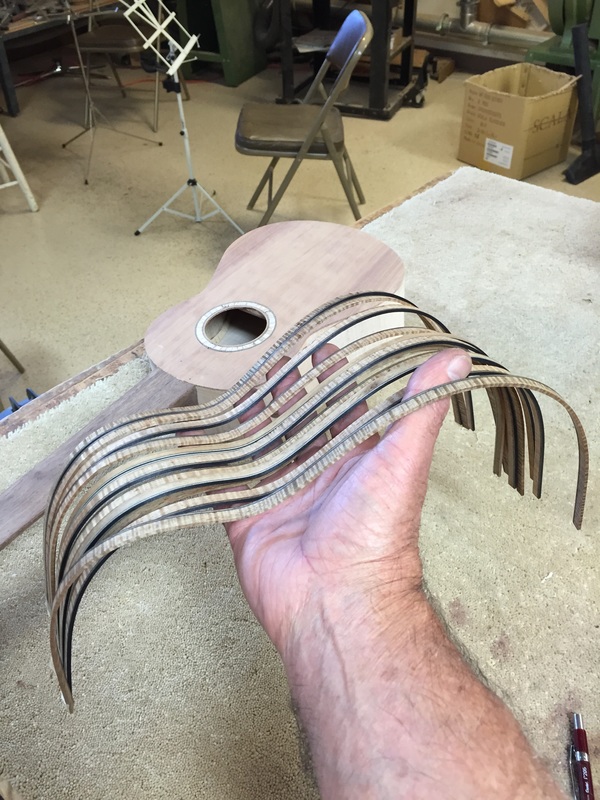
THE NEXT MAJOR TASK is bending the bindings. These thin narrow strips must be bent to perfectly conform with the bend of the sides or you will have ugly gaps that will be visible and embarrassing. The perfect bend was achieved today.
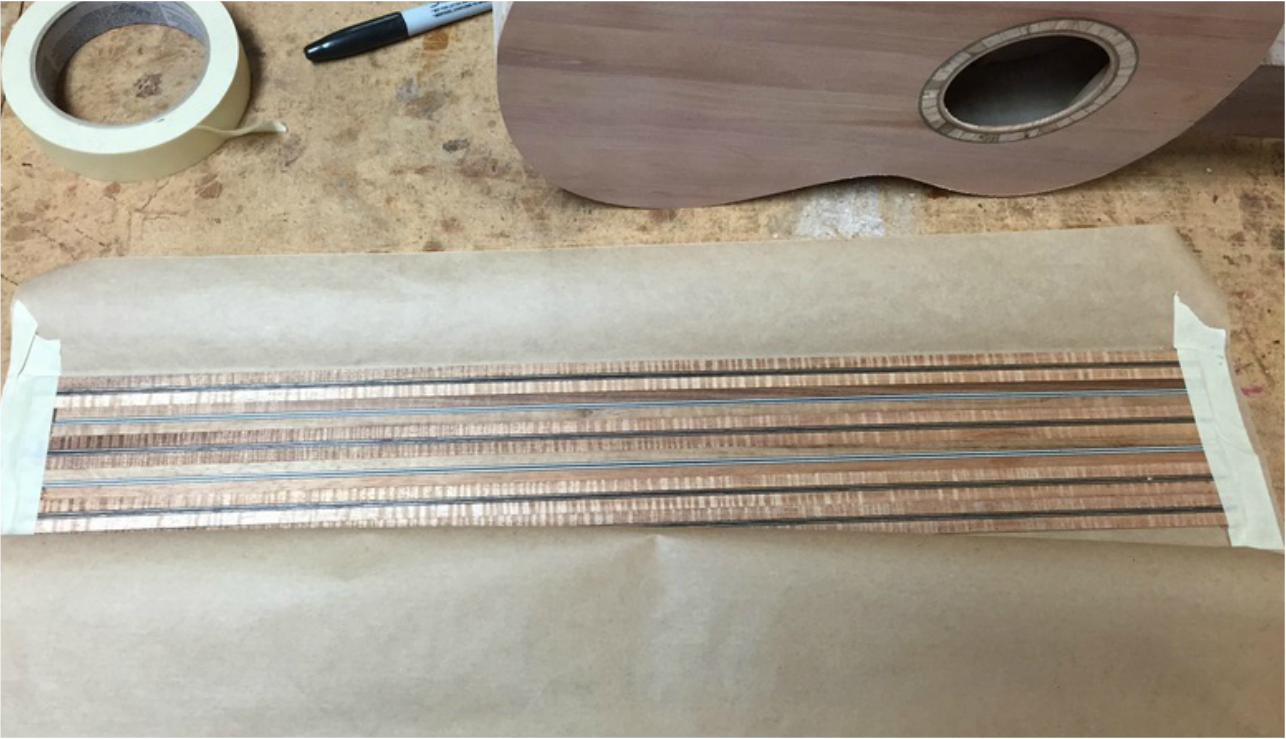
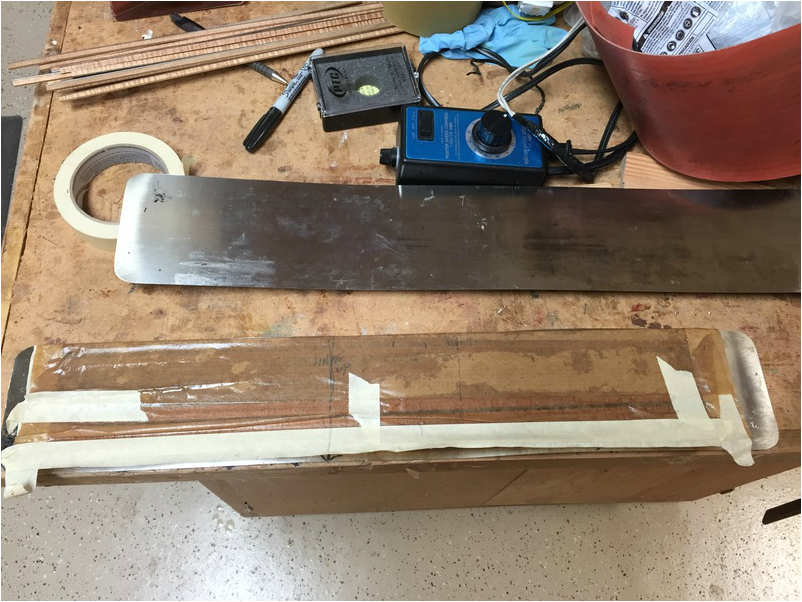
I began by lining up all 12 pieces cut to the proper length on a piece of paper and taping them down. lower edge to lower edge so that I would have a perfect pair on both the top and the bottom of the uke. Fold the paper over the wood and tape it in place.
Here is the package, holding the bindings arranged side by side. It is now ready to be thoroughly wetted down by holding it under the faucet.
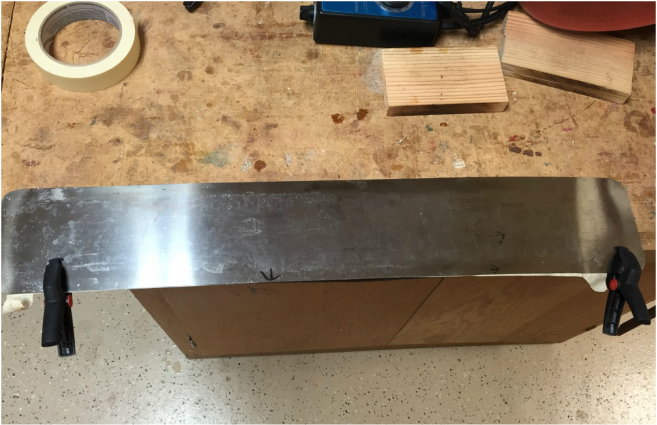
Now the wet package is set on a steel bending sheet, the heat blanket placed over it and another steel sheet put on top of that. Clamp this all together and you have your bending sandwich.
Note the arrow on the steel. That is placed four inches back from the waist line in the mold. It is very important to keep track of where you are bending or you might not have a usable piece.
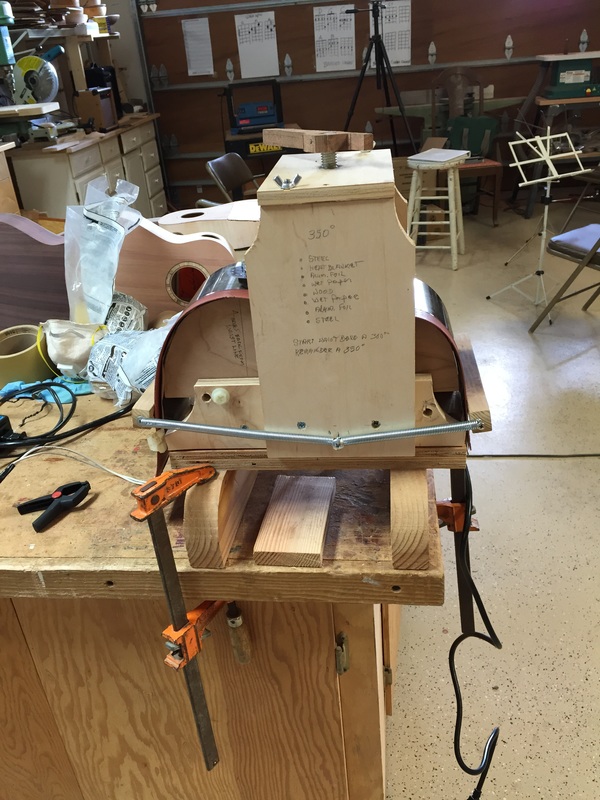
Now into the bender. Bend the waist when the temp hits 300. then bend down the sides slowly, clamp them down and let the whole thing cool down. Give it an hour and then undo everything to see what you have got.
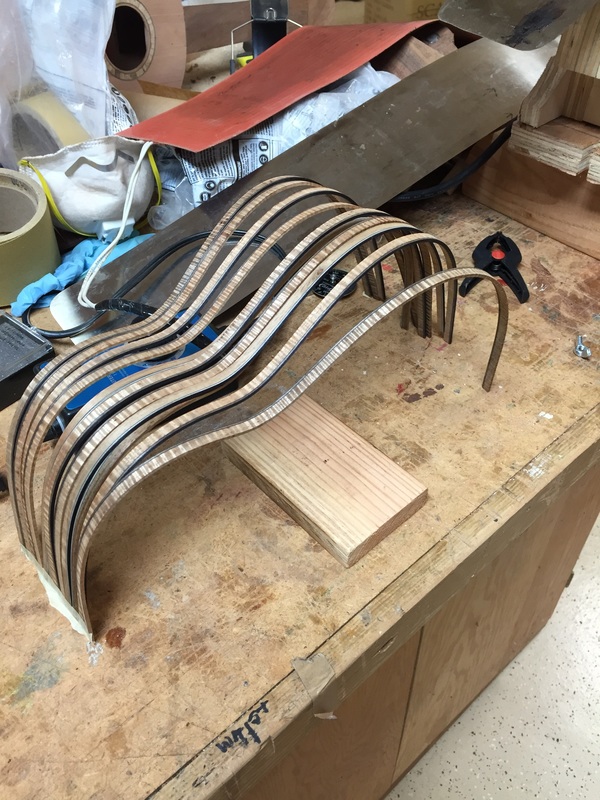
Ah ! Sweet Success. Every one of the twelve perfect. and all bent at one time.
Here they are again, ready to install. I guess the next task is to get the laminate cutter out an route out the recesses for the bindings and purfling.
