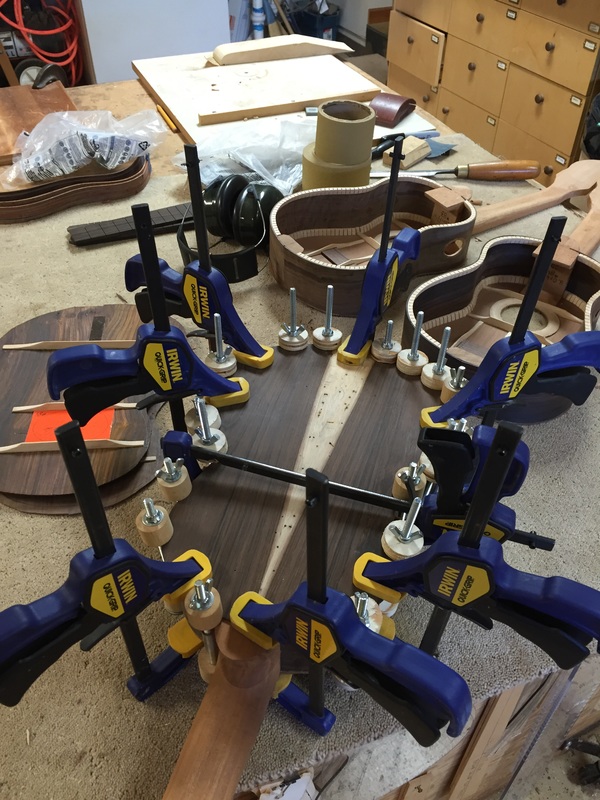
Here it is, the Brazilian with the "skunk stripe" glued and all clamped up. All these clamps are necessary as their is a lot of tension built into the back. It curves considerably front to back. The back fit nicely on this uke, just a little carving to fit the braces in amongst the tentalones. It is always fun to get to this stage.
 |  |
But before getting to the boxing up stage shown above, I had to finish all the side ports. Here is a sanding idea.
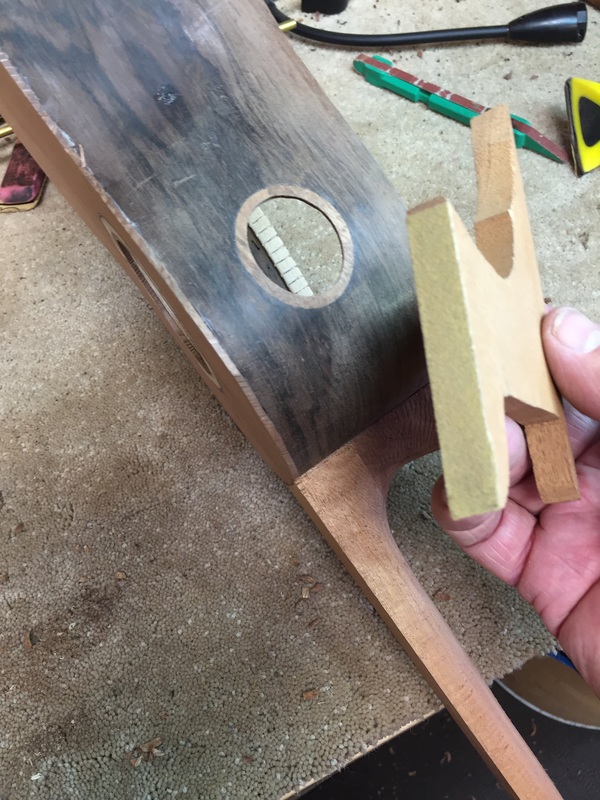
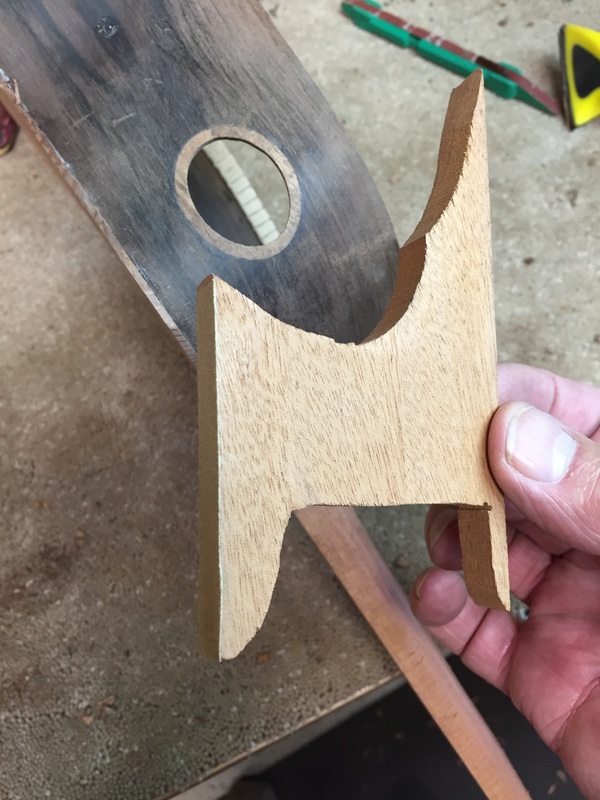
If you buy rolls of stick on sandpaper you can make sanding devices of any size or shape. Here is a scrap of wood from my scrap box with a narrow strip of 80 grit paper stuck to it's edge. I needed to sand around the edge of this Side Sound Port. This thin shape was just what I needed. I also had a convenient handle to hang on to.
If you buy rolls of stick on sandpaper you can make sanding devices of any size or shape. Here is a scrap of wood from my scrap box with a narrow strip of 80 grit paper stuck to it's edge. I needed to sand around the edge of this Side Sound Port. This thin shape was just what I needed. I also had a convenient handle to hang on to.
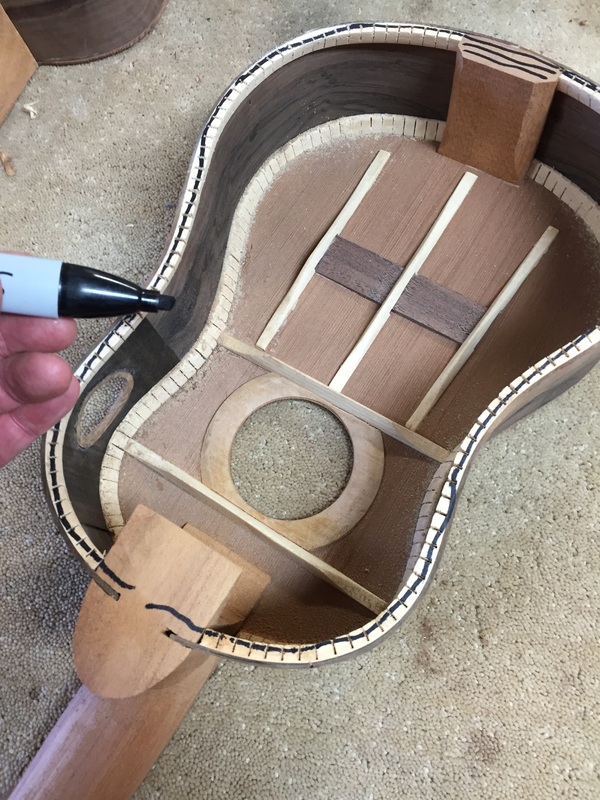
The body must be perfectly flat to accept the back without any gaps. The way to do that is to mark the gluing area with a marker pen and then sand with a flat sanding device until those marks disappear. So here it is with the marks just applied
this photo shows the results of sanding with the long sanding block with 80 grit paper. The marks are gone on some of the sides but there needs to be more sanding at the end of the instrument. Since the sanding block spans both sides when the marks are gone the gluing surface will be perfectly flat and ready to glue.
