IT IS TIME TO INSTALL THE PEGHED TUNERS. THE FIRST STEP IS DRILLING A HOLE LARGE ENOUGH TO INSERT A TAPERED AUGER
 I have found that a step drill bit made for cutting holes in metal, works better than normal drill bits. It cuts a hole without tearing out on the down side. I drill the top side first and when the bit penetrates the stock I turn it over and finish from the underside. I get very little tear-out that way. | 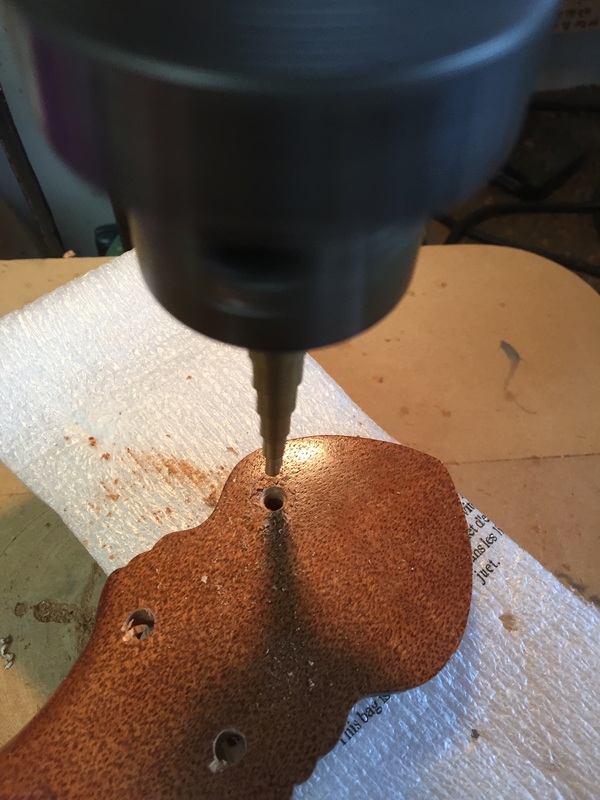 |
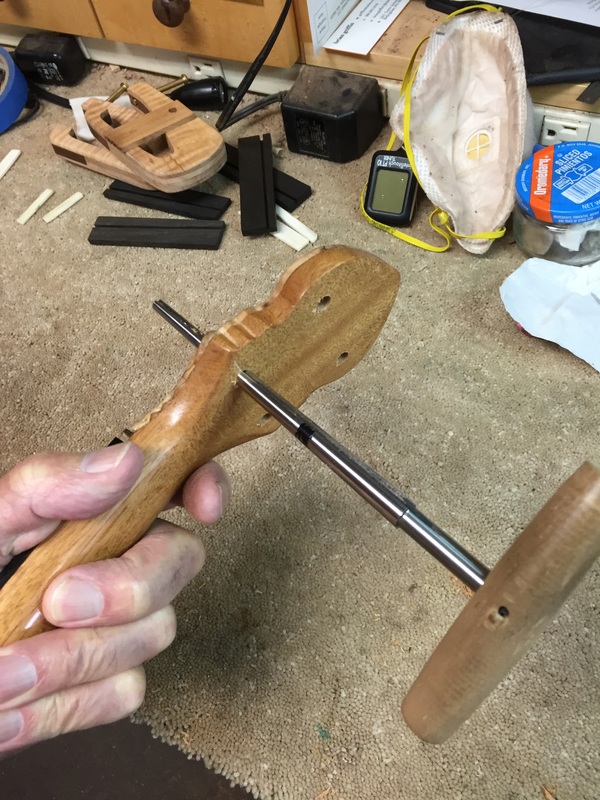
Now it is time for the auger. Be very careful that you don't auger too large a hole. Notice the black mark on the tool. I stop before I get that deep and test each tuner. They can vary in width a tiny fraction and you must get a tight fit. Test, and twist-Test and twist- go very slowly in the final cuts.
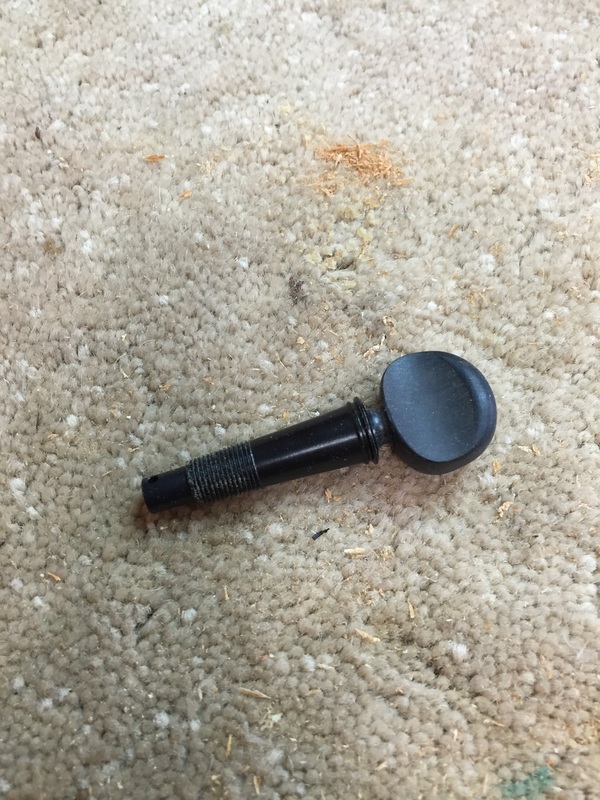 | 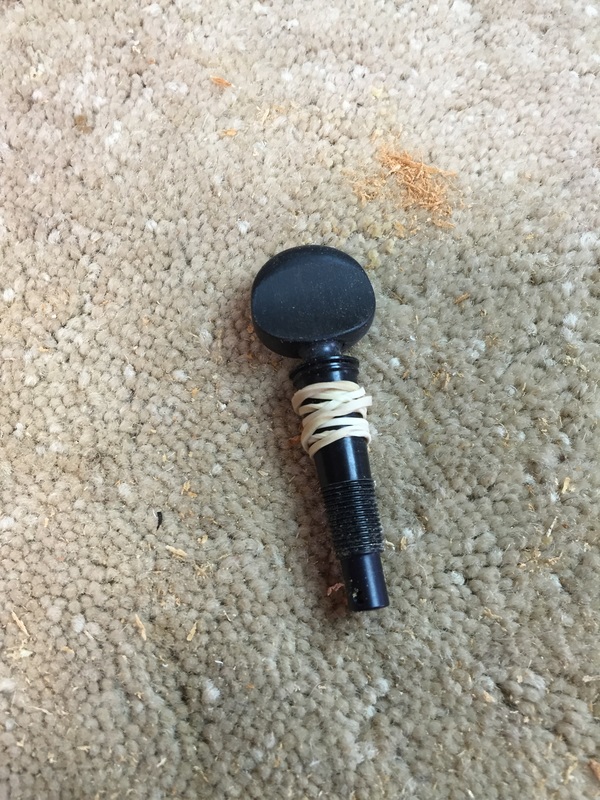 |
Here is the Peghed tuner. Invented by a professional cello player on the East Coast who tired of the problems with traditional ebony peg tuners but wanted to retain the look. These are modern geared tuners offering a 4/1 tuning ratio, stainless planetary gears, anodized aluminum body and plastic knobs. I use them for all my instruments and have had great experience with them. I notice that Chuck Moore, the legendary luthier who builds Moore Bettah ukuleles, perhaps the best Uke builder there is, uses these tuners. They self thread into the tapered hole made by the auger. On the right is a little trick I have learned. If you wrap a small rubber band around them it is much easier to thread them into the hole tightly.
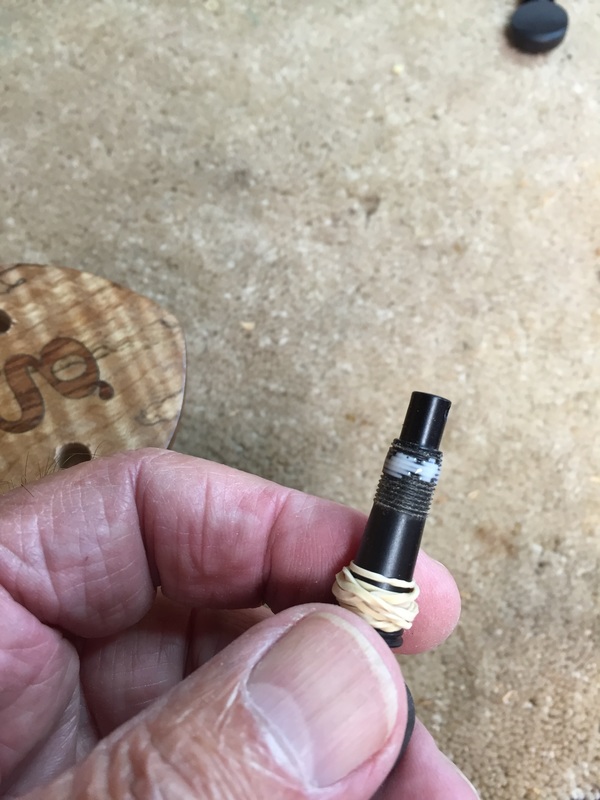
Once you have threaded it into the hole tightly and at the proper depth, back it out and add a tiny amount of glue, then screw it back into the hole and you are done.
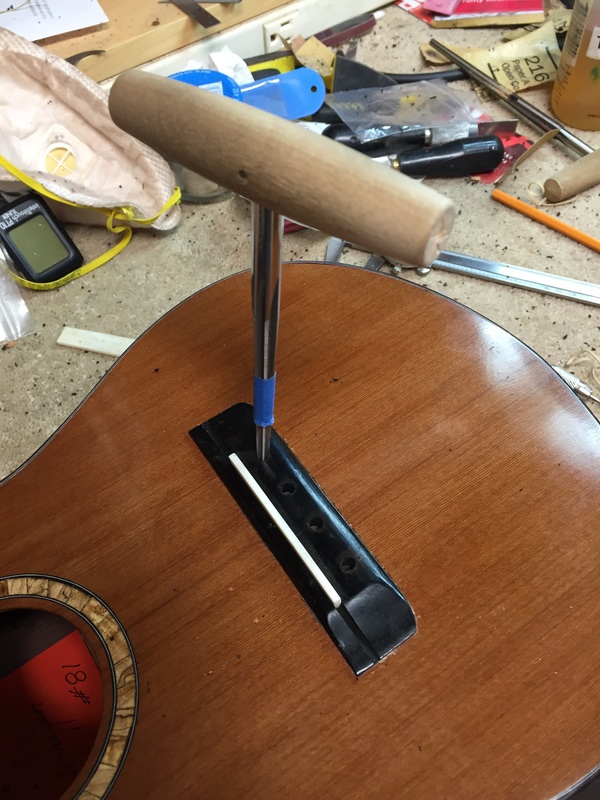 Now at the other end of the string, you must prepare for the string pin, I used to just drill a hole for the string here, but I have changed to pins. I like the looks and I like the ease of changing strings. This is another tapered auger, The trick is determining where to drill the hole. Be very careful here. The strings must be in the correct position on the fretboard and that is determined by where you drill this hole. | 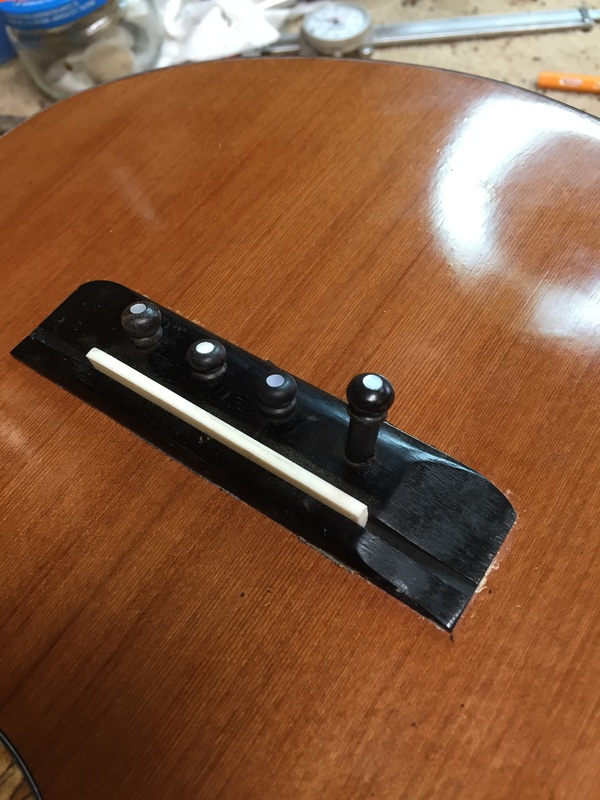 Here are the string pins, three in position, one still being installed. Be very careful with the auger. A tiny twist and the pin sets deeper. The pin must not be loose. It wants to be snug and tight. Beware, the pins will be of different sizes by a tiny bit. Seat each one individually. When seated, with a tiny Exacto saw I cut a small groove in the center edge to accept the string. |
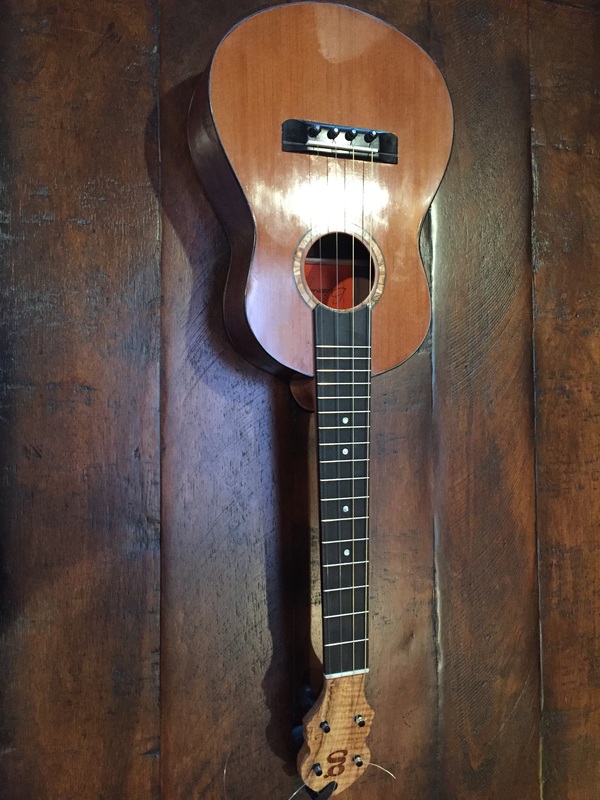
Finally you can string it up. I got two of them strung up today. More about that tomorrow. Stay tuned.
