Once the bindings are bent you must prepare the instrument where the neck joins the body.
 trim sawing the back piece overhang | 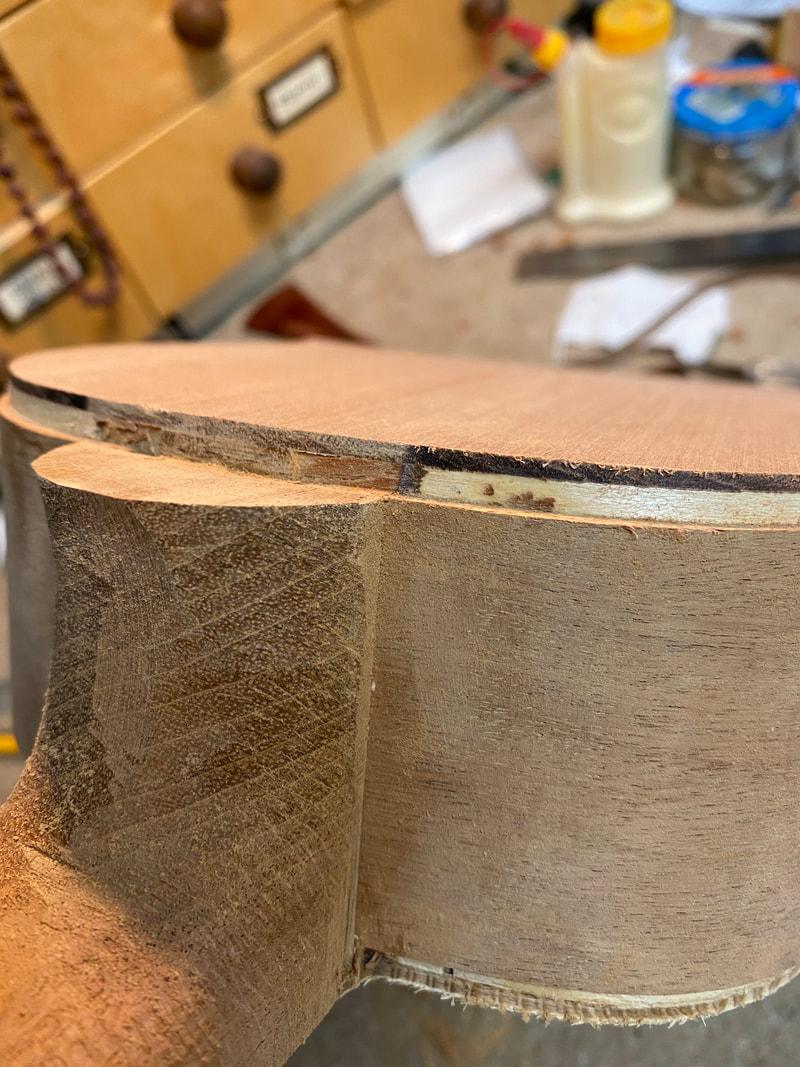 With chisel, the ledge for the heel cap is cut |
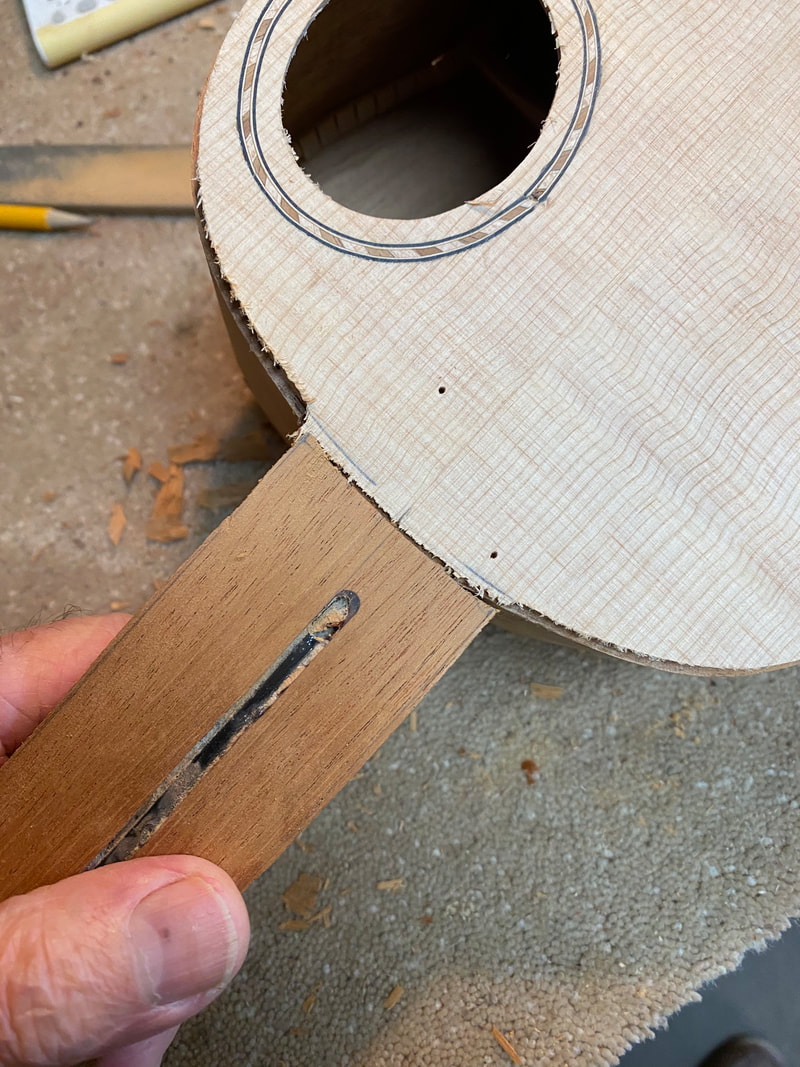 | 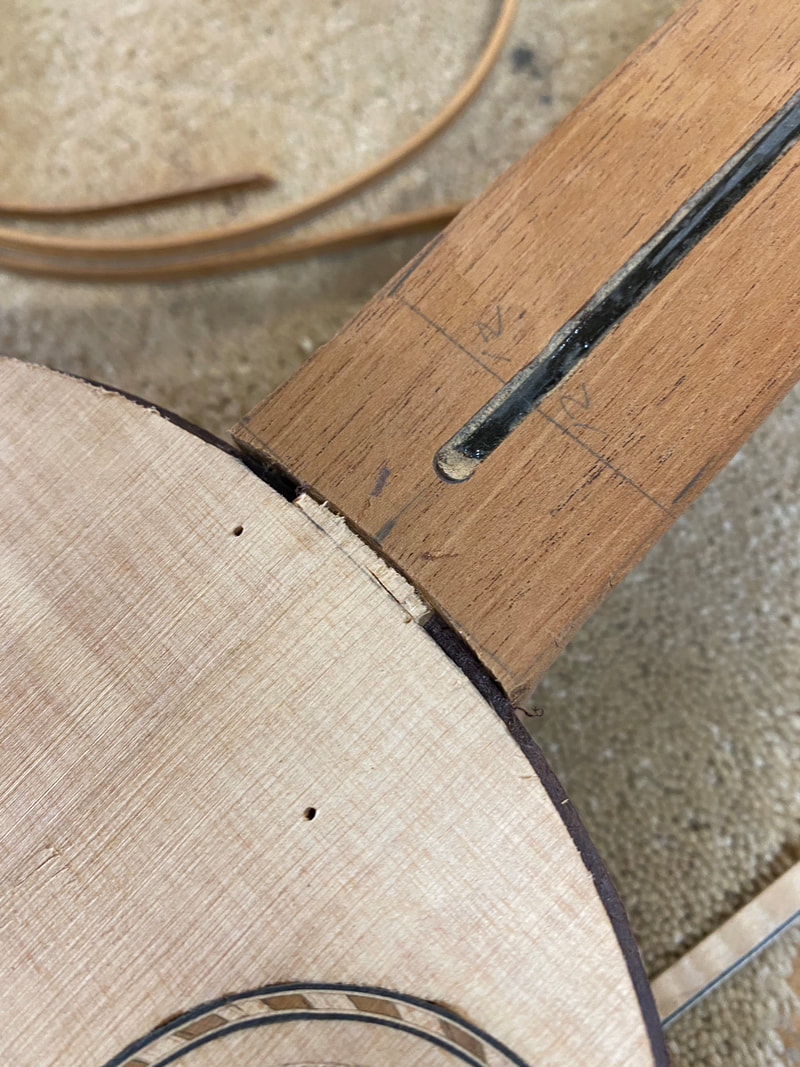 |
slots to accept the ends of the bindings are cut on the top side.
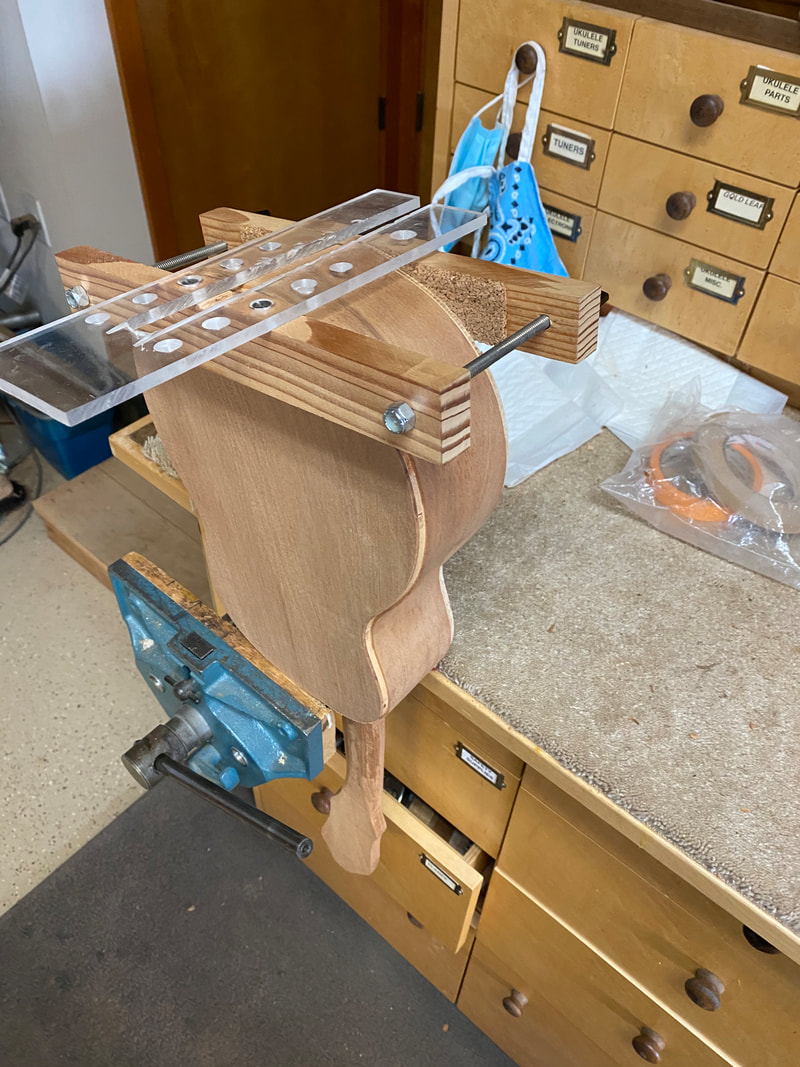 | 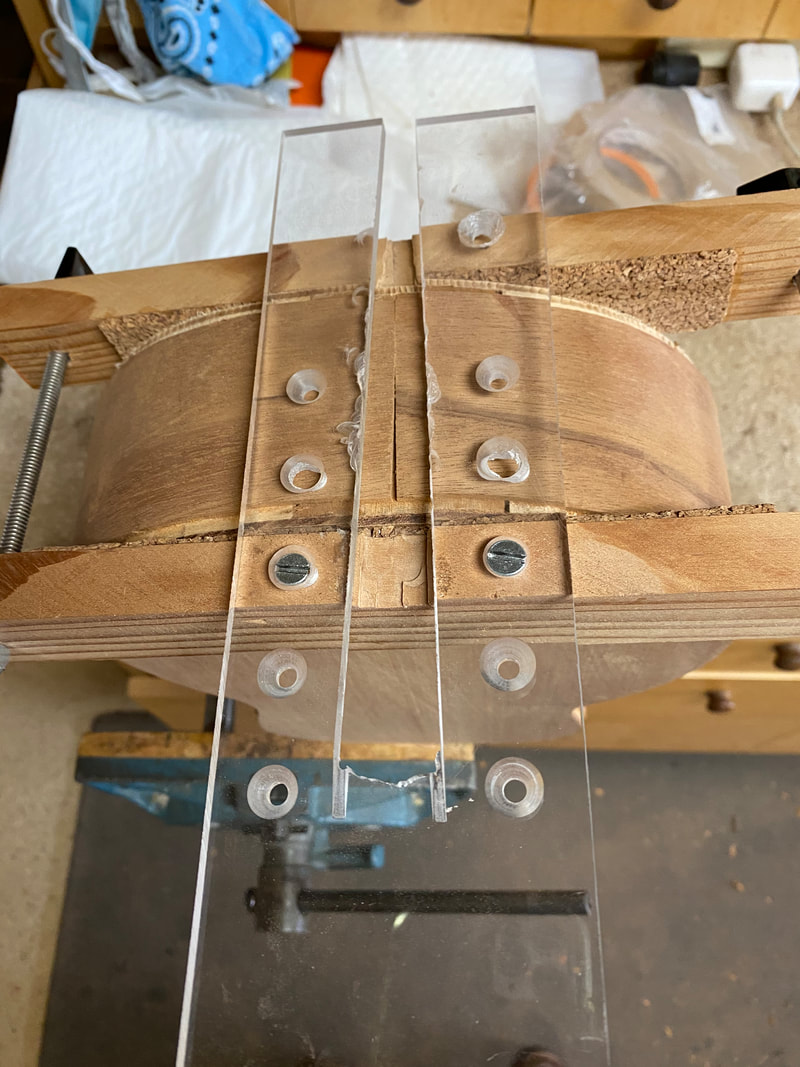 |
the slot for the end piece must also be cut now. This rig guides the router.
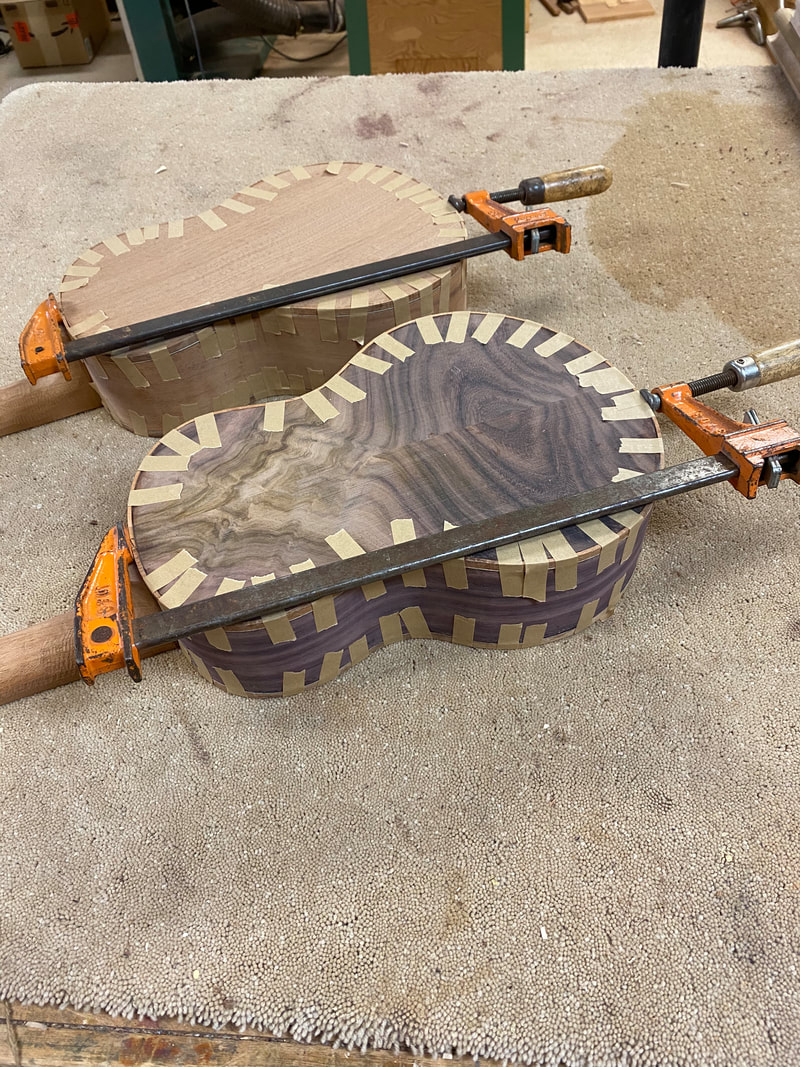
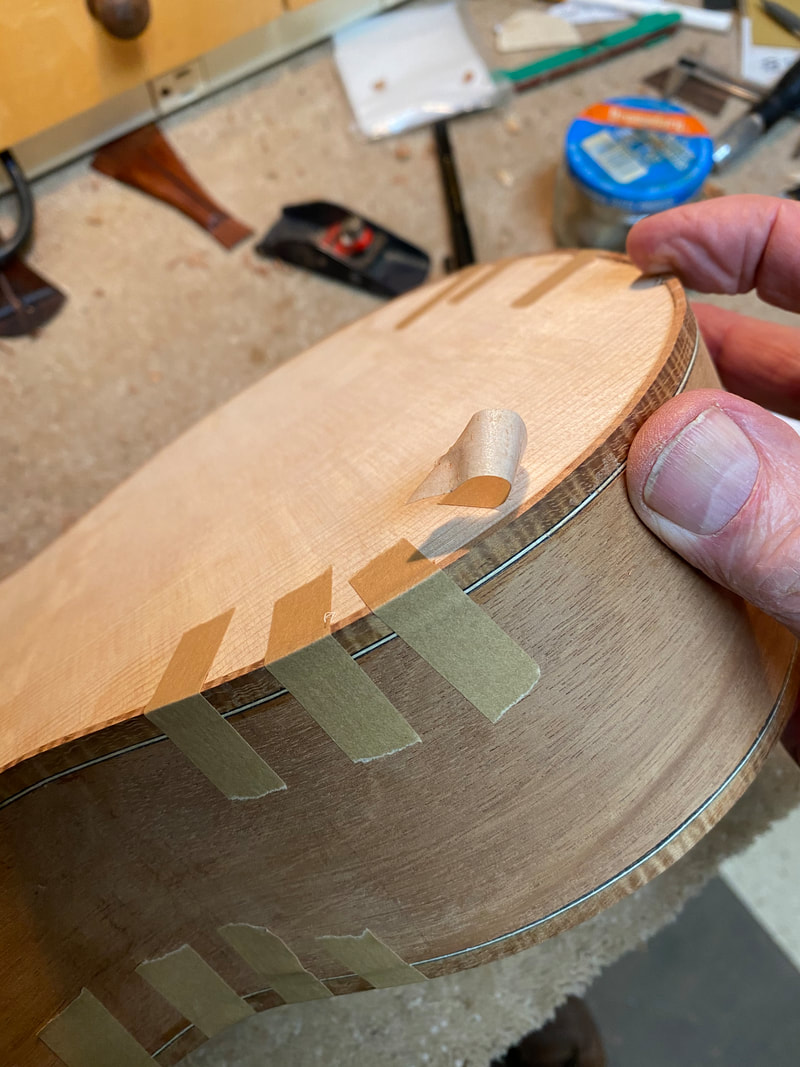
Finally glue is applied to the bindings and they are held in place by lots of tacky tape.
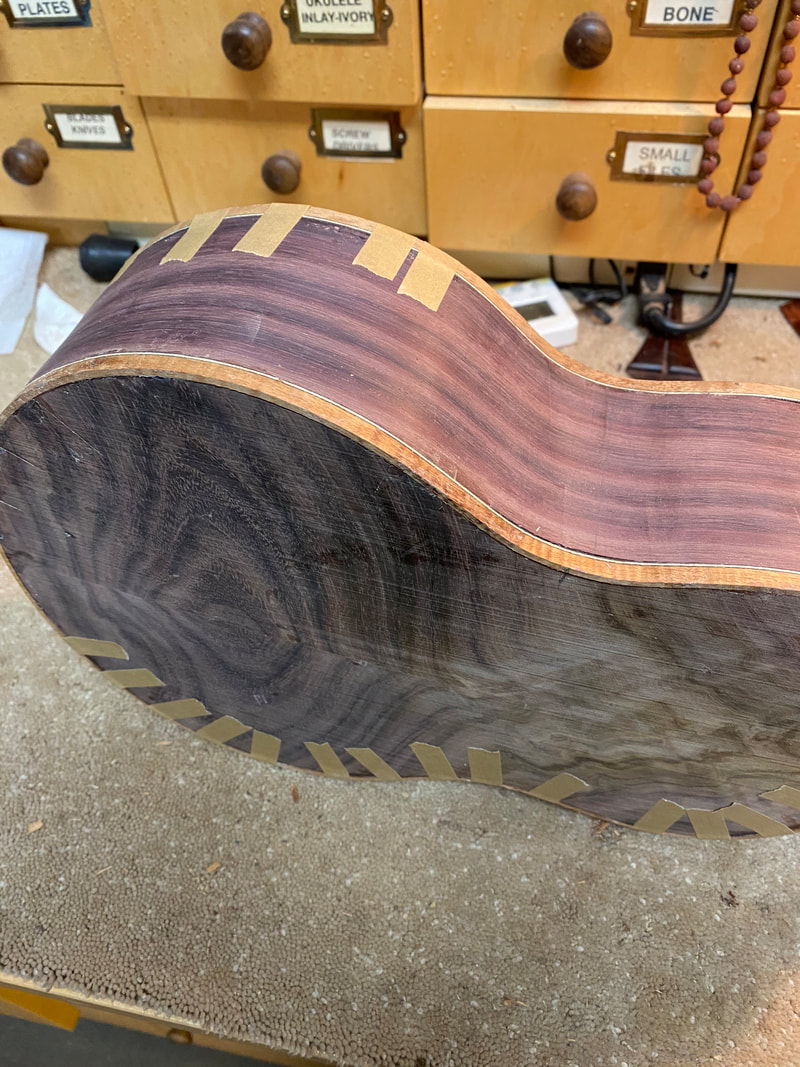 |  | 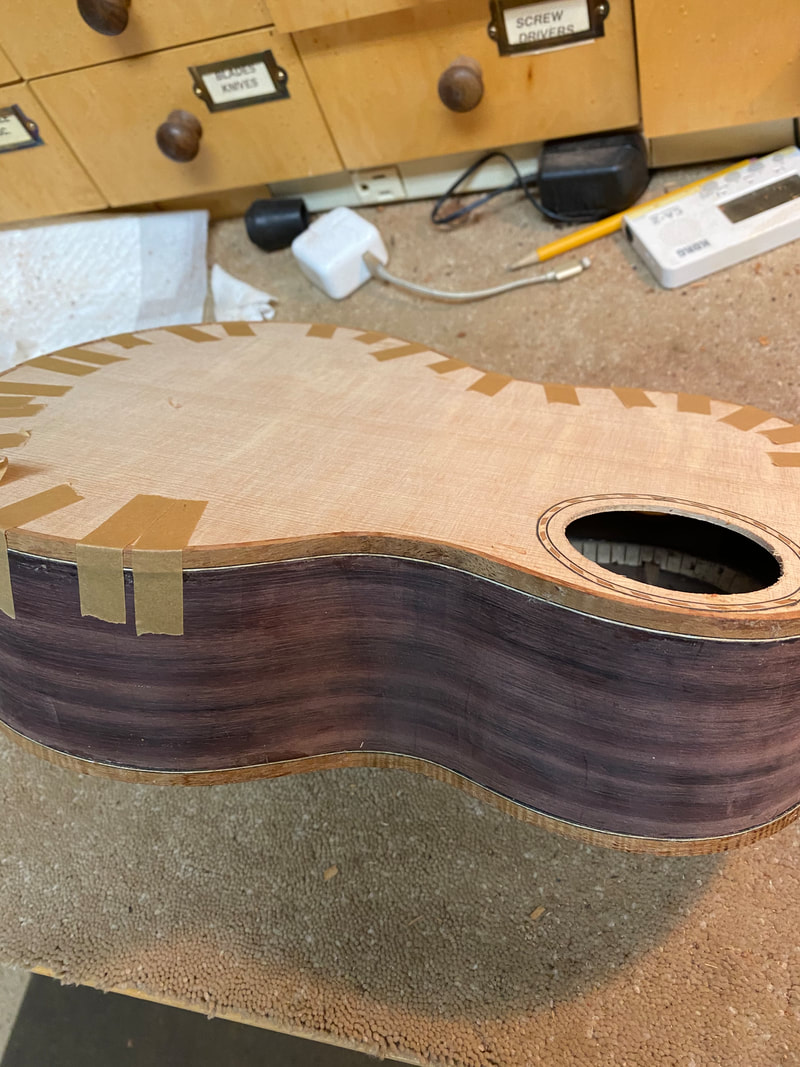 |
And after a couple of hours the glue has set and the tape can be removed to give you a look and a hint at what the finished instrument will look like.
