If the binding does not look good, the instrument never will. Today I finished the bindings. They will look good.
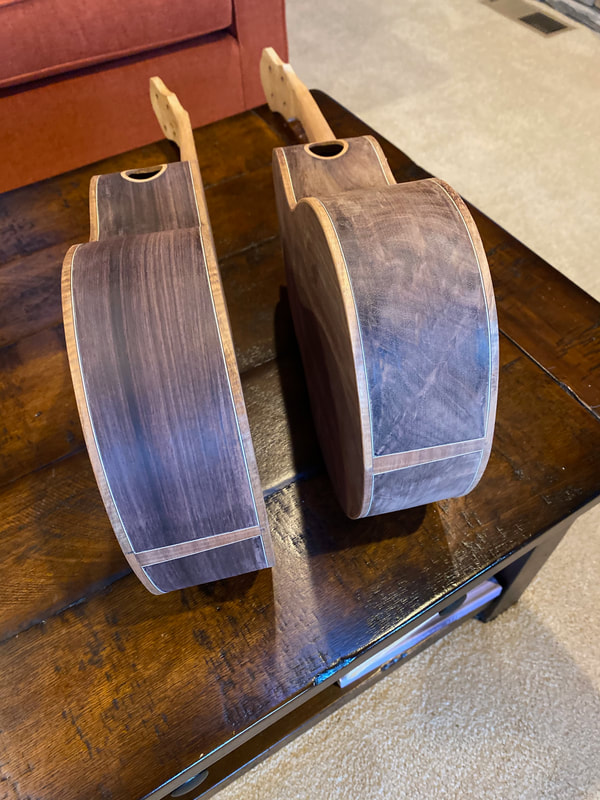
Here is how we got there.
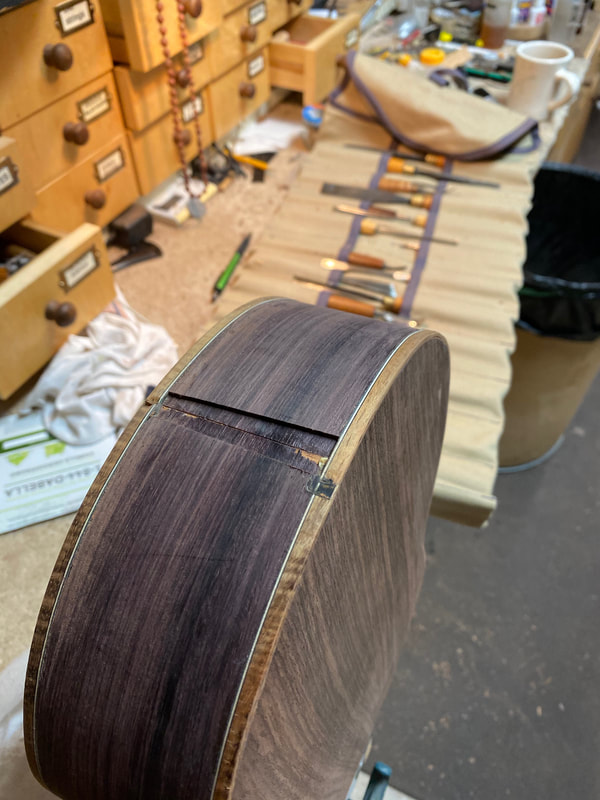
The grooves are cut with the router, all around the body, and don't forget the end piece. Binding is bent to fit on the hot plate and glued on. now it is time for the end piece.
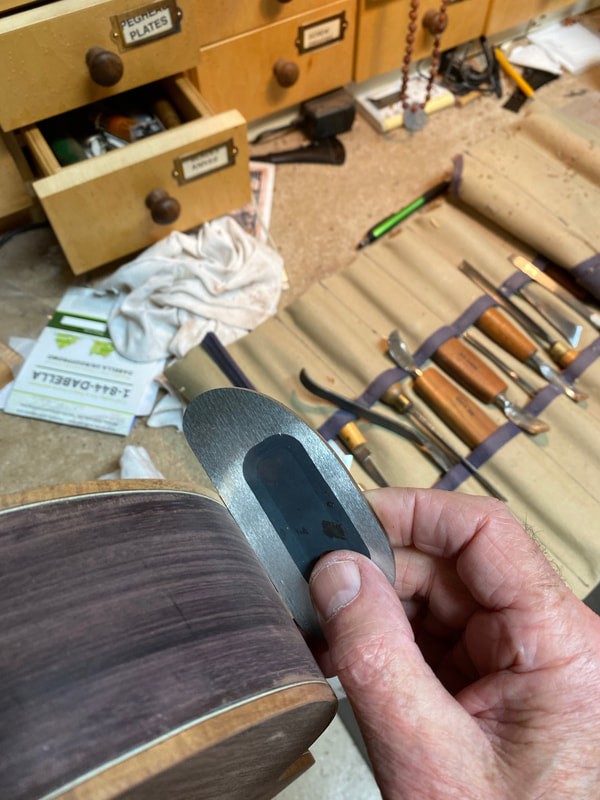
But first you must scrape the binding down flush with this scraper.
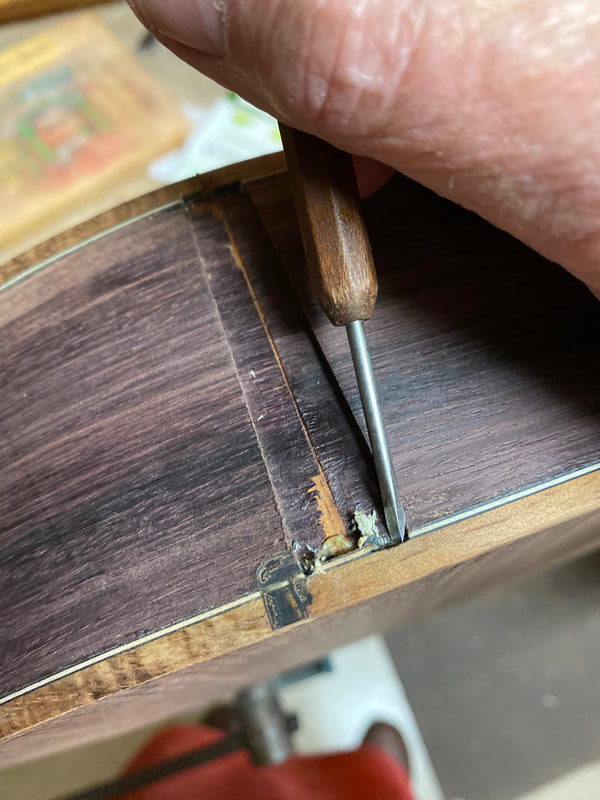
Then cut away the purfling at the ends of the end piece and
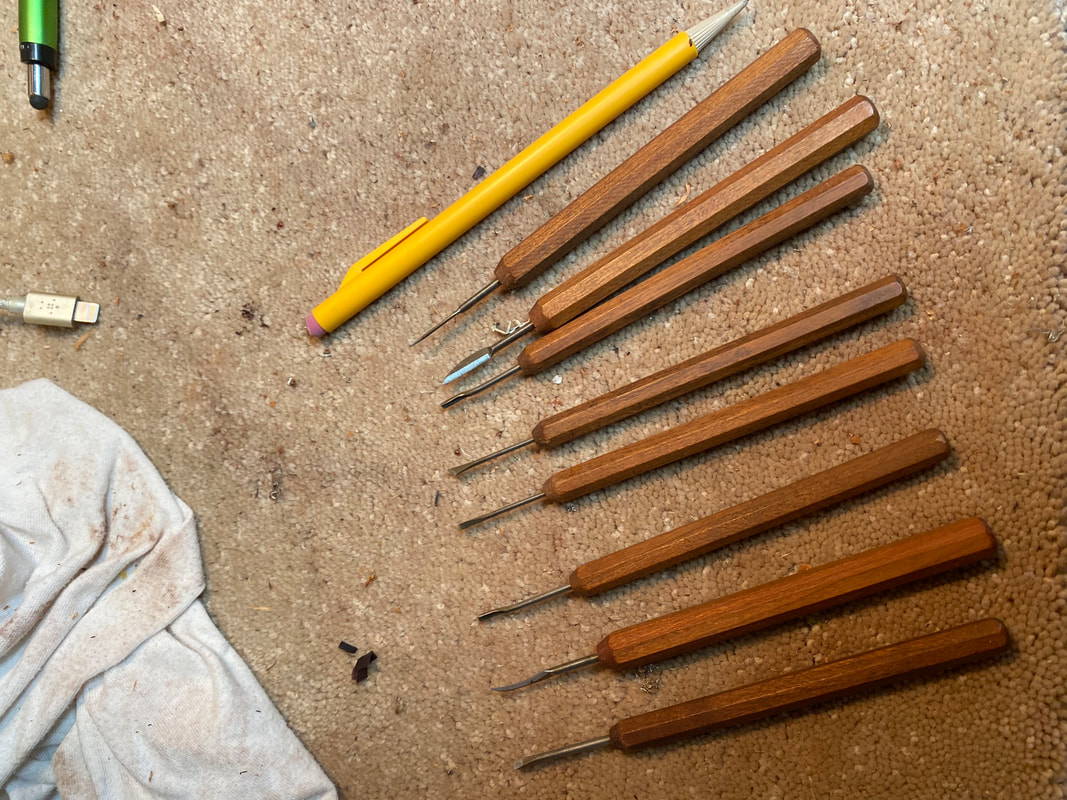
do it with these tiny little chisels and knives. A luthier cannot have too many tools.
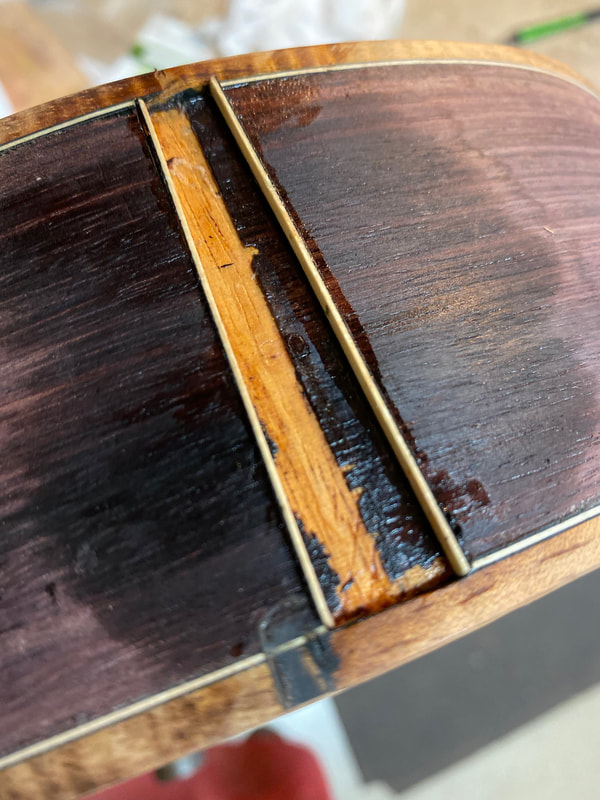
Now you place strips of black and white purfling along the sides of the cut and glue them in with super glue. The wet stain you see is the catalyzer to set the superglue instantly.
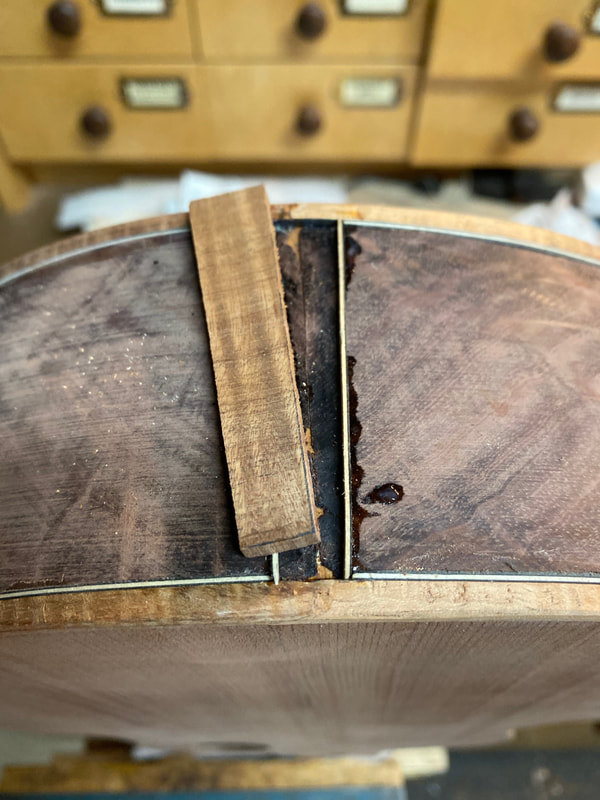 1. next select a matching scrap. I chose Koa, and cut it close to size 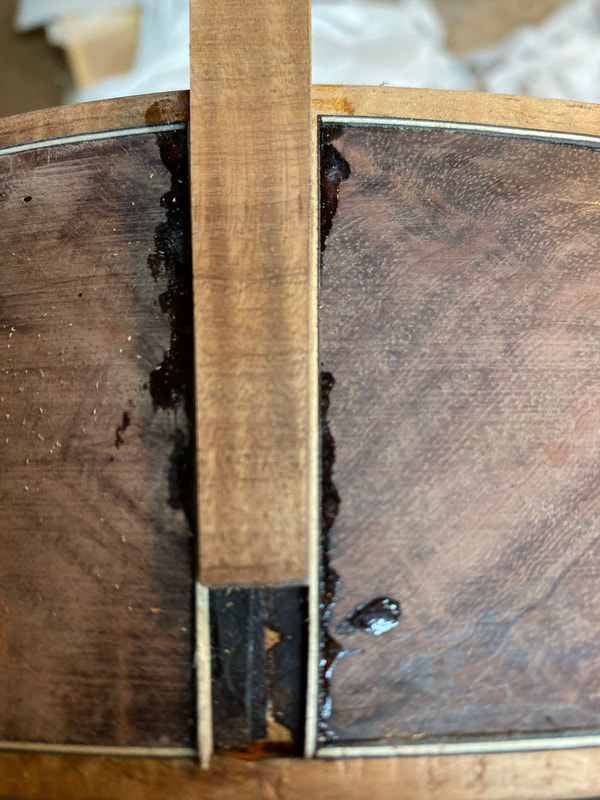 3. It is getting close now. the end will slip this far down the slot. 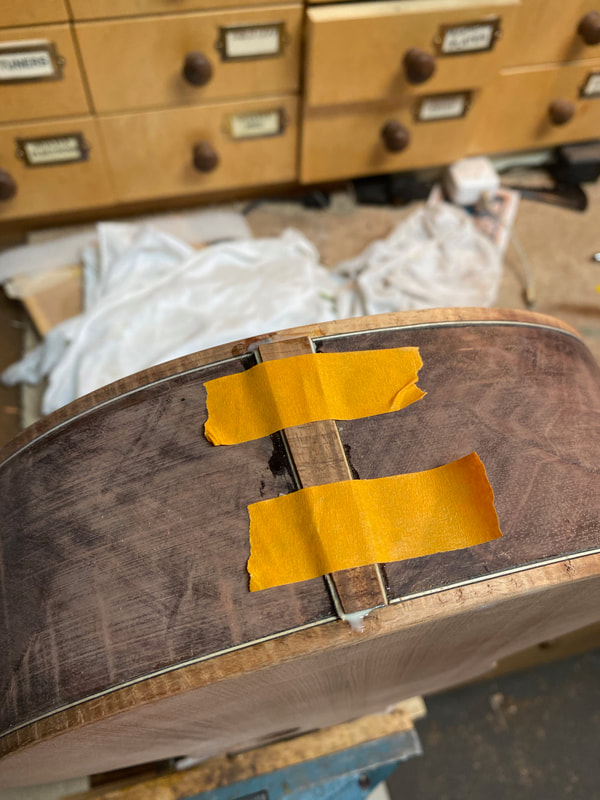 6. Slop a little white glue in there and tape it down. | 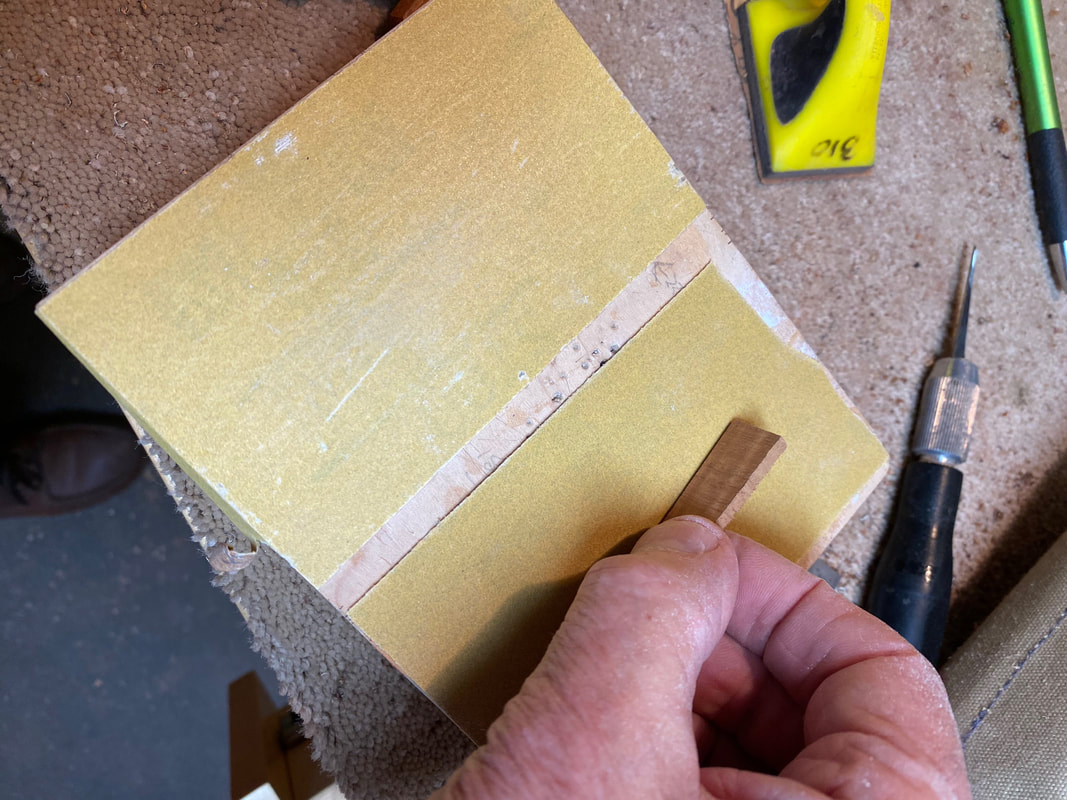 2. Then with 180 grit paper, sand it down til it fits. 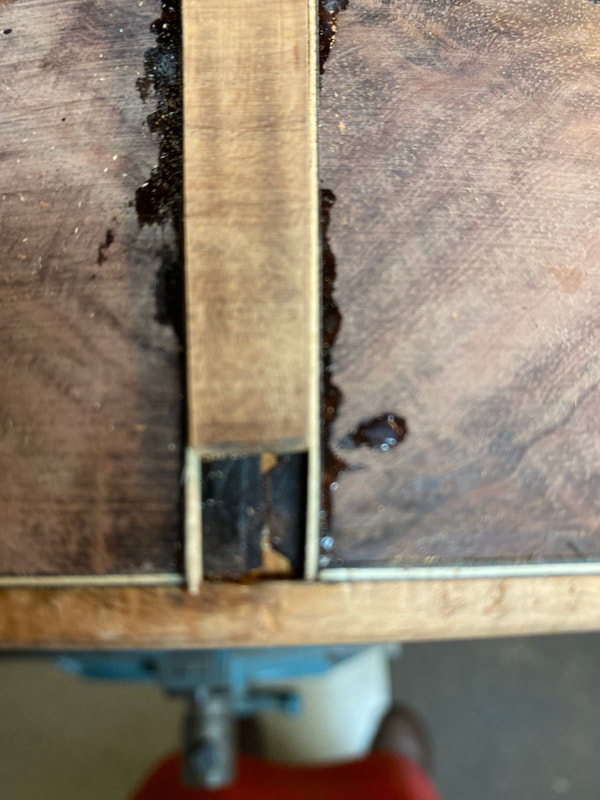 4. Now it slips down farther, but back to the sanding block. 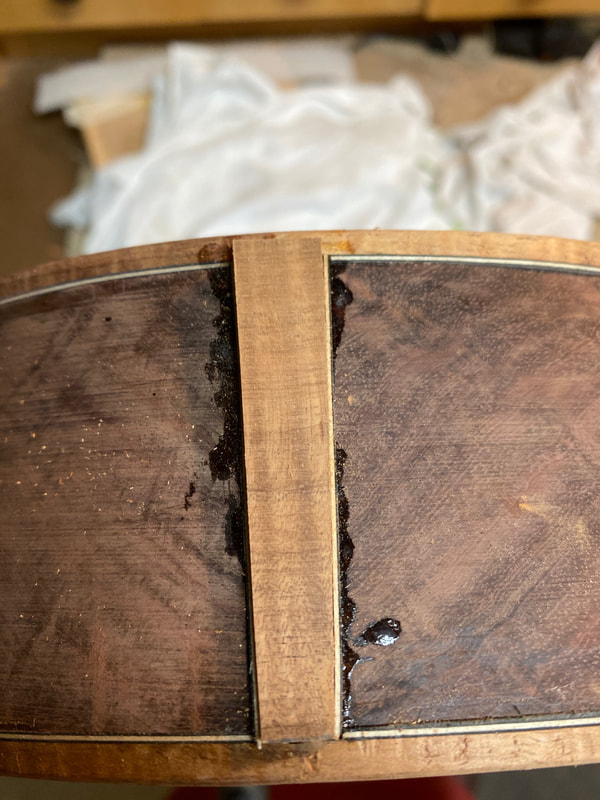 5. Aha, all the way, now trim off the top and fit it in. |
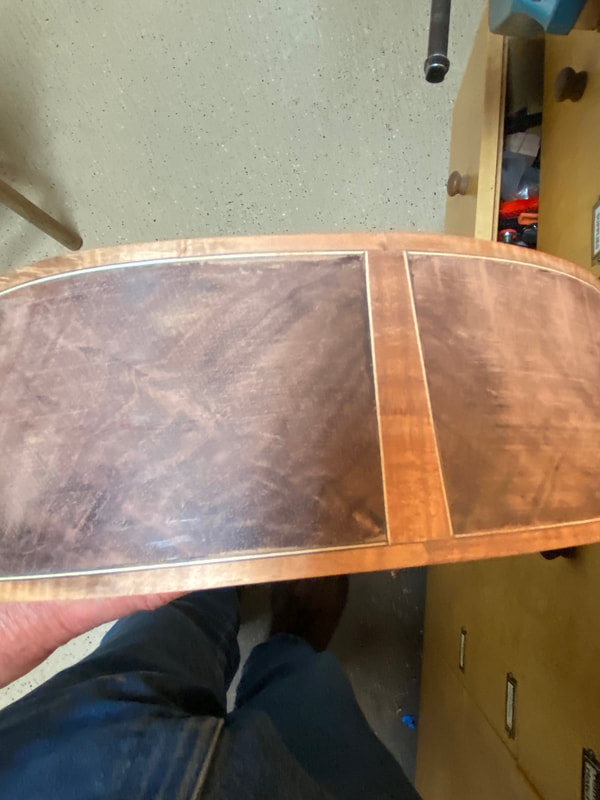
When the glue is dry, a little work with a rasp, and then sandpaper and the bindings are done.