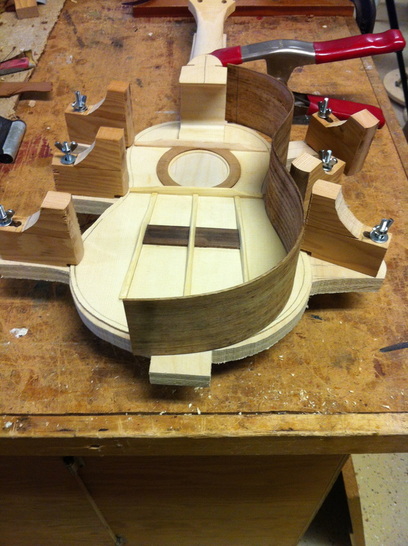
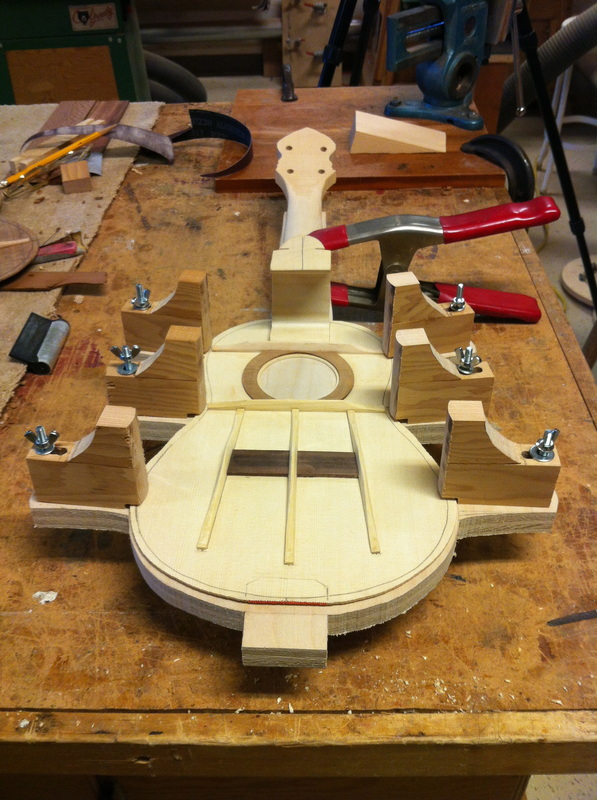
I am ready to put the sides on those concerts now. I finished up the "Assembly" jig that holds the neck and soundboard in place and allows you to glue the bent sides to it while holding the sides in the proper position.
here is what it looks like.
here is what it looks like.
I put the neck and soundboard in place to help explain. Once you insert the side into the slots in the neck you are ready to adjust the sliding "side braces" of the jig to hold the sides rigidly in place. The side is set on the pencil line all the way around the curve and finally clamped to the "butt Plate" which is not yet installed in this picture. The butt plate is glued to the sound board in the place marked for it with pencil lines. With a little glue applied, you clamp the sides down onto the soundboard. Leaving everything in place as the glue dries you install the tentalones entirely around the instrument effectively glueing top to sides.

I put a bent side in the jig just to give you an idea how this thing works. Once trimmed to the right length, the end of the side slips into the groove in the neck and that brace holds it in its tight bend. The next brace assures that the waist is in to the correct position. and so on. It is not as difficult as you might think. This device makes assembling the uke so much easier.

