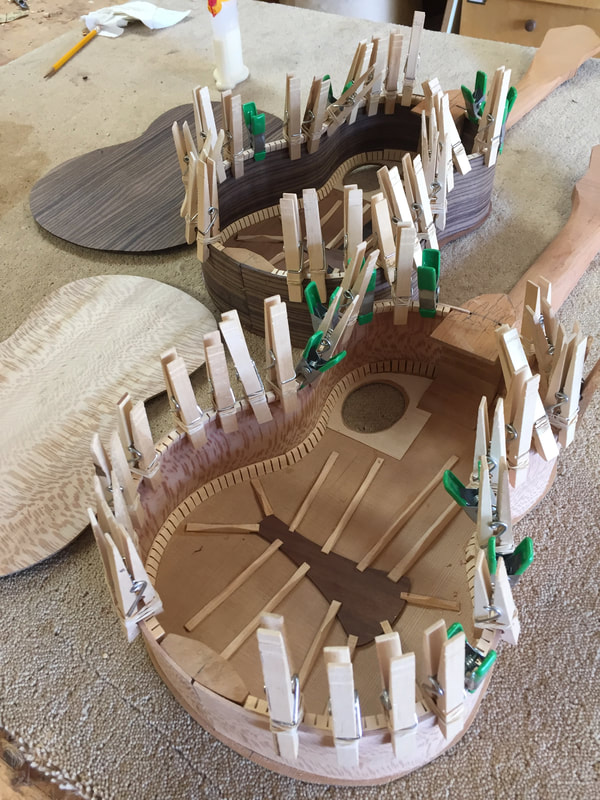
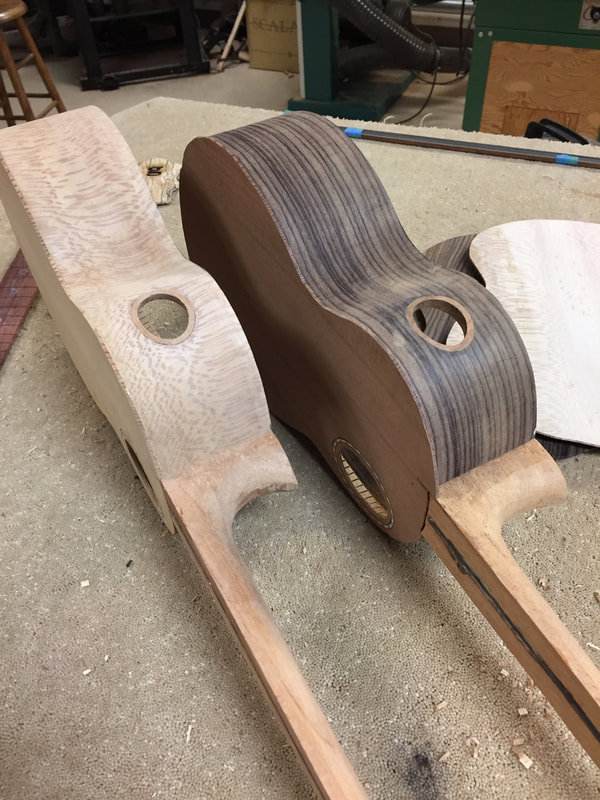
Made some good progress today. The tentlones are all attached and on to the fretboards.
First lets sand in the radius, the convex curve that will make the ukulele more playable. that is done with this curved sanding block and stick on sandpaper.
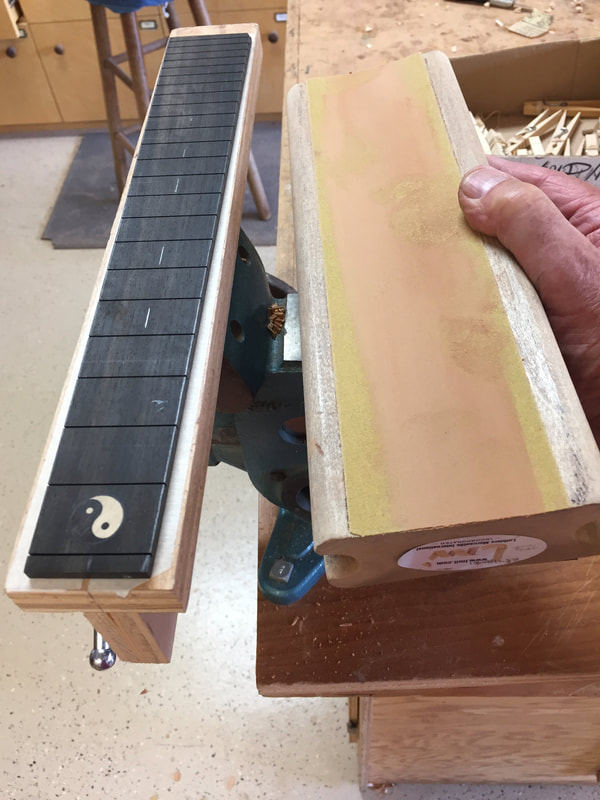
Not much of a radius curve, but it seems to help.
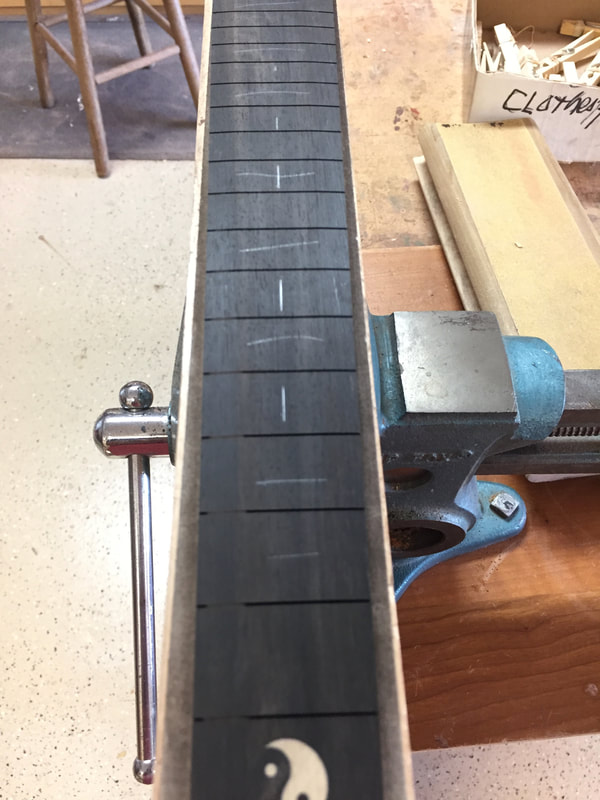
The pencil marks a across the fingerboard indicate your sanding progress. When they disappear the job is completed. Takes only about fifteen minutes of sanding the ebony and Kent's fingerboard is done. He does not want marker dots on top, only on the sides.
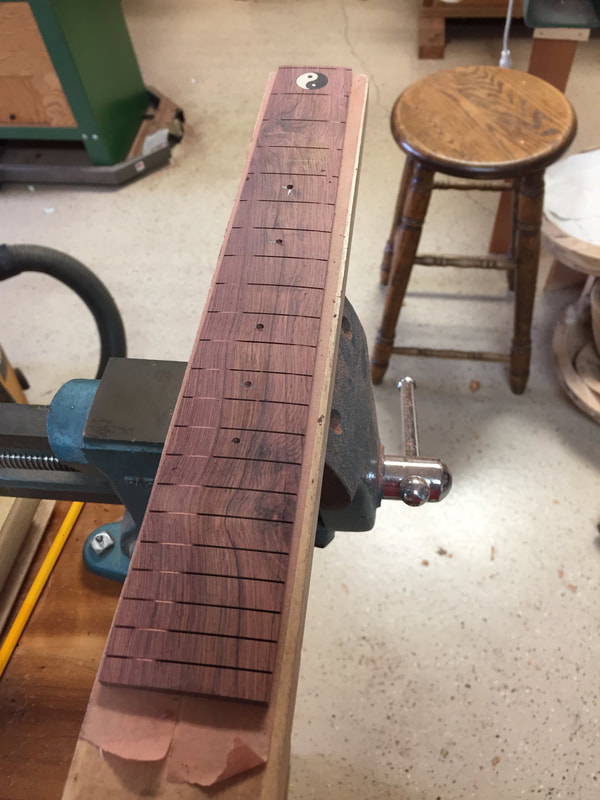
The Sycamore will get this wavy Honduran Rosewood fretboard. I have determined the marker dot locations, made an indent with an awl, and then with a small finger drill made a small hole to guide the larger bit.
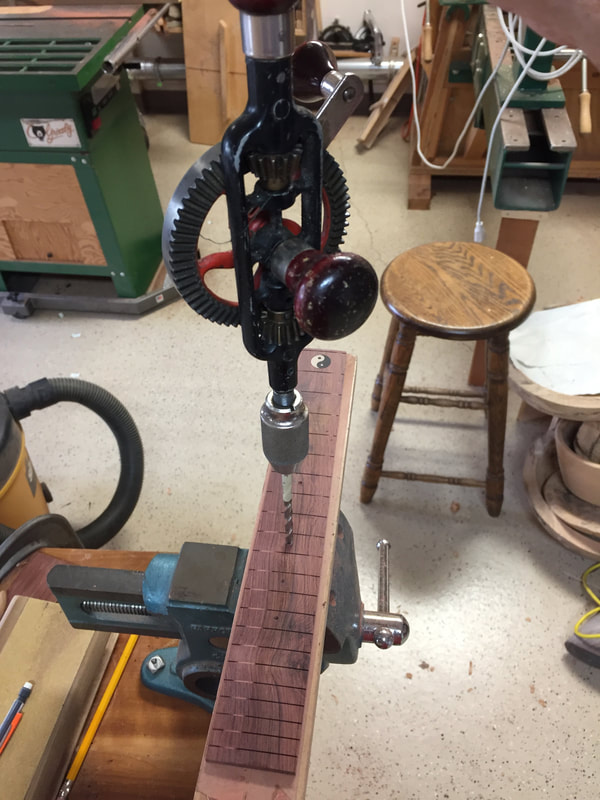
And now the final sized hole using a hand drill. Much easier to control the depth than with a power drill.
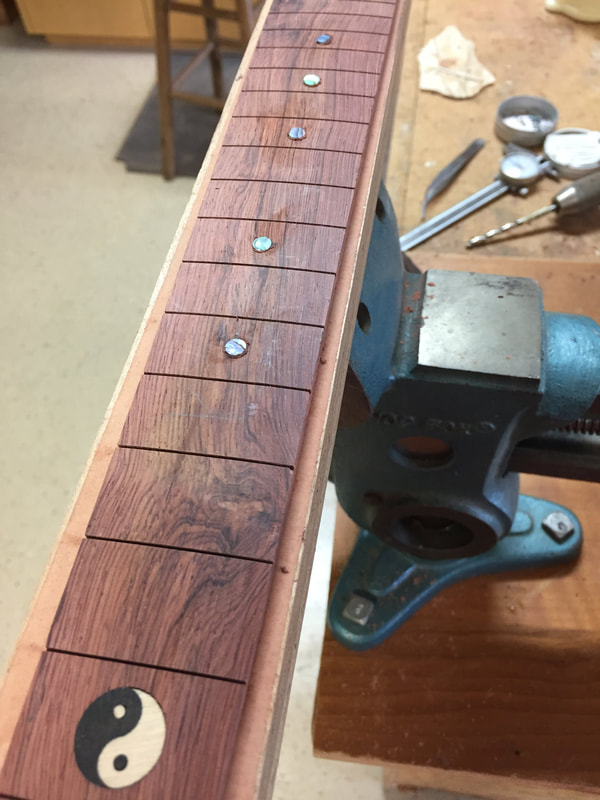
The Paua Abalone dots are glued in and stand a little proud. They will easily sand down flat with the final sanding.
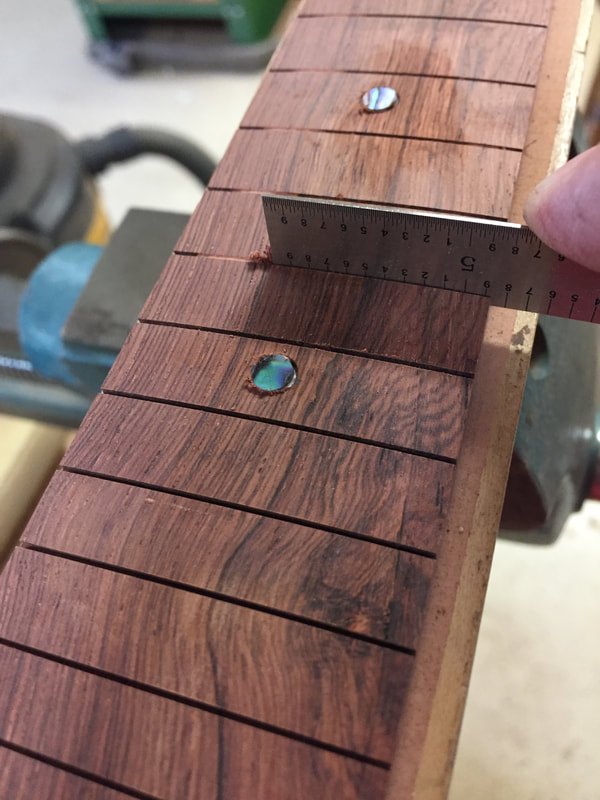
I am cleaning the sawdust out of the slots so that I can measure the depth of the slots at the edges. They must be deep enough to accept the tang of the frets. A few will have to be deepened with a hand saw.

Now its time to install the side sound ports. I always glue in a backing patch of hardwood veneer to prevent any possible splitting of the side. Then cut out a rough hole with a drill bit in the Dremel.
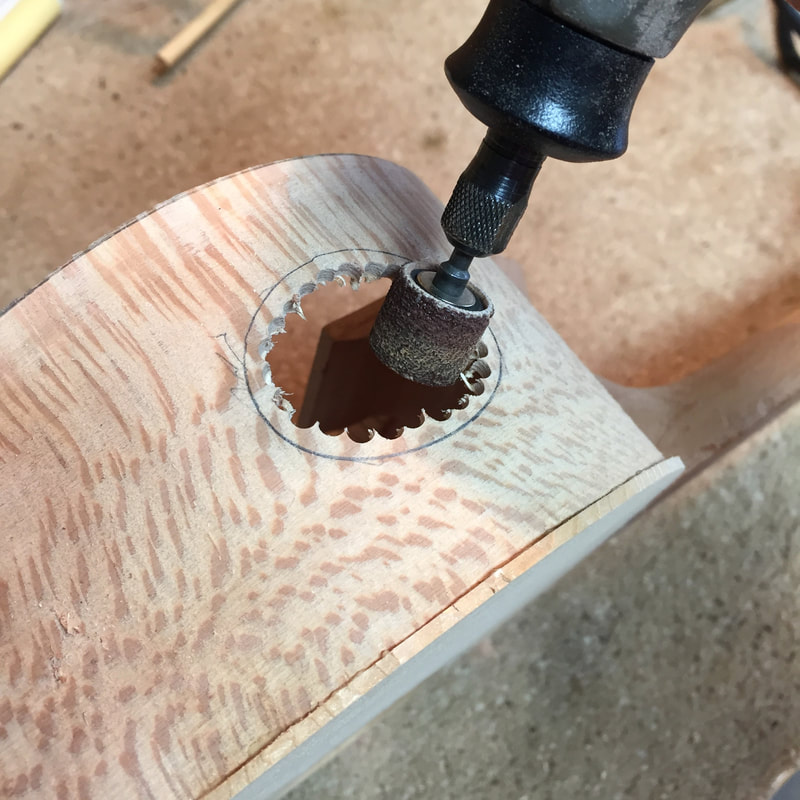
The Dremel is now fitted with a grinding drum and the hole is carefully perfected until the wooden ring can be inserted,
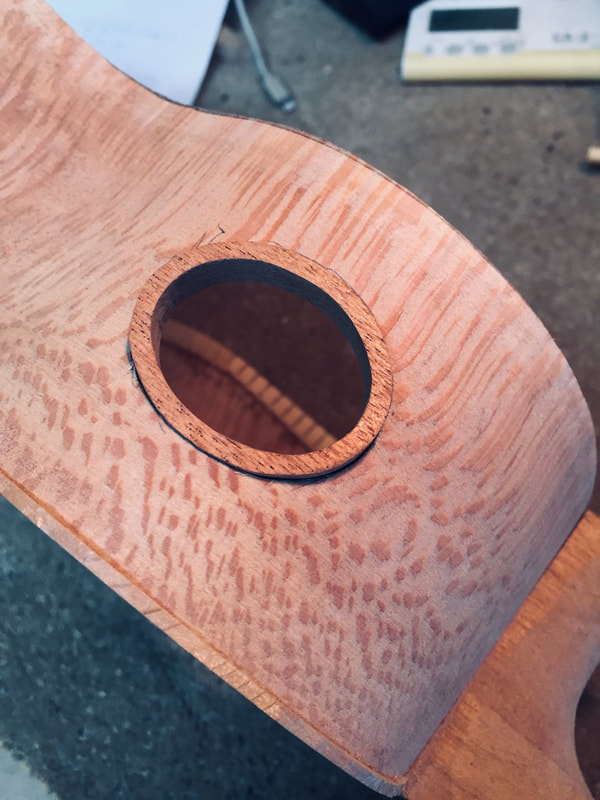
And now it only needs to be fixed in place with super glue and trimmed down flush.
Done !, Thats enough for one day
