Yesterday was indeed Tentalone Day. I made the cutting jig, made all the tentalones and got them all installed on the Pinecones before going off to my music lesson after dinner.
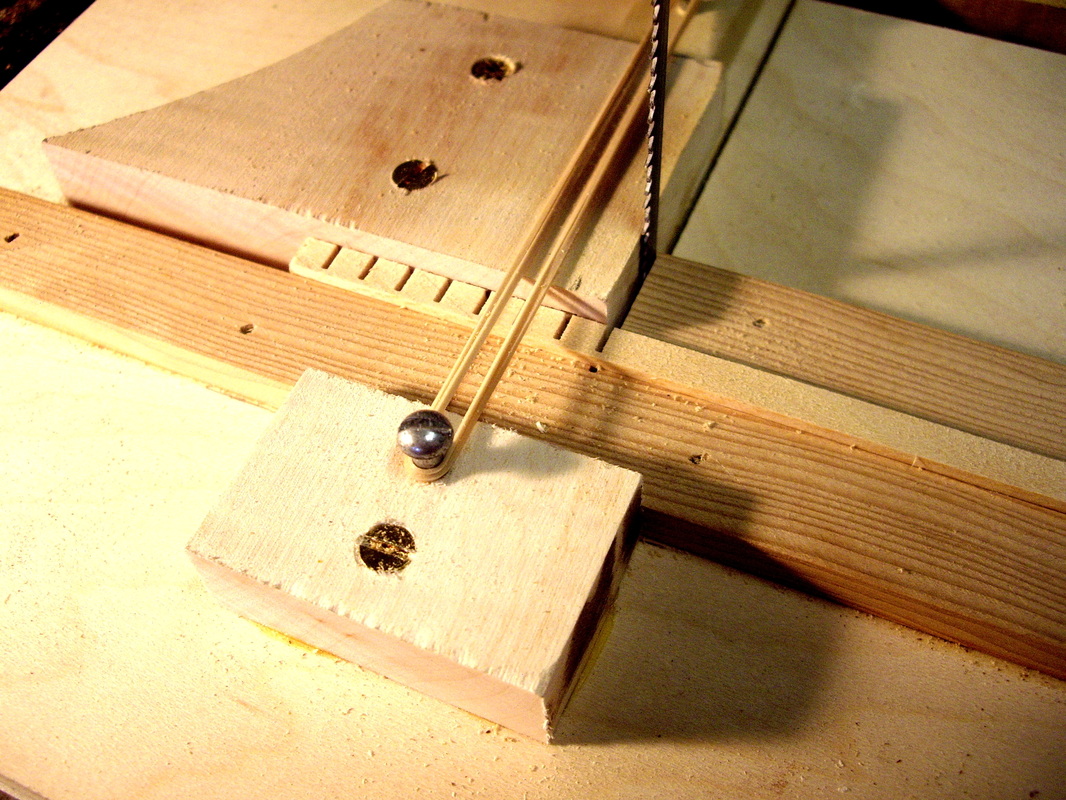
Here is one final close-up of the heart of the jig. The bolt with a little v shaped protrusion comes out just where you see that pencil mark. That is where it registers with the last cut and positions the stock for the next cut.
Here is one final close-up of the heart of the jig. The bolt with a little v shaped protrusion comes out just where you see that pencil mark. That is where it registers with the last cut and positions the stock for the next cut.
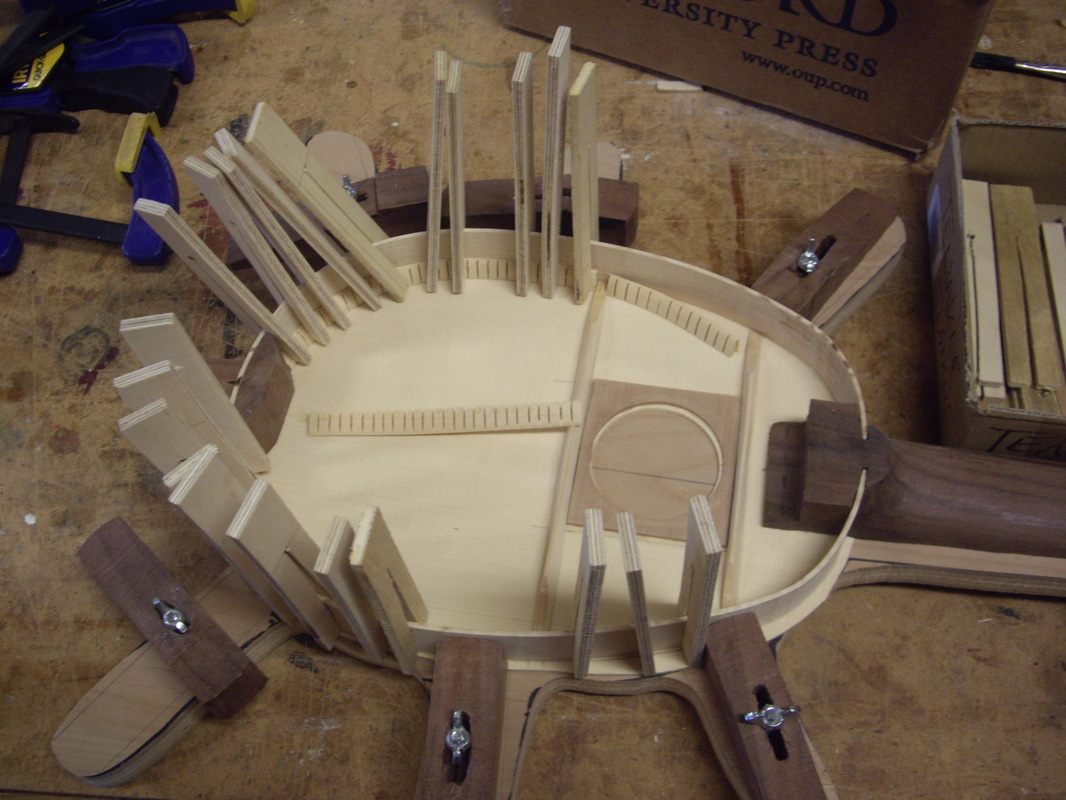
The now shaped tentalones are glued to the soundboard and side, held in place by clamps made simply by sawing a slot in a piece of 3/8 plywood. First drill a hole to prevent it splitting, then cut up to the hole on the band saw.
The tentalones are shaped with a slope for several reasons, 1. they look better that way, 2. you cut off at least a third of the weight when you slope them. 3. There is no loss of strength of the joint by doing it. You will sometimes see cheap ukes with square tentalones, UGH! When the glue has set you have a strong joint. Don't forget to push a thin wedge in behind the side where it enters the neck slot. That will assure that there will be no visible gap when viewed from the outside.
The tentalones are shaped with a slope for several reasons, 1. they look better that way, 2. you cut off at least a third of the weight when you slope them. 3. There is no loss of strength of the joint by doing it. You will sometimes see cheap ukes with square tentalones, UGH! When the glue has set you have a strong joint. Don't forget to push a thin wedge in behind the side where it enters the neck slot. That will assure that there will be no visible gap when viewed from the outside.
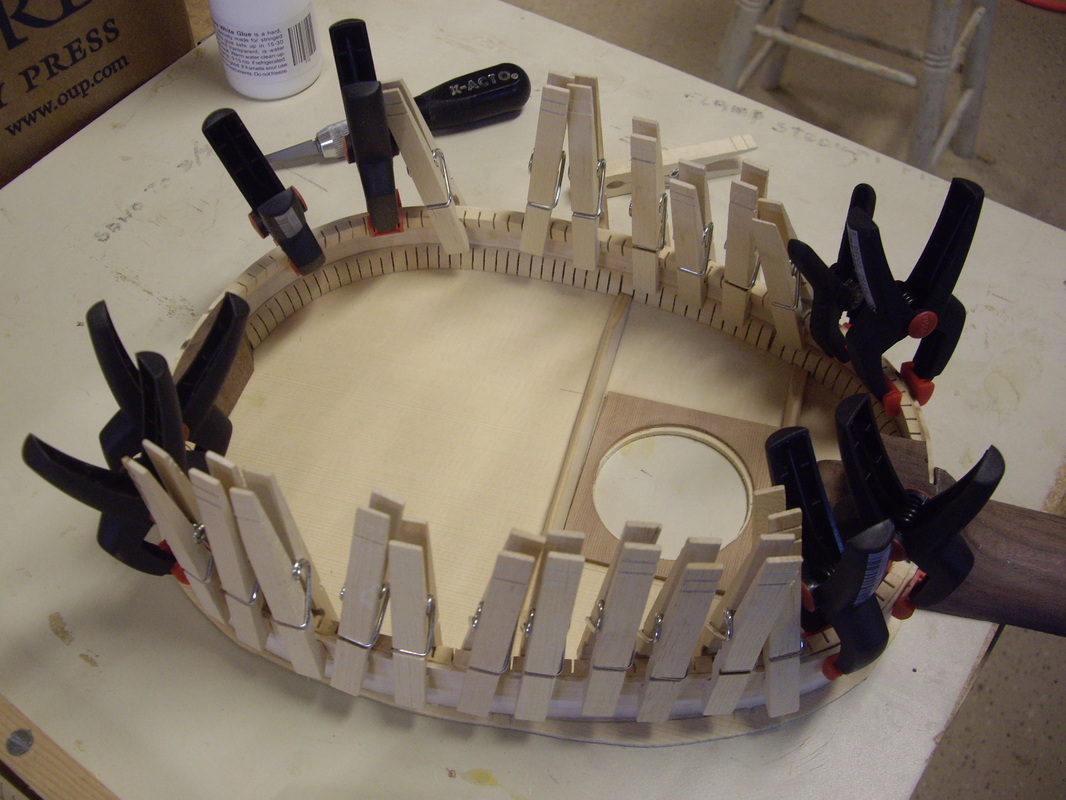
The second step is to glue the upper tentalones to the sides. You simply hold them on with clothes pins. If your cloth pins seem a bit weak wrap a small rubber band around them to help the spring. Some of these small plastic finger clamps are also handy in the places where a tight curve requires more clamp muscle. Be sure that the tentalones stand a tiny bit proud over the edge of the side. You will be sanding this all down flat and you need a no-gap joint to effectively glue the back to.
And now they are done, Tentalone day is over. Tomorrow I will begin carving the backs. I learned the hard way not to carve the backs until the tentalones are installed and the uke has taken its final shape. Each instrument is a tiny bit different and if you pre make the backs they might not fit perfectly. Your labor will have been wasted. Each of these pinecones has a number and each one will have a numbered back made expressly for it.
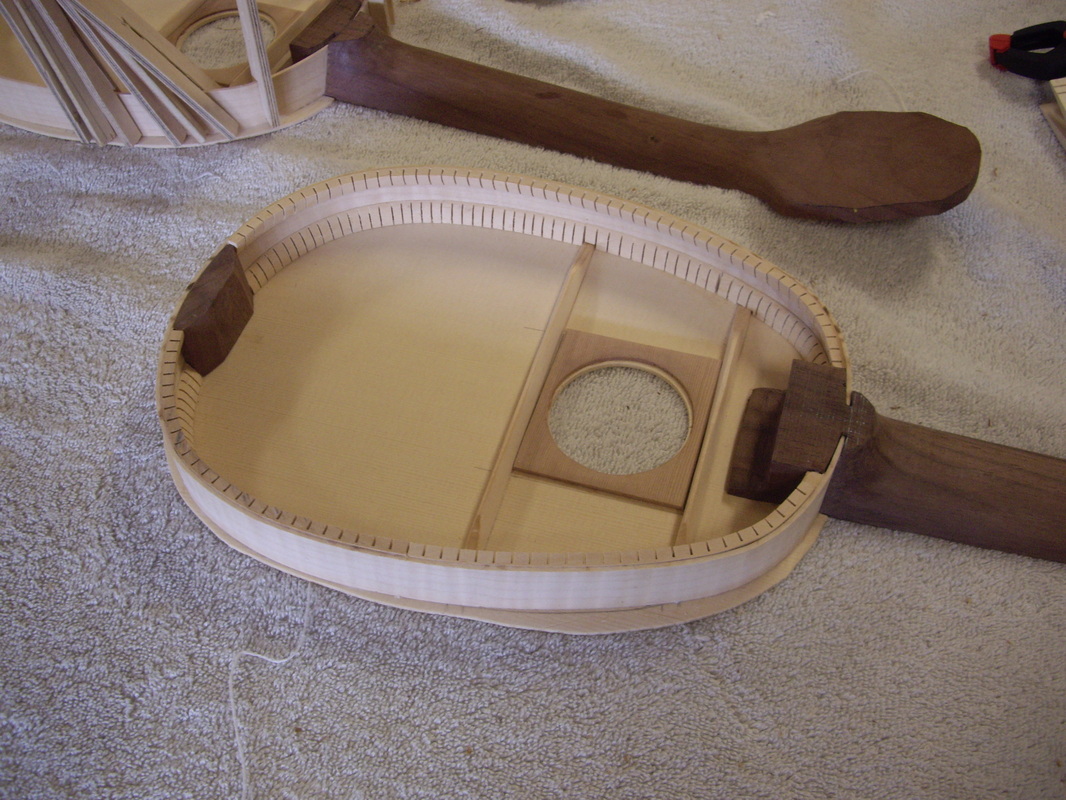
I will sand down the glueing surface to make it perfectly flat to accept the backs. Because the tentalones stand a bit proud the soft basswood will sand down readily. When I am sanding maple and walnut all around I will know it is ready for the back.
I will sand down the glueing surface to make it perfectly flat to accept the backs. Because the tentalones stand a bit proud the soft basswood will sand down readily. When I am sanding maple and walnut all around I will know it is ready for the back.


