Stringing up a new ukulele is always exciting, but when you are building one for a guy like Stuart Fuchs, it is nerve-racking. This is not the time to make a mistake-and what will it sound like.? Here is the drill.
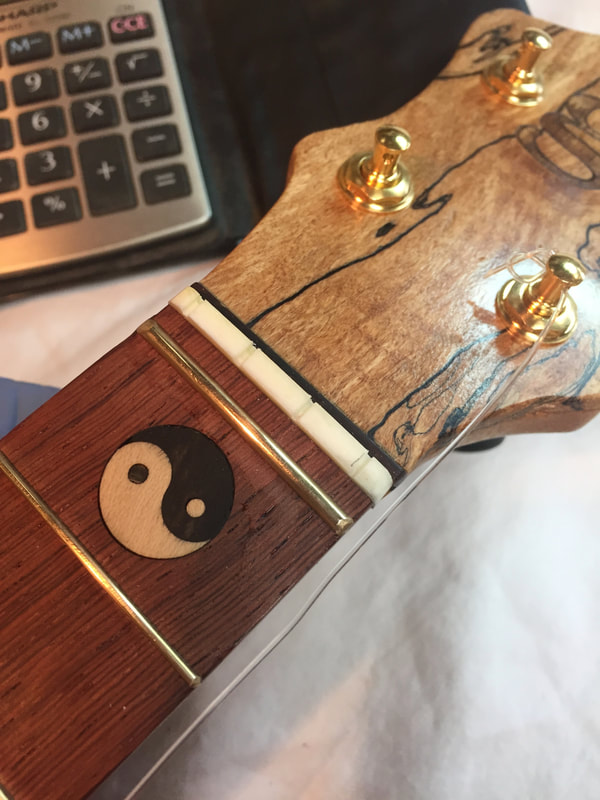
First you install the tuners, These are Gotah UPT tuners in gold to match the frets. Next you determine where to cut the notches in the nut so that the strings are properly spaced on the fret board. You put a string on the A tuner and stretch it in the proper place marking with a pencil where the notch should go. Then you do the same with the G string. Now cut the notches and measure the distance between the two- divide that distance by 3 and you have the distance between the other two strings. Now cut those notches in exactly the right place.
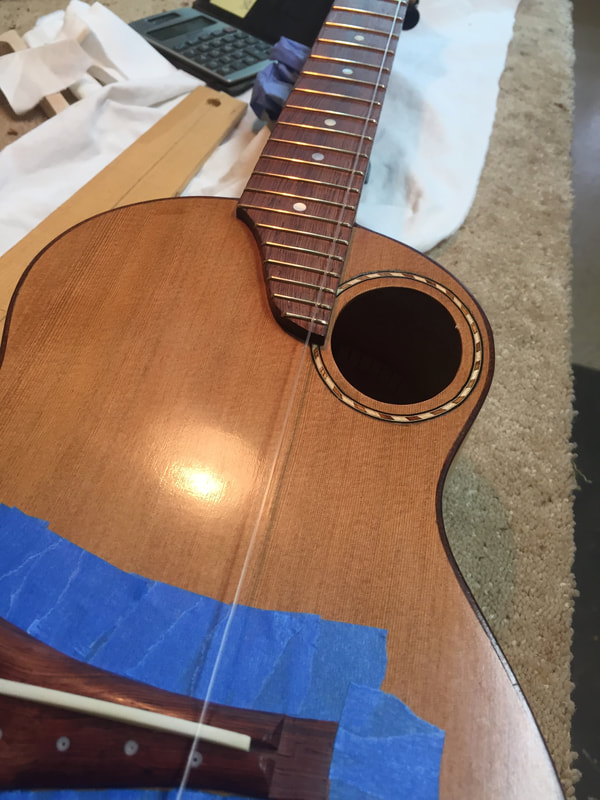
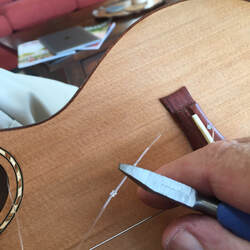
with the A string in the newly cut notch stretch that string along the fretboard and move the bridge until the string hole is directly under the taut string. Mark the lateral position with a piece of tape.
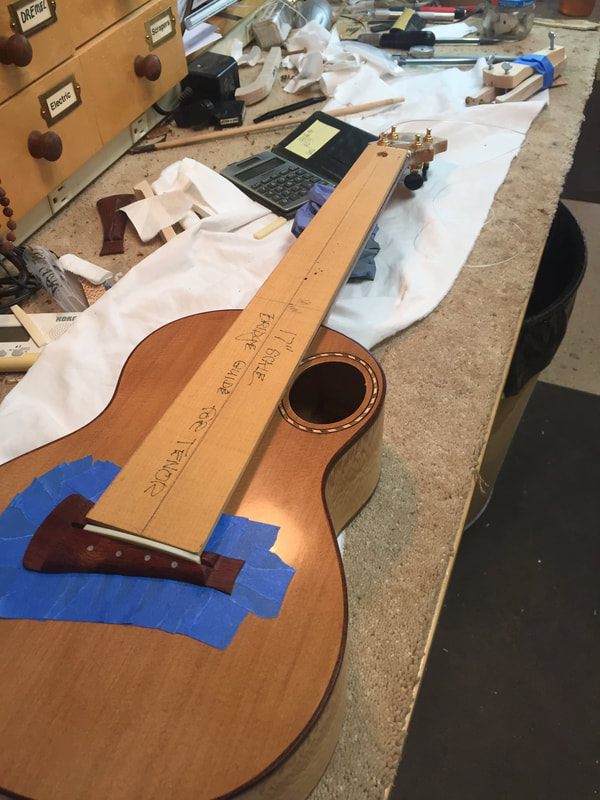
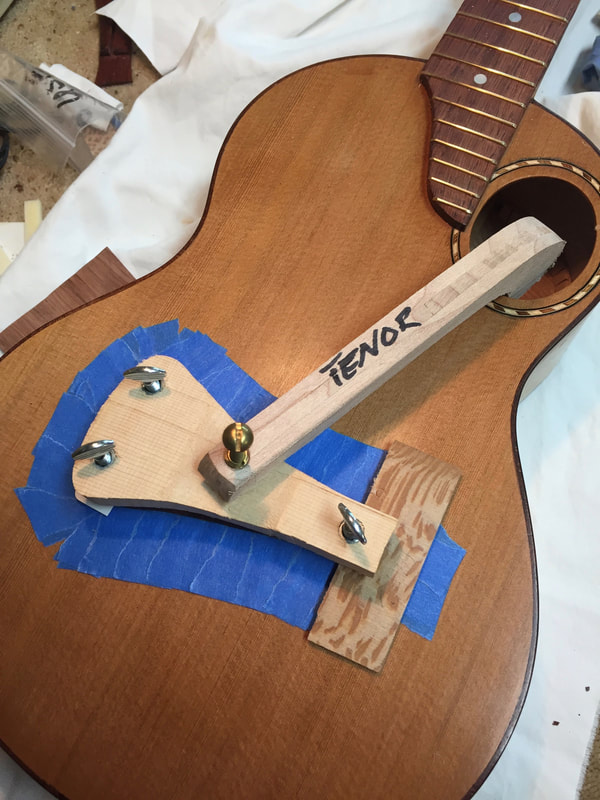
Now you must determine the vertical position of the bridge and saddle and it must be perfect if proper intonation is to be achieved. The measurement from the top of the zero fret to the break of the saddle must be perfect, so measure and check, and do it again. Then mark the position of the bridge with tape and check again.
when you have it perfect carefully surround the bridge with little pieces of tape. Then measure one more time.
when you have it perfect carefully surround the bridge with little pieces of tape. Then measure one more time.
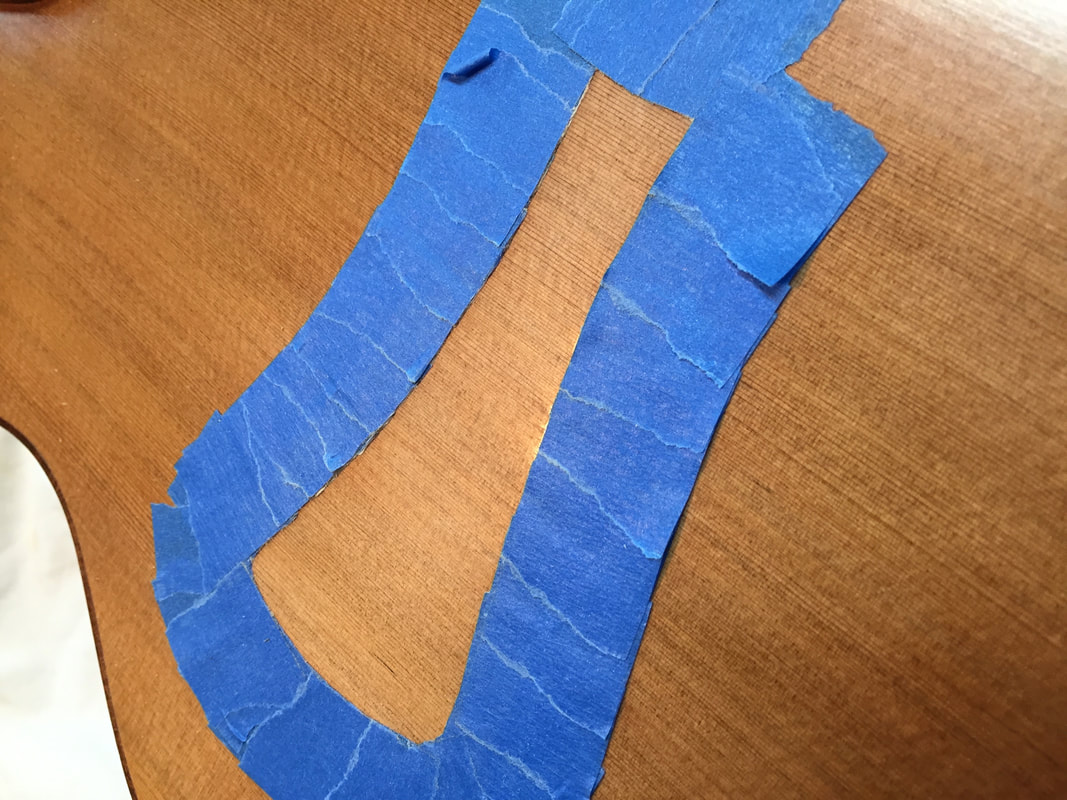
Now with a razor blade, scrape away the finish inside the tape to expose bare wood for gluing.
A thin coat of glue is applied to both the scraped top and the bottom of the bridge and this weird clamp system is employed.
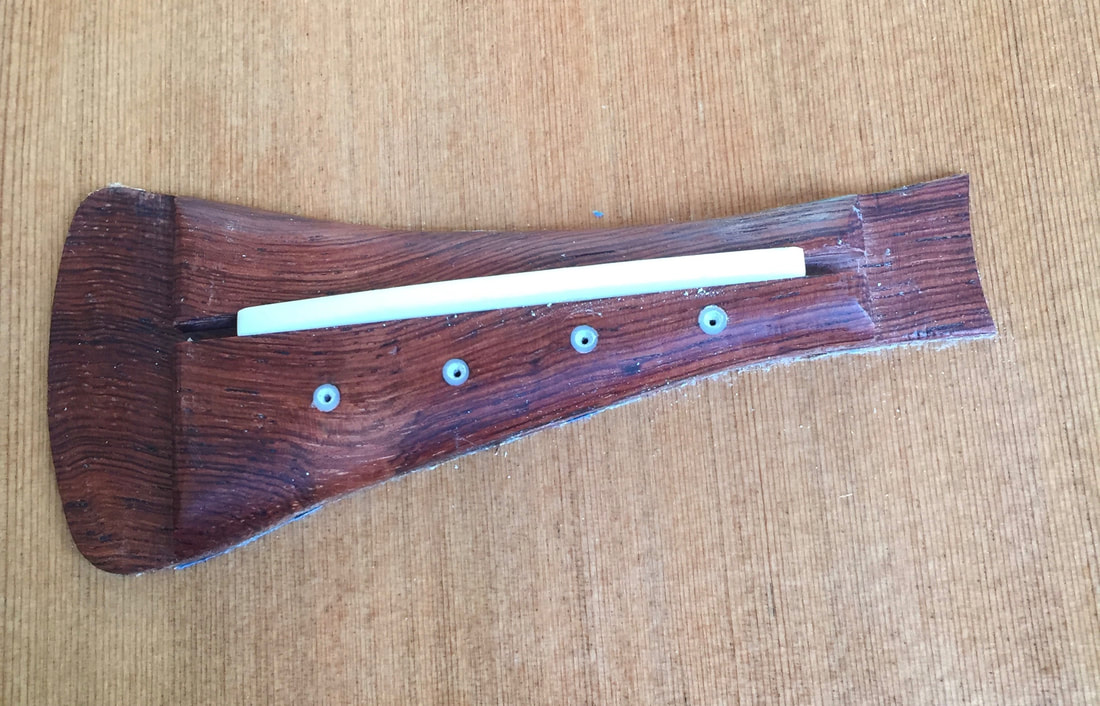
Three hours later the clamps are removed, the tape carefully removed, and the uke is ready for the strings, but first the holes are drilled in diameters to fit the strings.
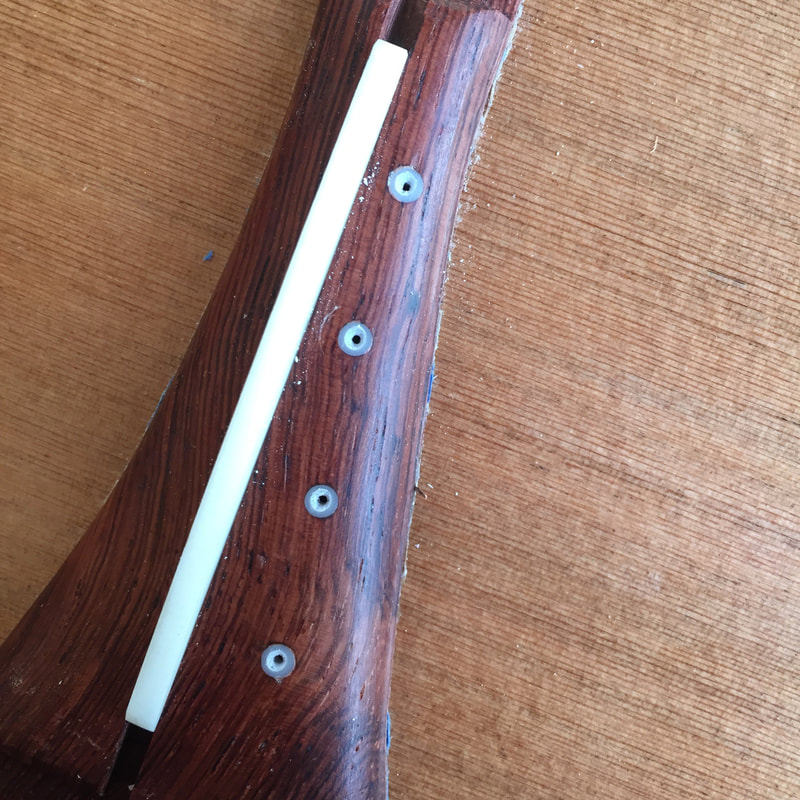
Also the little acrylic rings are rounded so that the string does not bend over a sharp corner as it exits the hole.
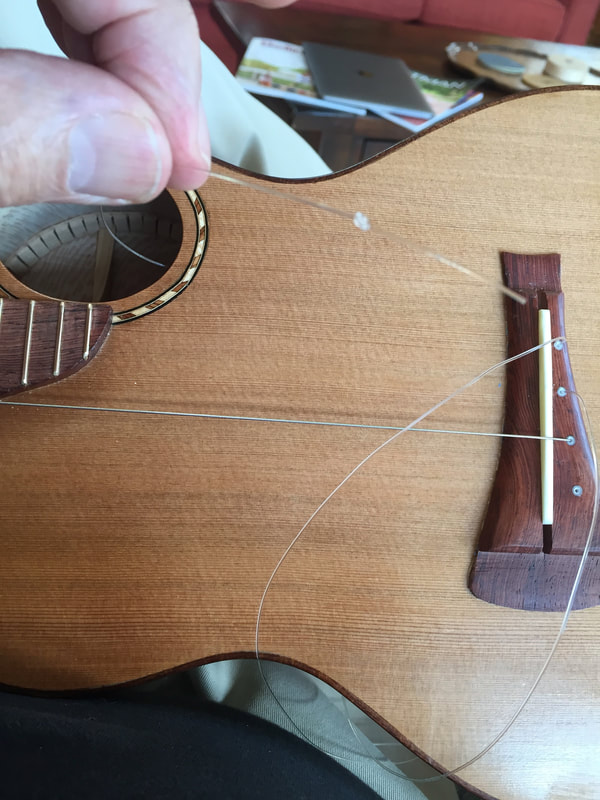
Now each string is pushed down its hole until the end can be fished out of the sound hole. Then an overhand knot is tied in it and the string is pulled back out of the bridge and attached to the tuner-simple as that.
and just to be tidy, I nip off the excess string about here. Lets tune this baby up and hear what it sounds like.
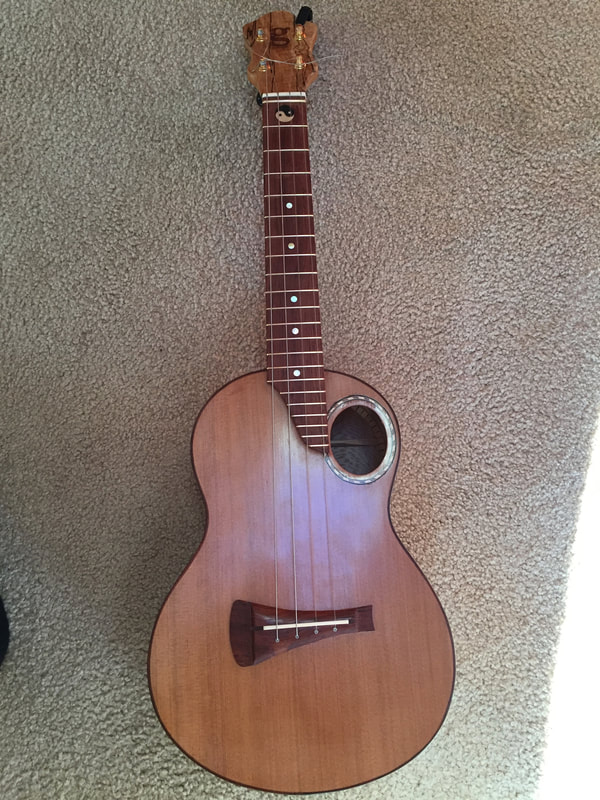
I AM SO DELIGHTED- THIS MAY BE THE BEST UKE I HAVE BUILT. TONE, VOLUME, INTONATION, SUSTAIN ARE ALL TERRIFIC. I AM RELIEVED AND STU IS GOING TO LOVE IT. WHEW! NOW TOMORROW I INSTALL THE PICKUP, A STRAP BUTTON AND MY NEW LABEL AND THIS BABY IS READY TO ROCK.
