BACK IN THE WORKSHOP after a wonderful 4th of July on San Juan Island. I stopped into Kirks great music store on Spring Street and sold him a supply of the fun and excellent Aurora colored strings that I sell. He provided me with some used bass strings to try with Son of Gut Bucket now building in my shop. I got very inspired by the strings and spent several hours in the shop today installing a Rosette and cutting the sound hole in the massive Sitka Spruce top that I had glued up last week. Here is the process
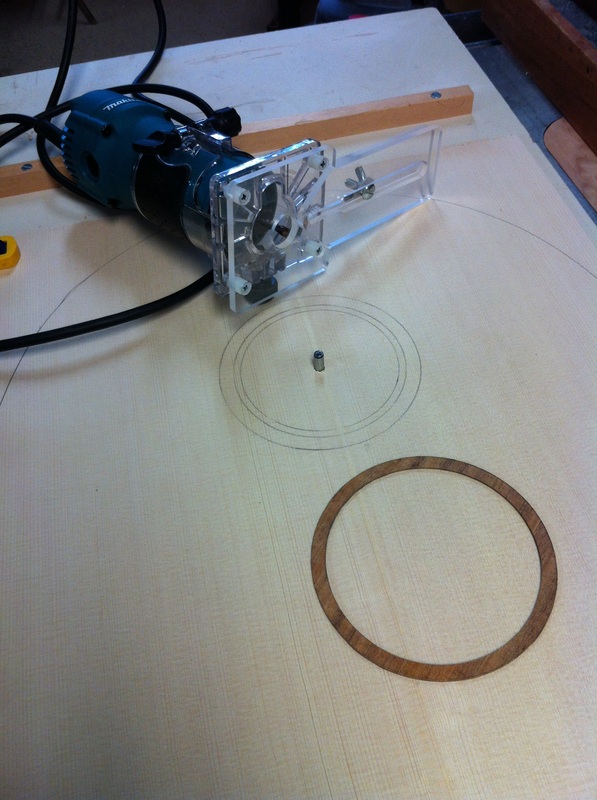
Here are the ingredients. The spruce top with a 1/4 inch hole drilled in the center of the sound hole location with a steel pin inserted into it and protruding into a steel receptor embedded in the plywood support underneath. A ring of Australian Blackwood to be inserted not the channel to be cut by the downward spiral bit in the laminate cutter shown. Attached to the laminate cutter is a plastic device that fits over the pin and guides the circular cut.
Note that I have marked in pencil the size of the cuts I plan to make
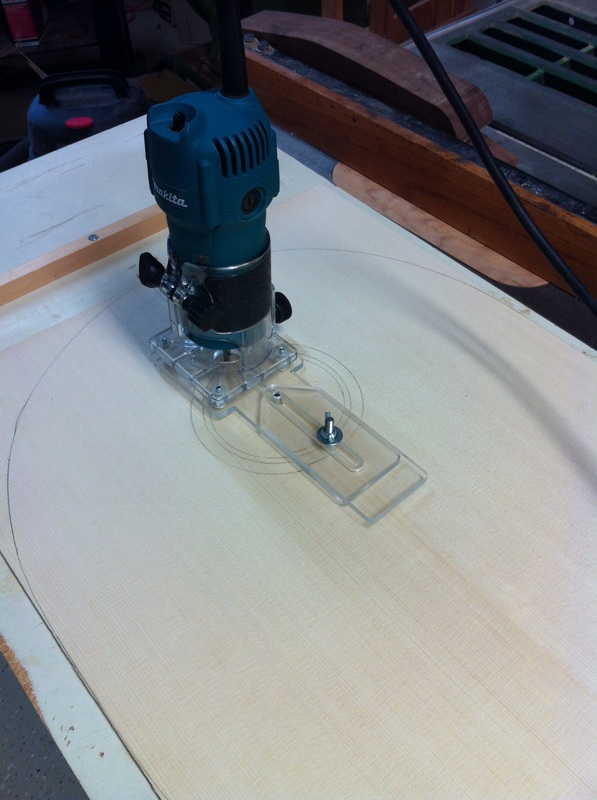
Note that I have marked in pencil the size of the cuts I plan to make
Here is the laminate cutter all set to make the first interior cut for the rosette. I will be making three cuts, one for the inside one for the outside and a final cut to cut out the sound hole, you slide the laminate cutter in and out getting the bit in the exact place. Then cinch it down tight with the wing nut, hold your breath and cut out your circle.
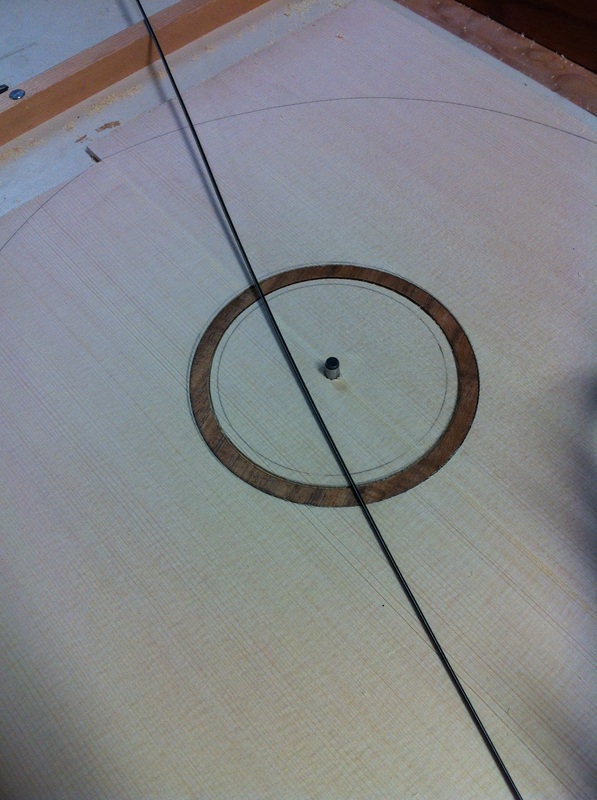
The first cut is made. Looks a little too tight to get the strip of black -white-black purling in so I will reset and take perhaps a 32nd more off.
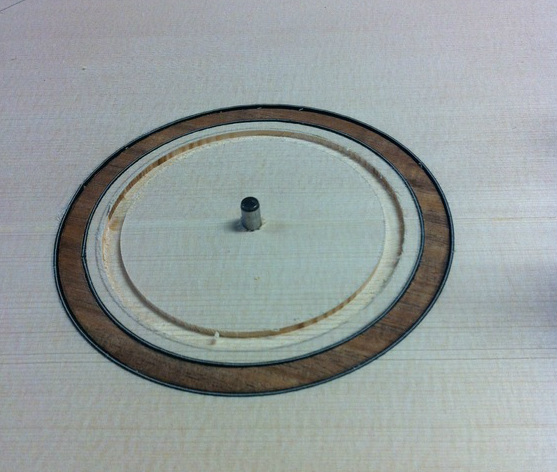
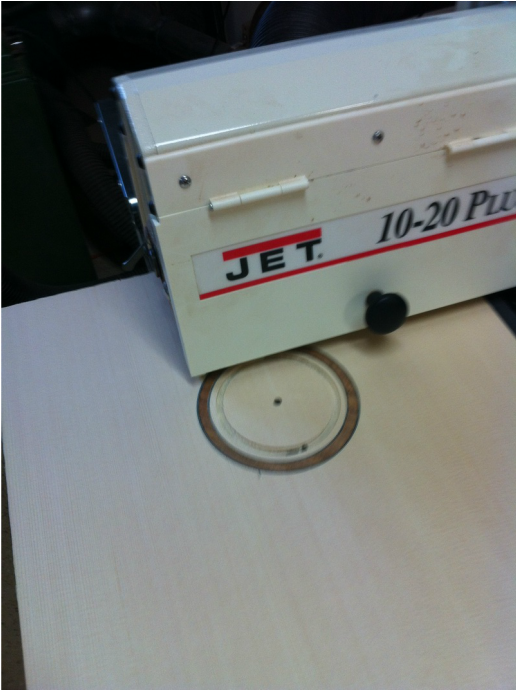
A couple more adjustments- a couple more cuts and now the rosette with black-white-black purling is all fitting nicely and after adjusting the bit to cut deeper, almost completely through the spruce, the sound hole cut is made. At this point I glued the rosette and its purfling in place and after waiting for an hour, took the whole thing to the thickness sander to free the sound hole and to sand flat the rosette. You simply sand on each side to do this, one side to smooth up the rosette, the other side to sand away the thin layer of wood at the bottom of the cut to free the hole.
The thickness sander will sand only 10 inches, but because it has an open end I simply turn the piece around and run it through the other way sanding the other side. Very handy and allows me to sand a 20 inch piece. After many cautious and gradual passes the sound hole was freed and the rosette nice and smooth
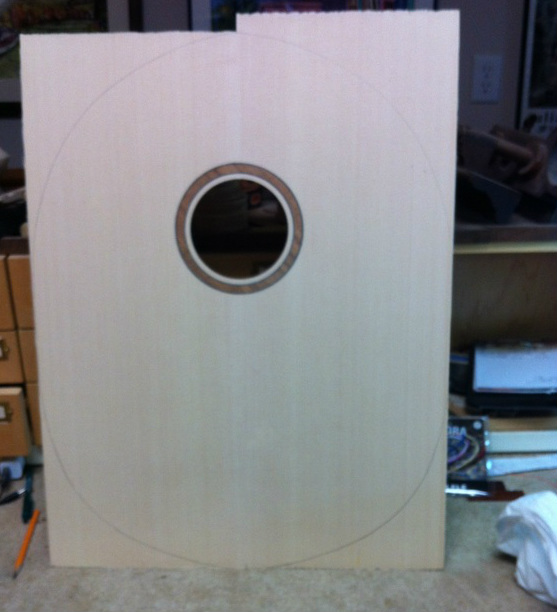
Here is the final result. A nice 4 inch sound hole with a pretty rosette. Next will be to saw out the oval shape and figure out how to best brace this big brute. Do I need a sound post like a violin? Do I fan brace? I think I will look at a few guitar designs for ideas on you to support this
