DID YOU EVER make and play a "Gut Bucket" in your misspent youth. I had a lot of fun at the beach with one. A friend played a passable banjo and I made the classic Gut Bucket from a wash tub, a broom handle and some sort of string.
WELL! I got the crazy idea the other night to build a one string bass that one would play by changing the string length gripping up and down a fretless, radiused and slim neck permanently attached to a large sound chamber. Kind of inspired by my old Gut Bucket. This is going to be pure trial and error. I am guessing at most everything from string length to length of neck.
Join me in this journey into the unknown. I started the project this afternoon with two nice pieces of Sitka Spruce for the top. I will show you what I did
The body of this invention is going to be 22 inches high and 17.5 inches wide. I will be gluing these two pieces of Sitka Spruce together to reach that size.
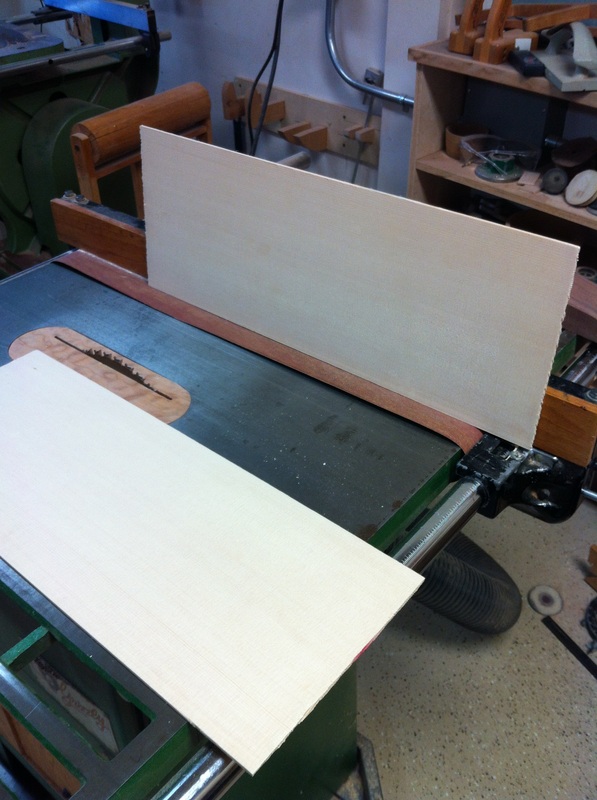
The first challenge is to get both edges of this wood perfectly straight so the joint will be flawless. I do that by putting a long strip of stick-on sandpaper on the flat top of my old Grizzly table saw. It will come off easily and be usable again. Then I slide the saw rip fence over to have a perfectly vertical surface to slide the wood along. Now you run the wood over the sandpaper keeping it tight against the fence. BE SURE TO SAND ONLY IN ONE DIRECTION if you seesaw it back and forth you will never get a straight edge.
The first challenge is to get both edges of this wood perfectly straight so the joint will be flawless. I do that by putting a long strip of stick-on sandpaper on the flat top of my old Grizzly table saw. It will come off easily and be usable again. Then I slide the saw rip fence over to have a perfectly vertical surface to slide the wood along. Now you run the wood over the sandpaper keeping it tight against the fence. BE SURE TO SAND ONLY IN ONE DIRECTION if you seesaw it back and forth you will never get a straight edge.
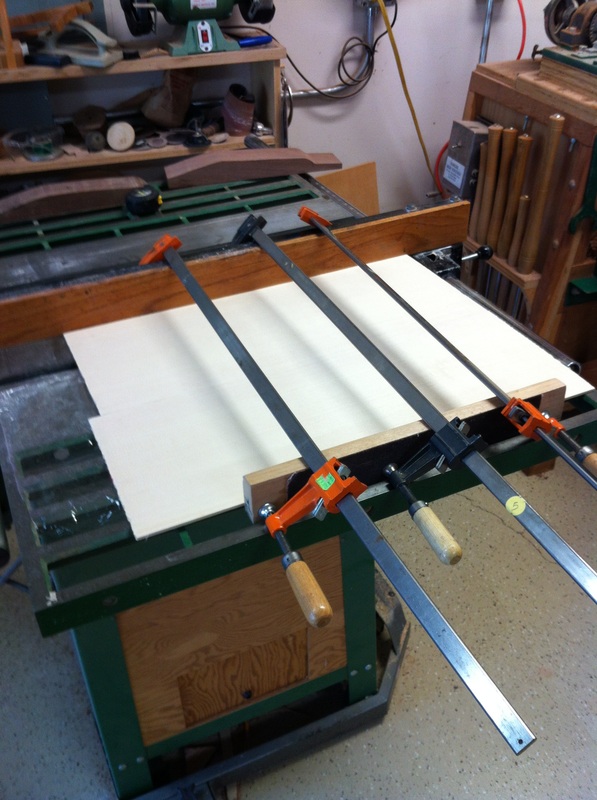
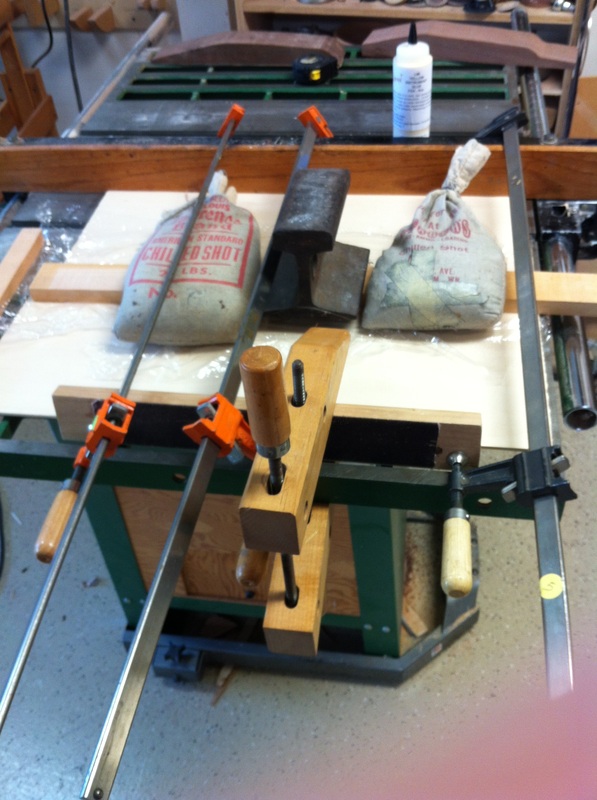
Once you get the edges sanded perfectly straight so that you can see no light when you hold the joint up to light it is time to figure out how you will glue. These pieces are larger than I usually work with so I decided to use the flat table saw table and that rip fence, Some Jorgensen clamps span the distance and I have put saran wrap on the saw top to protect it from the glue. Then you need something heavy enough to prevent the joint from rising up when you tighten the clamps. Apply the glue to the edge, put another piece of saran wrap on top, a couple of flat pieces of wood on that, then the weights- and tighten those clamps.
Here it is, the edges glued and clamped together on a perfectly flat surface with bags of lead shot holding it down flat
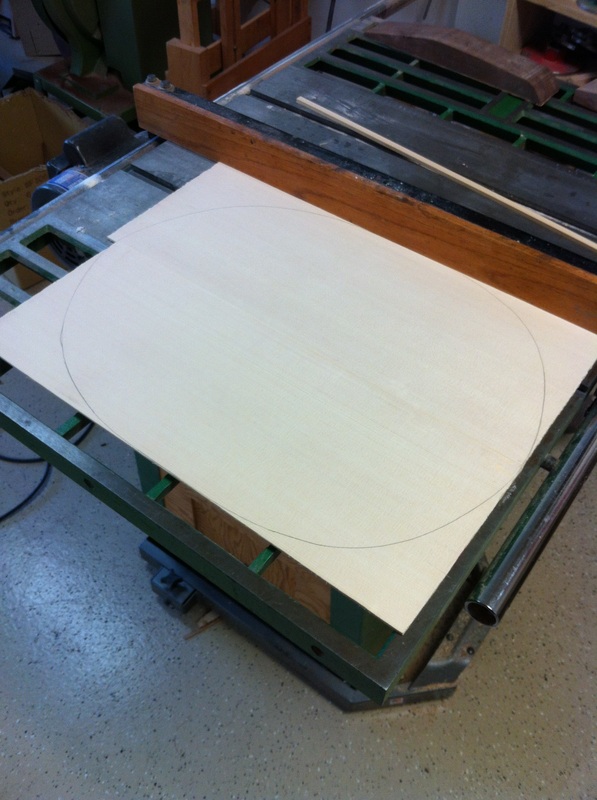
And the final result, after an hour, take off all that gear and you have a nicely joined instrument top. I even drew the shape of the instrument. Next step is a sound hole, or should I use F holes. HOW DO I BRACE THIS MONSTER? Lots to figure out-but that is the fun of it all. Stay tuned and join me in this adventure.


