I have been sanding on these three concert Pinecones for the better part of two days now. First with 120 grit to get out all the little tool marks from rasps and files, and any scratches the wood has suffered during the building process. Next with 220 grit. Carefully looking for tool marks, gaps and problems during this phase is really important. Fix those problems. Finally when all appears perfect sand it again with 320 grit and apply the first wash coat of dilute shellac. The shellac will protect the wood from being stained or discolored during the remaining construction period. Even sawdust from sanding a dark wood can stain the color of your pretty spruce top. With a small rag rub on a generous but smooth coating of the 2 pound cut shellac. This will also become the base coat of the French Polish finish.
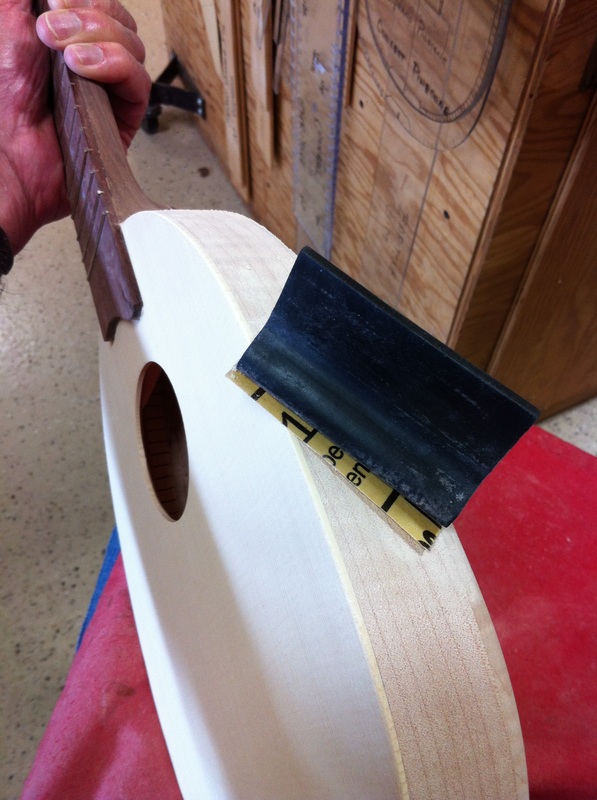
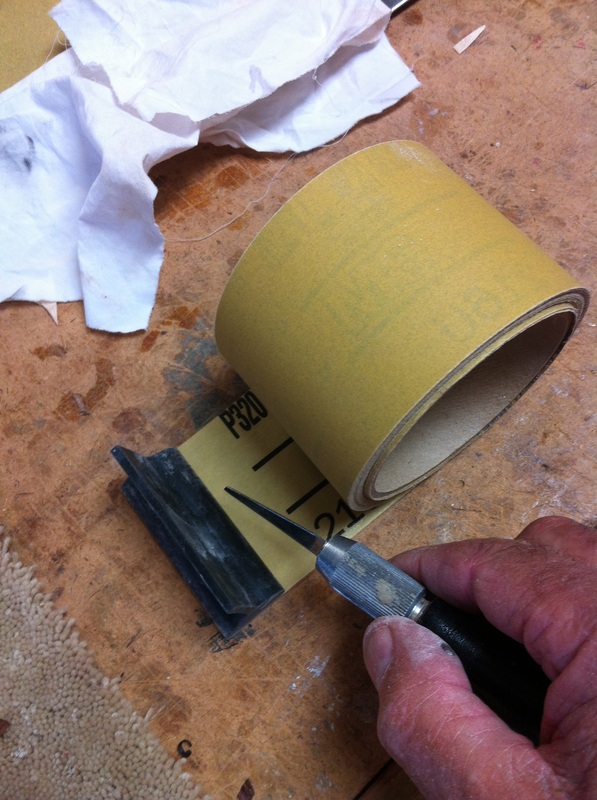
| I have several of these rubber devices that provide a good finger grip for sanding. Be especially careful on the sides.. It is easy to miss glue on the surface. | I really like this stick on paper that comes in a big roll, is very high quality and sticks to sanding blocks very nicely. I just set my block on it's sticky side and cut off what I need. |
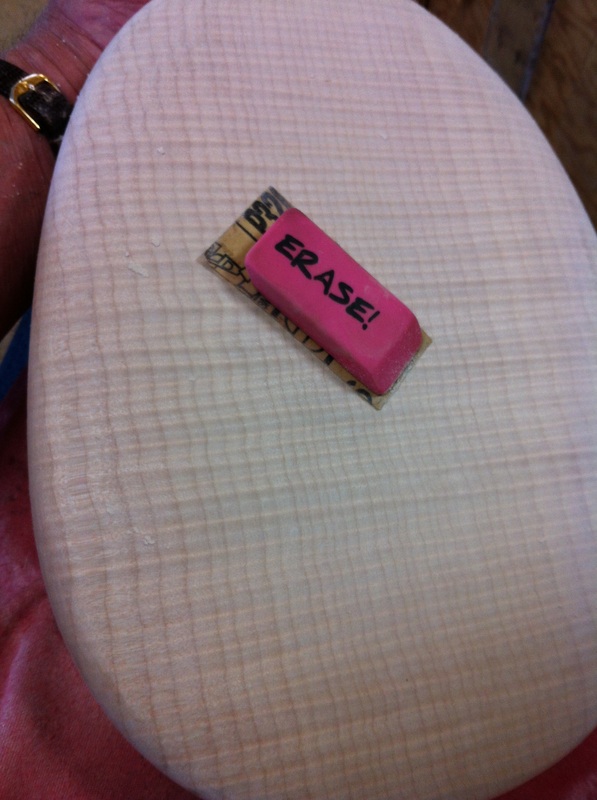
The lowly eraser makes an excellent sanding block for small surfaces. I use them constantly and mine were looking pretty worn until I found this one recently. I could not resist the photo op.
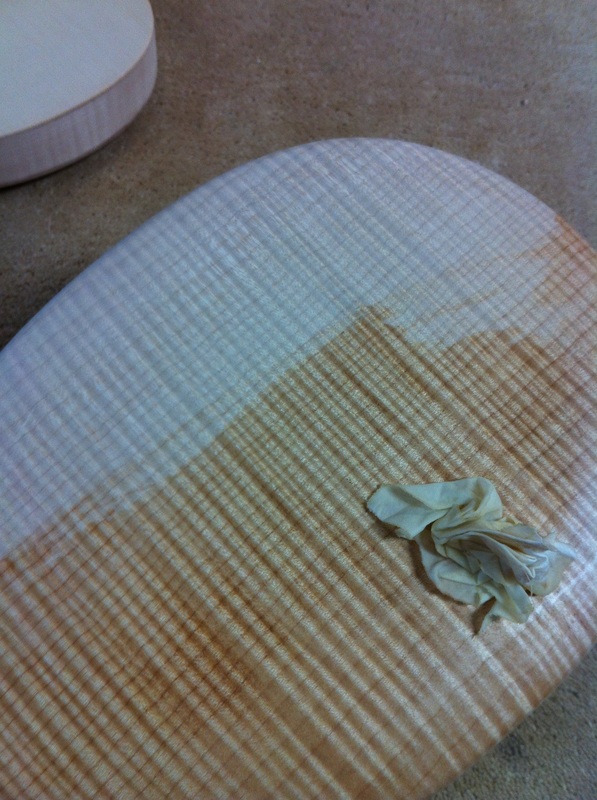
Once the sanding is done you want to rub on a protective coat of shellac. Look what just one coat does to the appearance of this glorious maple. Be sure to rub it on liberally but smoothly. It dries fast and you don't want any ridges in it. It also shows up any little flaws or tool marks that you could not see while sanding. Fix them now by sanding them out and recoating. Once you get them sanded out it is time for a second "wash coat" of shellac. Let that dry and you are ready to begin the French Polish process.


