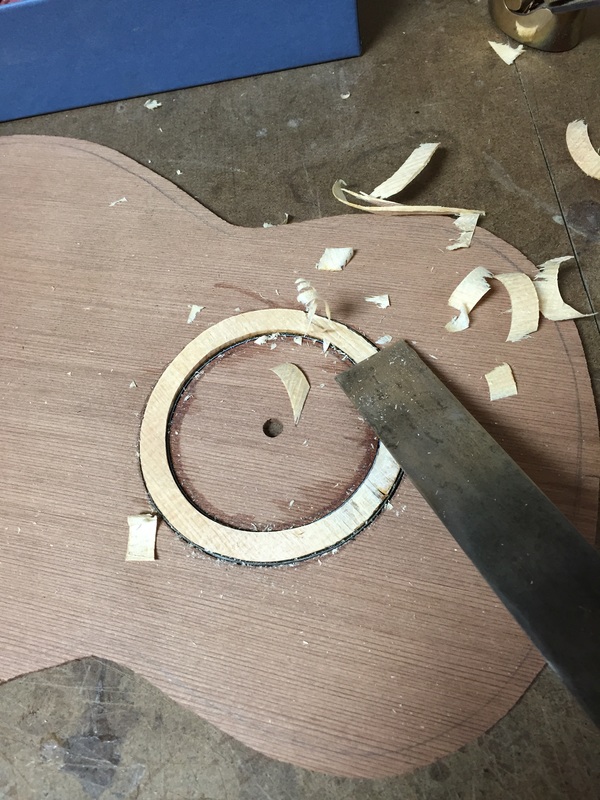
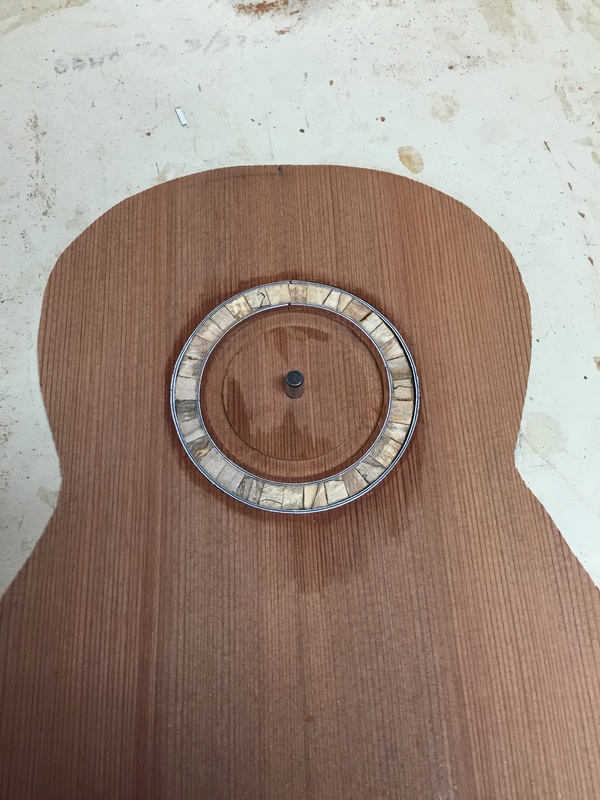
I glued those rosettes in yesterday, let them set up over-night, and then this morning pared them down a bit with a sharp chisel. I cut away most of the spruce backing just to save time in use of the thickness sander. You want to be mighty careful here not to slip and gouge the top.
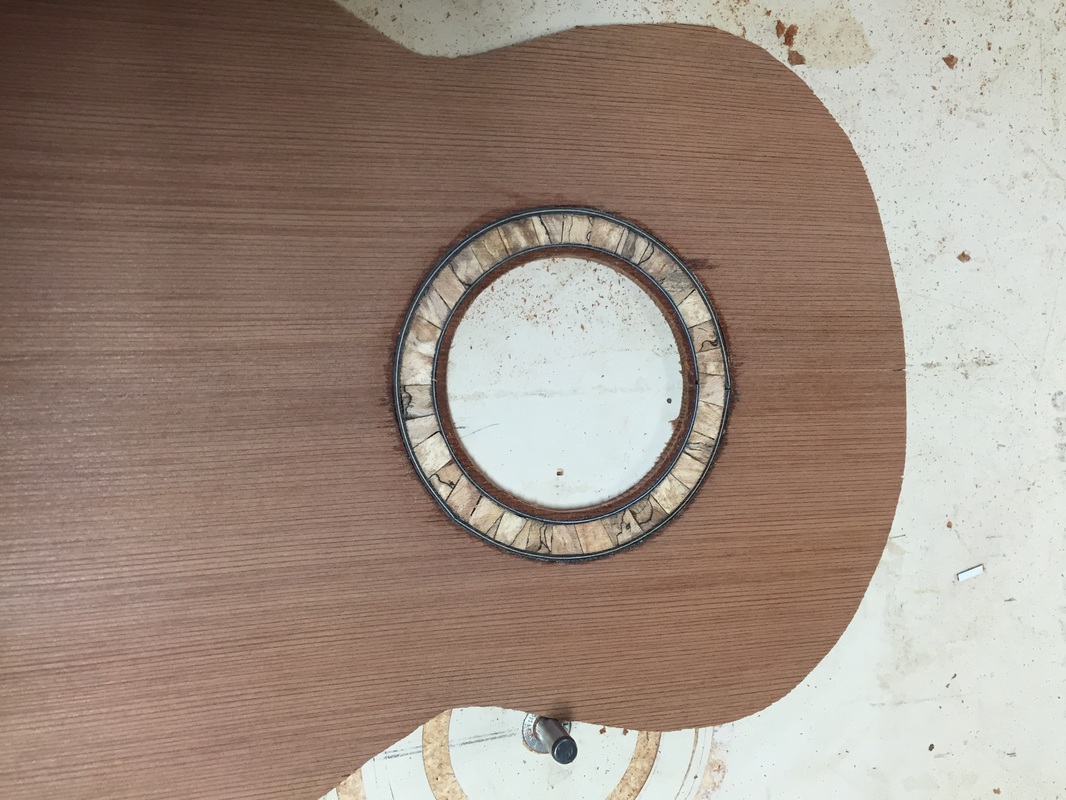
then I put them through the thickness sander until the spruce backing was gone and the rosettes were flush with the surface of the soundboard. At that point it was time to cut the sound hole out. Resetting the circle cutter I cut a deep groove, almost through the Redwood, but not quite.
Then I turned the soundboard upside down and ran it through the sander, sanding off the bottom to free the hole.
Then I turned the soundboard upside down and ran it through the sander, sanding off the bottom to free the hole.
Four or five passes through the sander and the hole is freed. Then I turned the soundboard right side up again and sanded until the top was at its final thickness, a hair under .80. I will do a final hand sanding on this soundboard when the uke is ready to finish. That will thin it down to about .75, at least around the edges where vibration is so important.
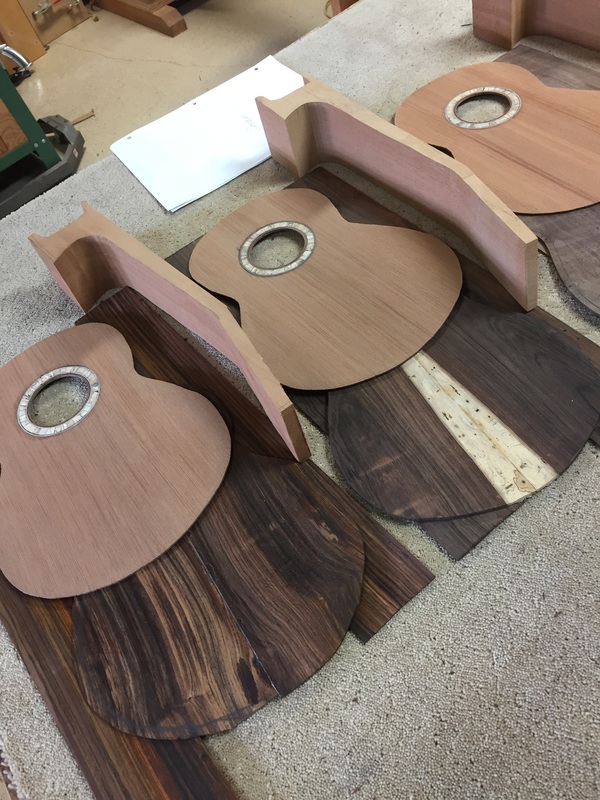
The Rosettes are done, Now it is time for shaping the braces and sound bars, one of my favorite tasks, cuz its whittling I guess.


