IT IS TIME TO start the close work of cutting the grooves for the rosettes. Always a delicate job I begin with routing out the sound hole, almost through the wood but not quite. I will free it up later with the thickness sander.
Then the groove for the Rosette is cut, close to the sound hole. This groove is not so deep, about half the thickness of the tone wood. Once this is cut out you will know how much room you have for the rosette.
Then the groove for the Rosette is cut, close to the sound hole. This groove is not so deep, about half the thickness of the tone wood. Once this is cut out you will know how much room you have for the rosette.
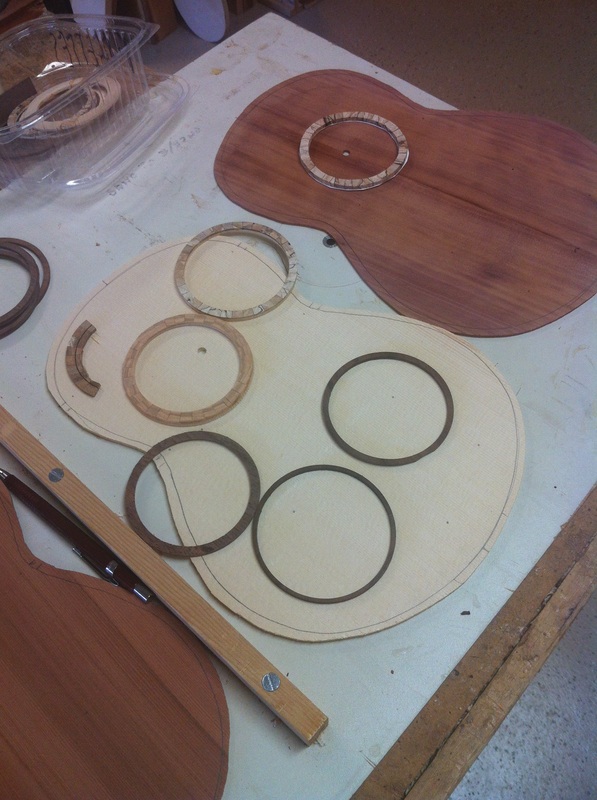
Next you must decide what sort of rosette you want. A solid circle of walnut? an amalgam of spalted maple or olive wood. Any wood that fits your fancy will do. Here I am just thinking about the material. These are some earlier rosettes made but not used. I will make new ones for these ukes as I want them to fit really tight.
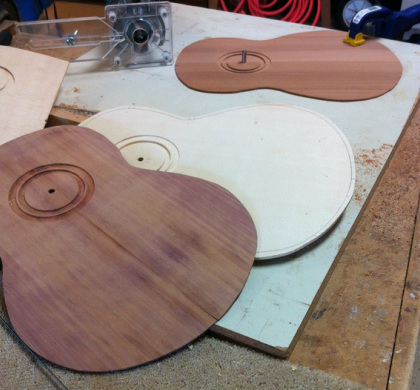 | Notice the pin protruding from the redwood top. the laminate cutter( small router) pivots around that pin to make the cuts. Note the adjustable clear plastic device attached to the router. That adjusts to determine the size of the circle cut. When I have made and glued in the rosettes I will complete the removal of the sound hole by sanding away the remaining wood in the cut. The rosette will fit in the shallower outer groove. Also note the clamp securing the top to the work table so that it will not move as the router cuts. This is kind of slow and delicate work so take your time and think it through. Depth of the grooves are critical here. |
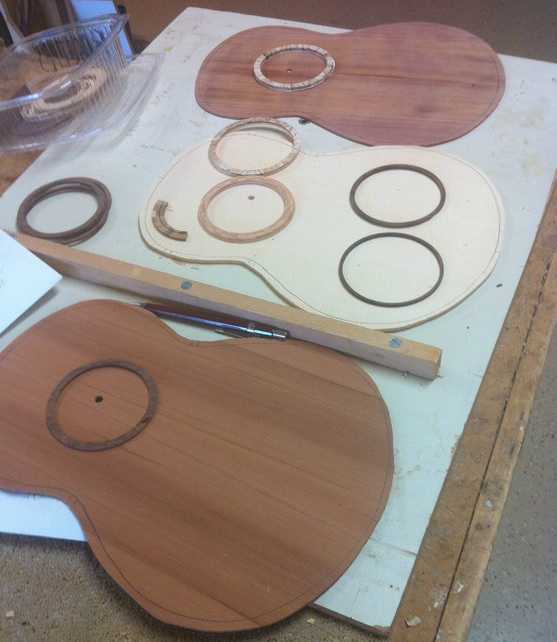
This redwood top on the East Indian Rosewood sides and back is going to be a dark uke. I think I will continue the dark theme with a ring of walnut with thin black/white/black purling on each side. On the "blonde" I will make a rosette of spalted maple, and perhaps also on the Northwest Uke, with the juniper top. Tomorrow's job.
