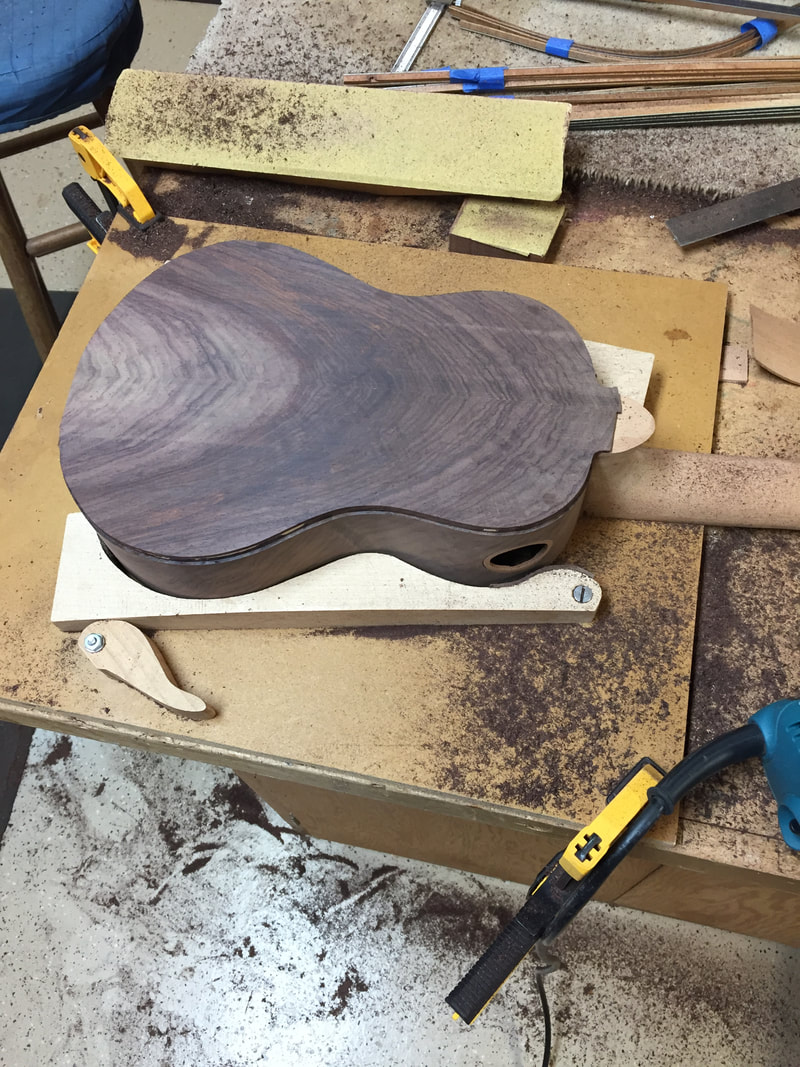
But first you have to cut the channel for the bindings through, not only the soft Redwood top, but also the hard Rosewood side. It is always a little nerve wracking.
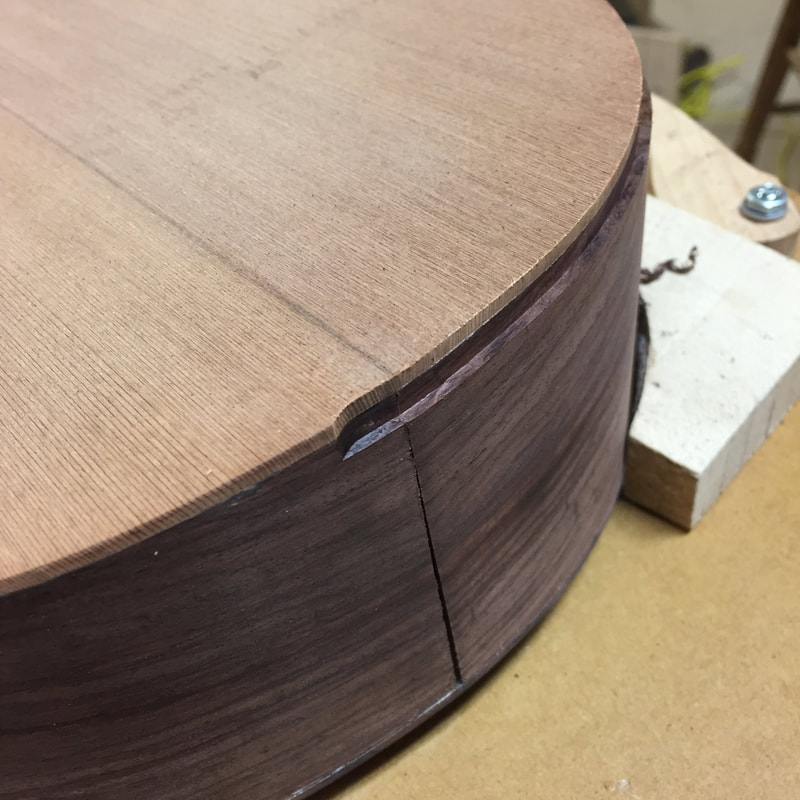
But a small router, a sharp bitt and a steady hand seem to make it work every time.
And what a mess it makes, sawdust everywhere.
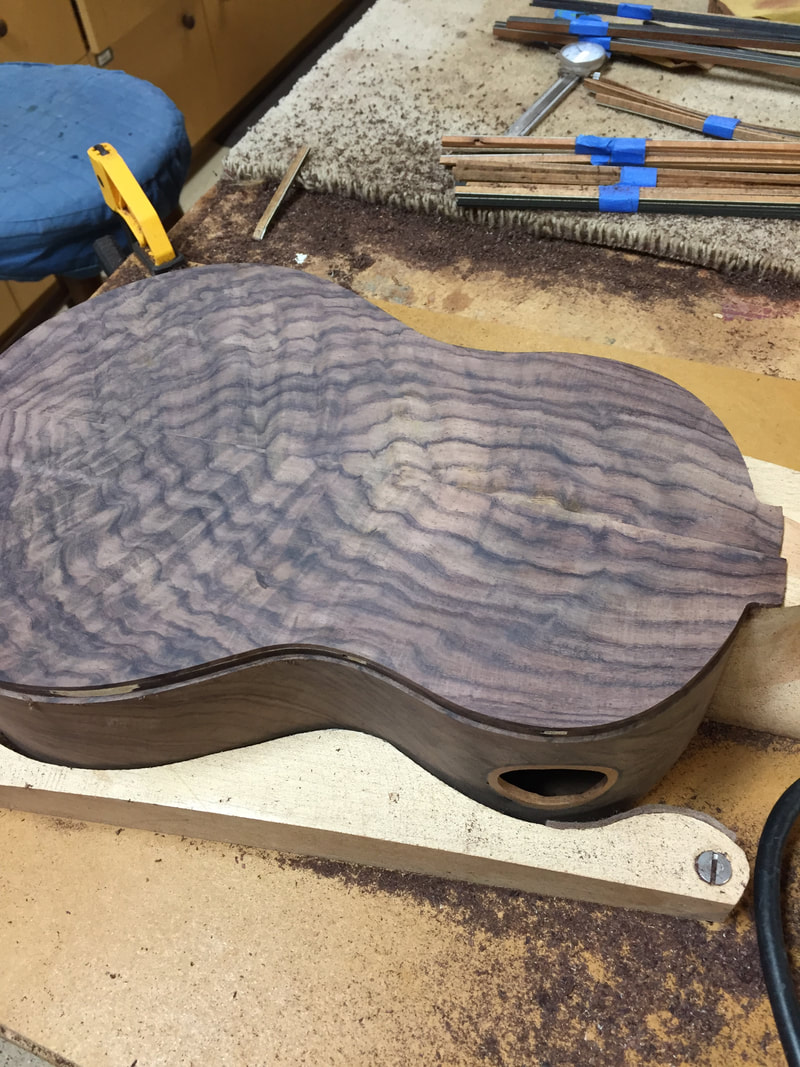
And after the second uke, it is only worse.
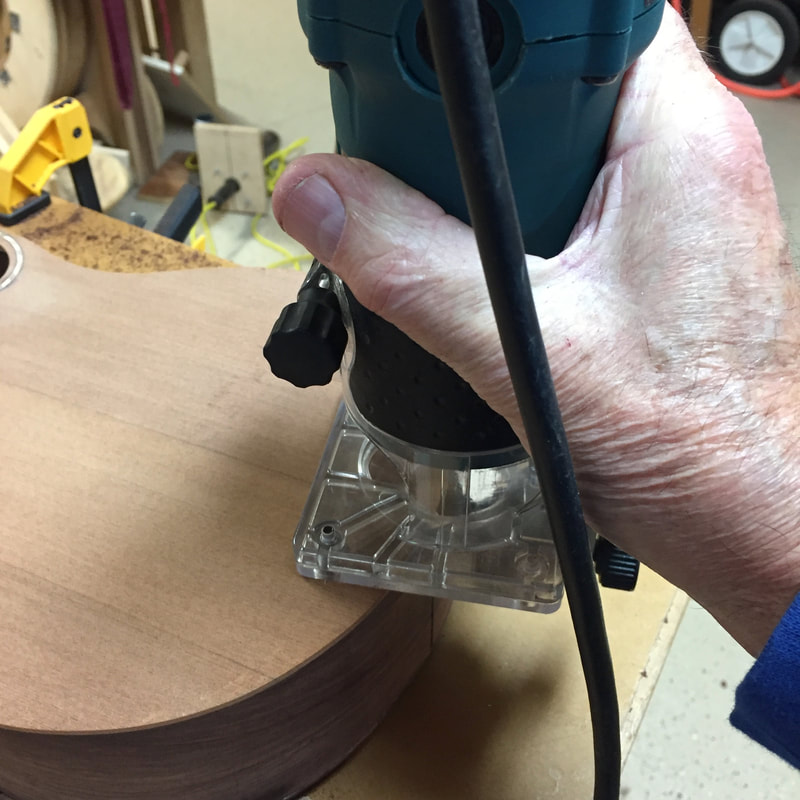
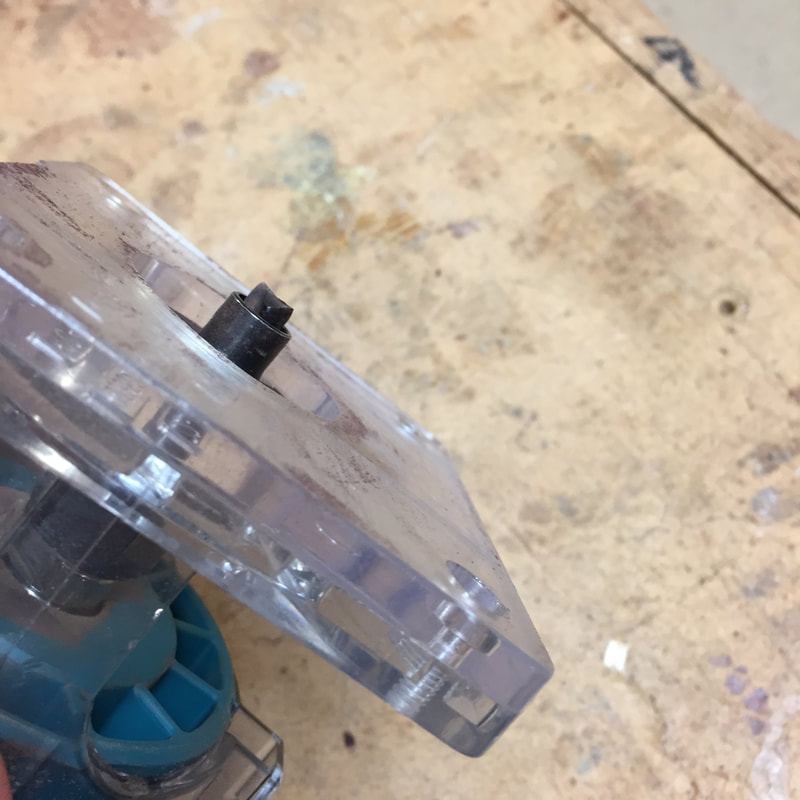
And now to rig the router to cut the end piece inlay.
 | 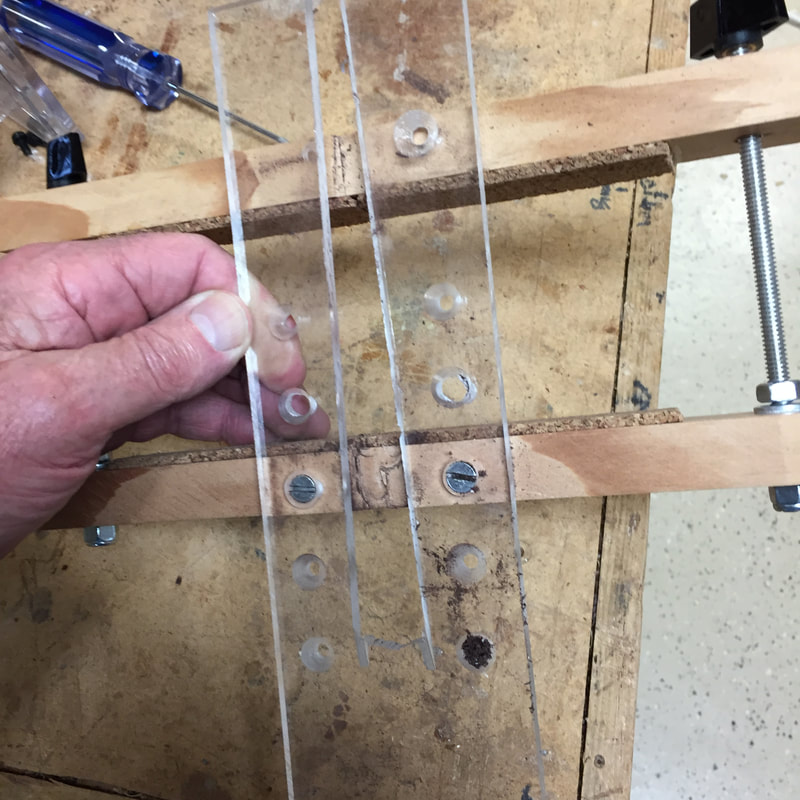 |
This guide will ride along the jig made of 1/4 inch plexiglass. The jig clamps to the back of the instrument over the center seam where the sides join. Tomorrow I will install the bindings and the end inlay.
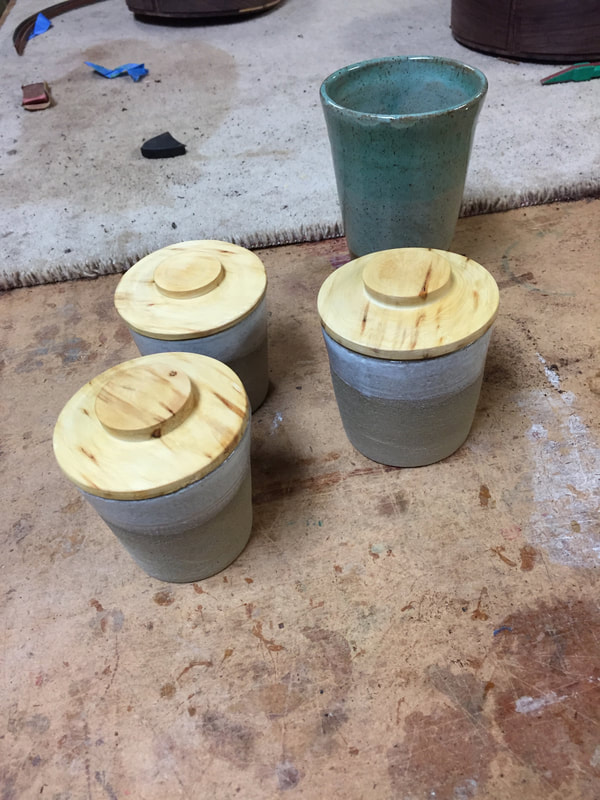
In late afternoon my daughter arrived from Seattle. She is having great fun learning the pottery art and wanted some wooden lids. We had a fun time making these tight fitting lids.
In late afternoon my daughter arrived from Seattle. She is having great fun learning the pottery art and wanted some wooden lids. We had a fun time making these tight fitting lids.