PUTTING A RADIUS CURVE in the fret board lets the natural curve of your finger hug the fret board more comfortably and naturally. I think it adds to the playability of the instrument and so I am now radiusing fret boards on my ukes. It is kind of a task to do it, but then so is every other act in making a good instrument. There is probably a quicker and easier way to do this but I just sand the fretboard down with this radiused sanding block
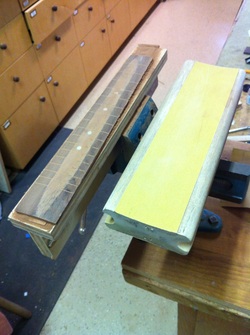
The fret board is attached to the platform held in the vise using two sided tape. The wooden block on the right has both a 10 foot and a 12 foot taper, depending on what side you wish to use. I put sticky sandpaper on the 10 foot side and get to work.
You can see that as you sand with this concave block the edges of the fret board are cut first, slowly, slowly the un-sanded section in the center gets smaller and smaller as the work progresses.
You can see that as you sand with this concave block the edges of the fret board are cut first, slowly, slowly the un-sanded section in the center gets smaller and smaller as the work progresses.
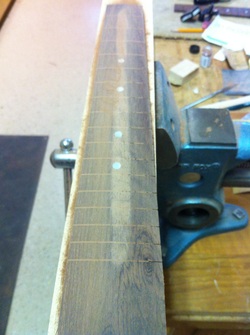
Now the un-sanded section (seen as lighter in color) gets more narrow. You know you are almost done when the sand paper begins to cut into the Mother of Pearl dots which are dead center on the fret board.
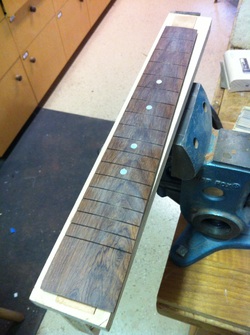
Now at last the entire board has been sanded, and the 10 foot radius has curved the entire board. The fine whitish mist shown is dust from the Mother of Pearl dots. It will disappear when wiped up.
Now it is time to put the tiny MOP dots on the edge of the Fr board.
You must wait till after the radius is done so you will know how wide that edge is, and where to drill the hole for the dot. There is not going to be any room for error there.
Now it is time to put the tiny MOP dots on the edge of the Fr board.
You must wait till after the radius is done so you will know how wide that edge is, and where to drill the hole for the dot. There is not going to be any room for error there.
