Been making lots of progress on the second set of pinecones while applying daily coats of french polish on the first set. Saturday I bent sides.
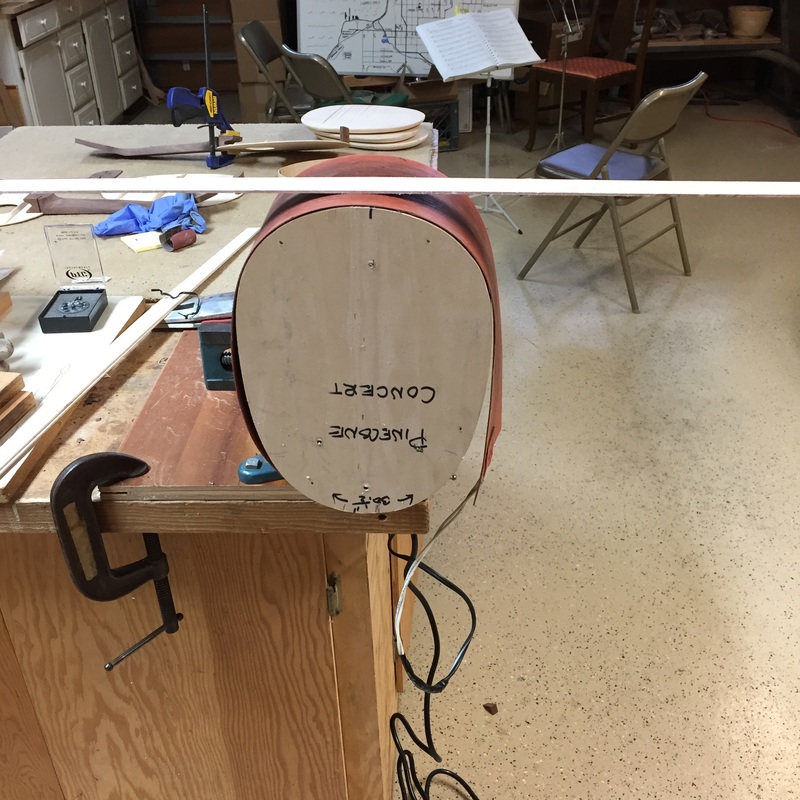
Here is how the bend starts. Set the bending form in the vice and hook up the heat blanket. A dry and unbent side is shown on top of the form.
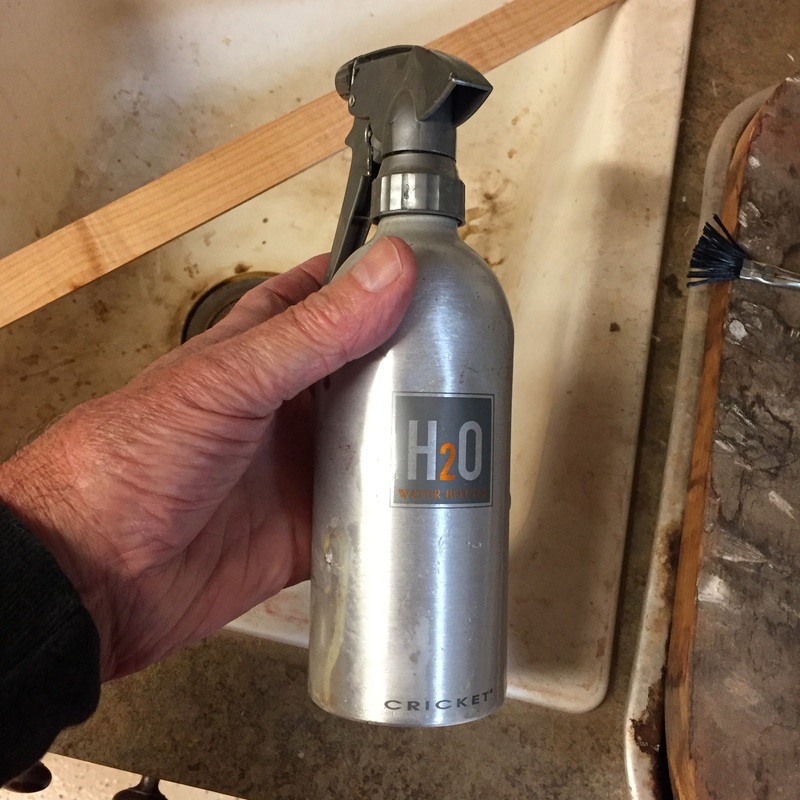
Spritz the side with a little water, just enough to get it all wet, you don't need or want to soak it.
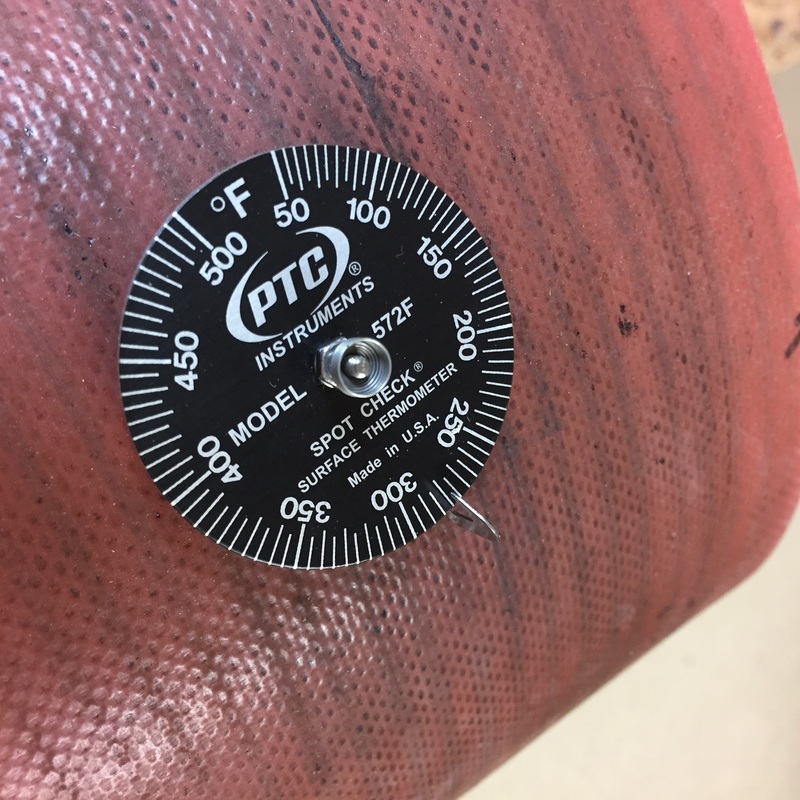
Let the blanket heat up to 300 degrees F. before you try to bend.
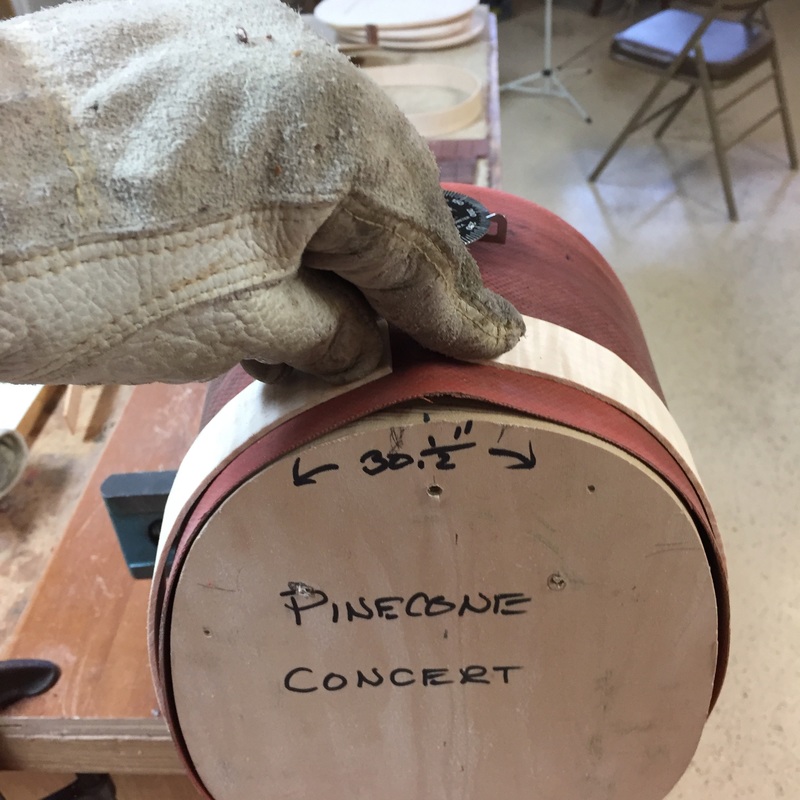
Then with gloves on, just bend the side around the form applying pressure slowly as you go around the curve. The wood will tell you when it is ready to bend. These narrow thin sides are really easy to bend. No compound curves. Because the heat blanket is not long enough to go entirely around the form I bend the broad, bottom curve first, then turn the form over in the vise and bend the tighter curves at the neck . When the bend is complete I tape the two ends together and let them cool.
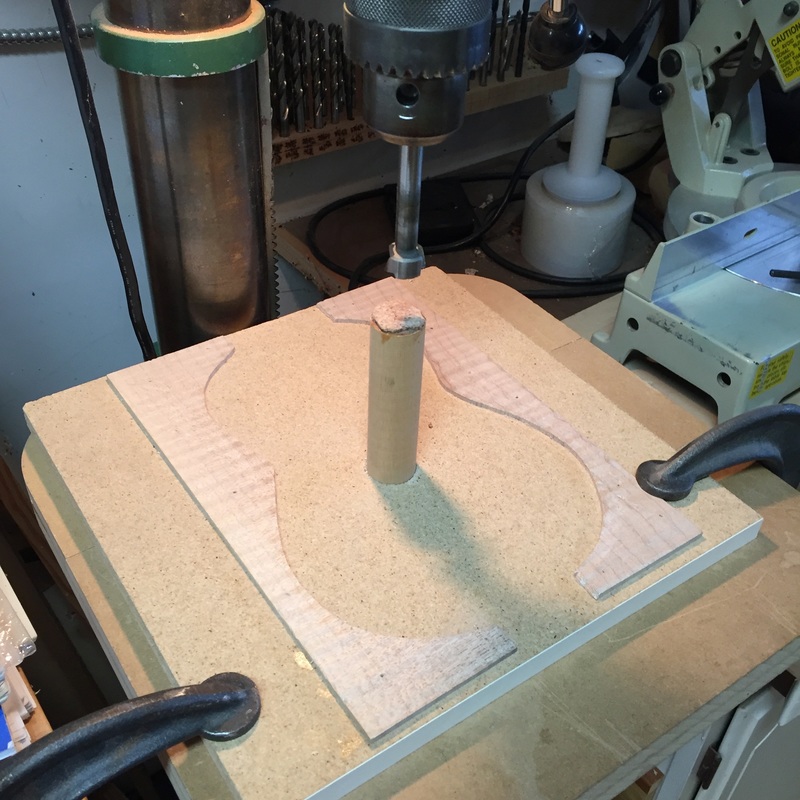
Next project is carving out the concave maple backs. I begin at the drill press where I will hog out most of the wood with a forstner bit that I have slightly modified by grinding down the center spike to make it shorter. I don't want it to penetrate the wood much farther than the cutting blades do. The Drill press is set to stop the cut at just the thickness that I want the back to be. When set properly it will not go through the wood, but stop at the perfect thickness. The post is padded with a piece of cork so that the exterior of the back will not be dented.
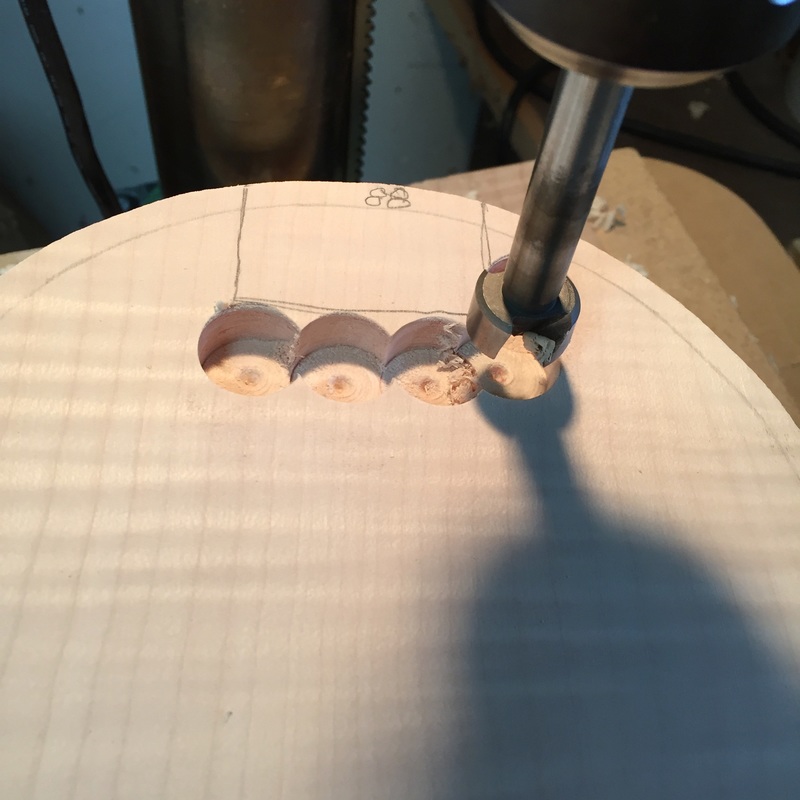
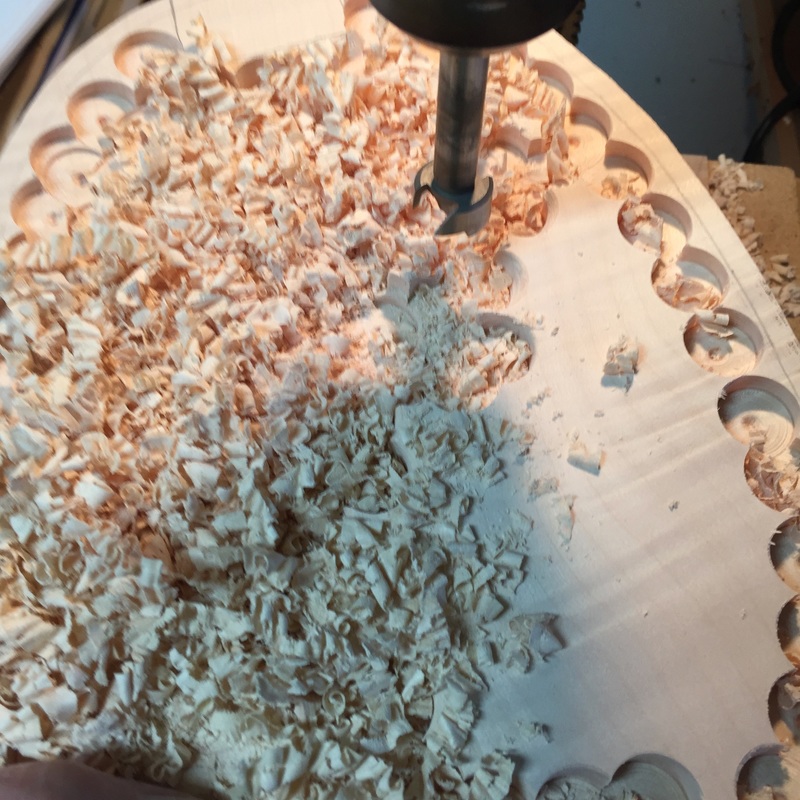
And here we go, the bit stops at the same depth each time and removes a great deal of wood. As I get to the edges I tilt the piece slightly. Remember that the back is already curved and because it rests on the post below, the cuts follow the curve and become shallower at the edges.
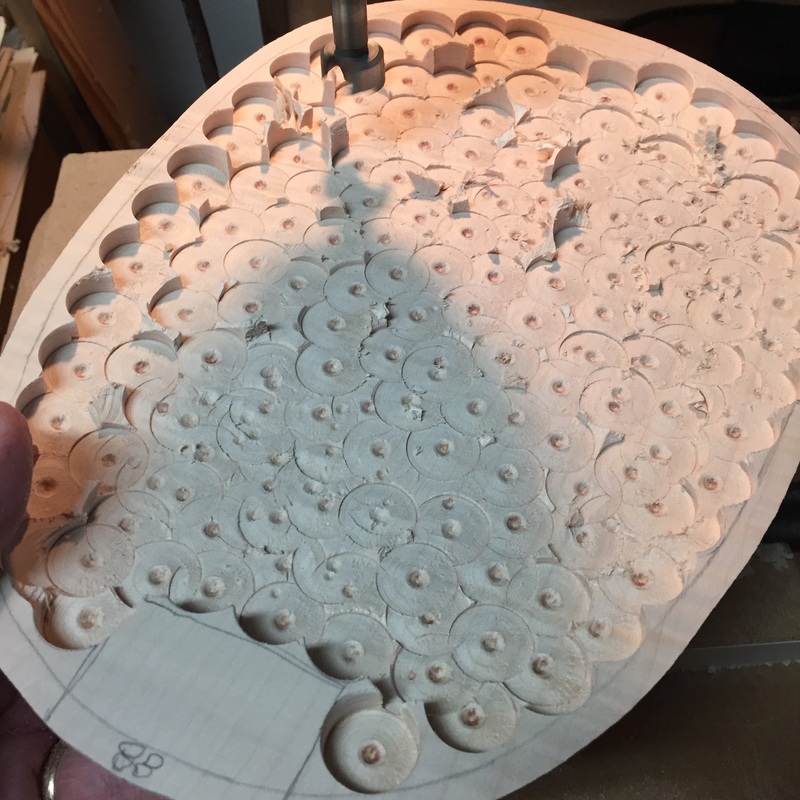
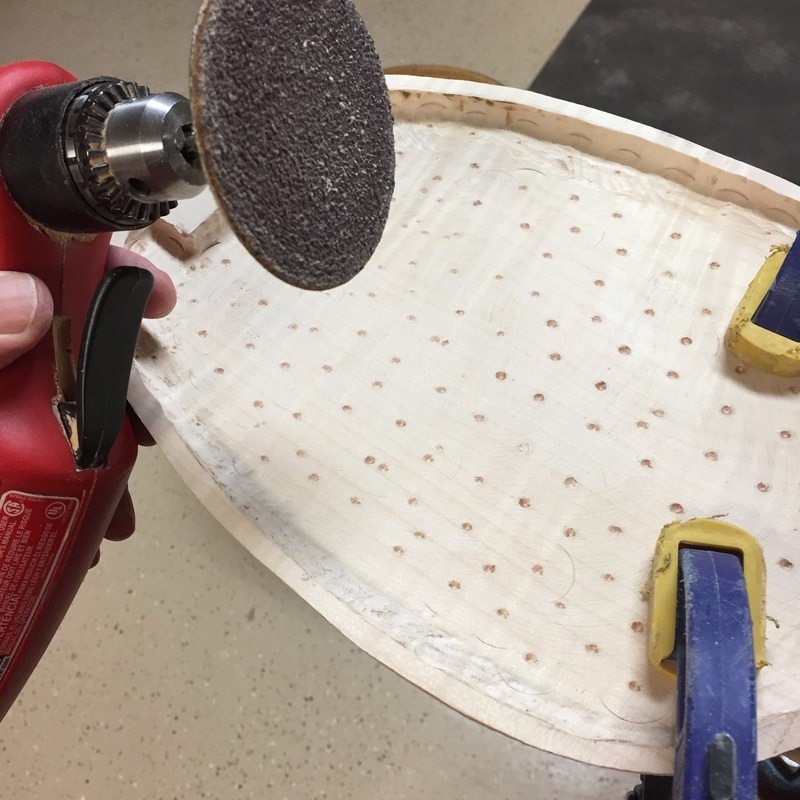
With this right angle electric drill and a 36 grit sanding disk I grind it down smooth. Note that the tip of the Forstner bit has left its hole in advance of the cutting blades. I will grind down the surface until the holes just disappear and I will have the back at the perfect thickness. then a finer grit on the sanding disk will make it look slick and smooth.
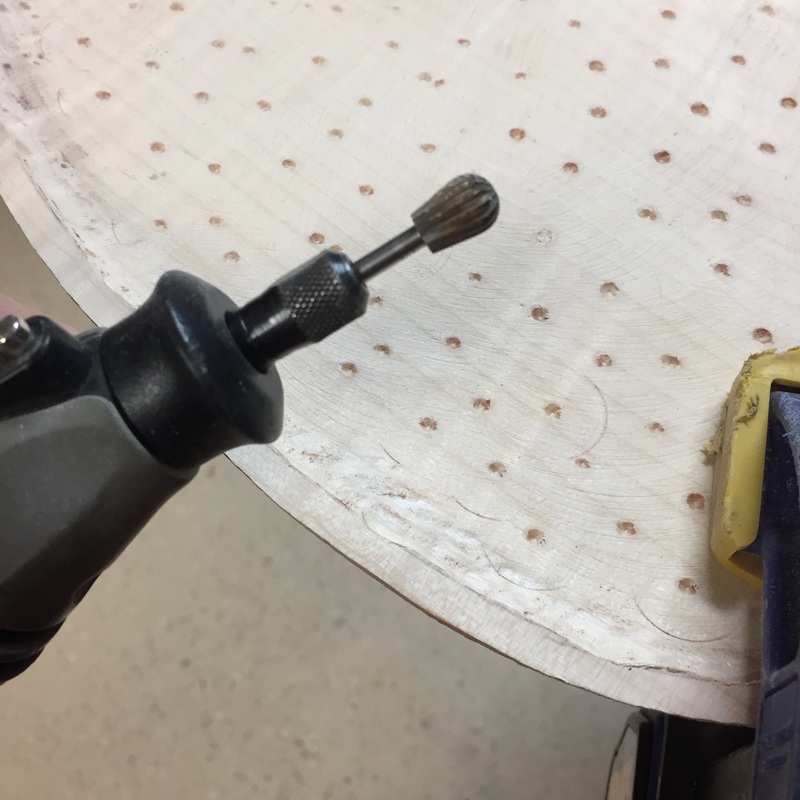
This burr on a Dremel will take care of the places where the sanding disk could not reach and clean up the edges. I do that before the final attack on the holes.
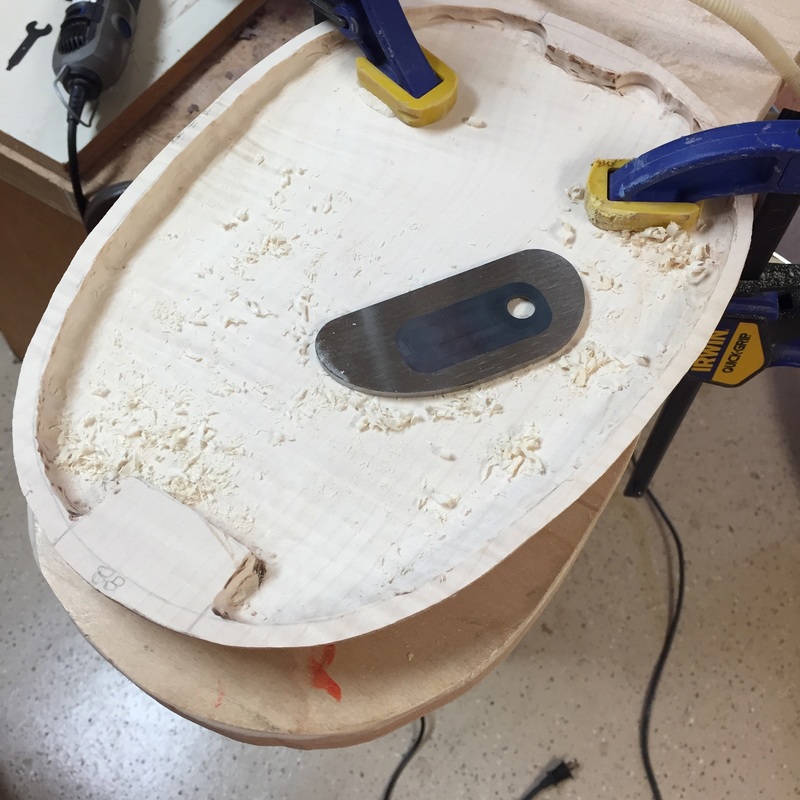
After the final sanding disk work a little clean up with the scraper is called for and this back is done. Note the bit holes are gone. The back is quite thin. I tap tone them to be sure they are thin enough to ring nicely. This will make a nice sounding Pinecone.
