Big progress was made today. Got another coat of French Polish on the tenors and they are beginning to look really good- then turned my attention to the Pinecones.
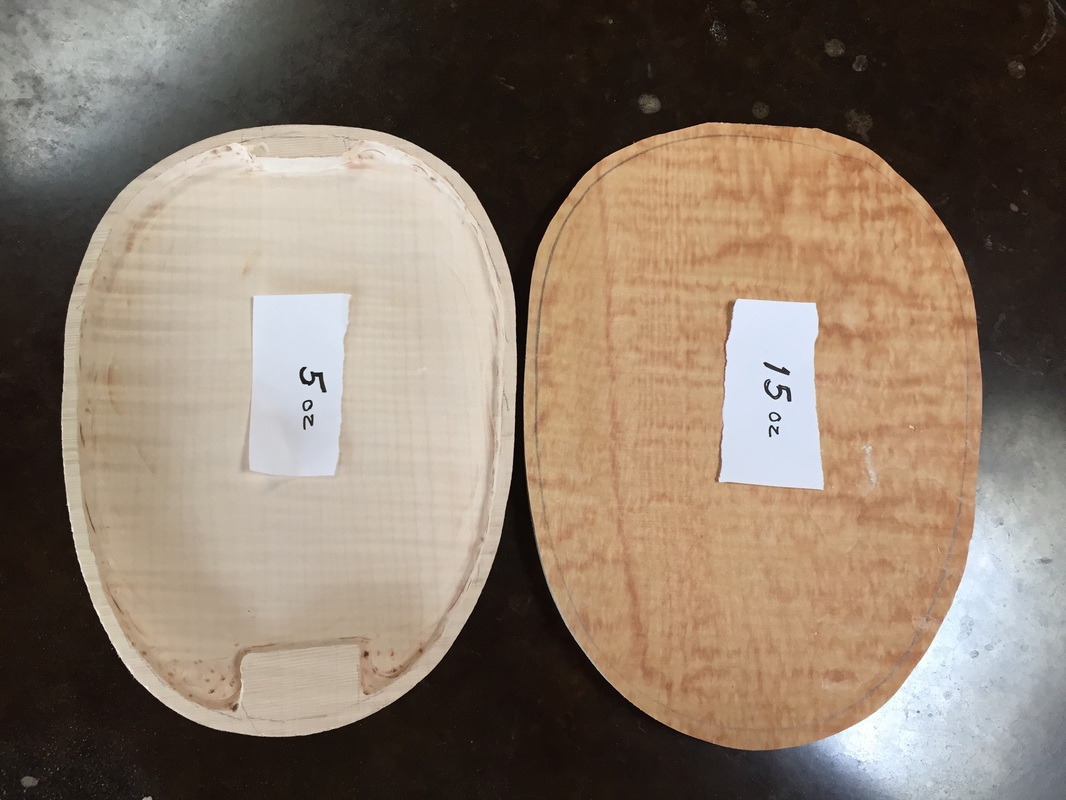
First I finished up the backs with a sanding with finer grit, thinning them down a bit. Then I got curious to know how much wood I had removed from the beginning blank to the finished back. The back is 1/8th inch thick . I decided to weigh before and after. The weights tell me I have removed two thirds of the wood from the original stock.
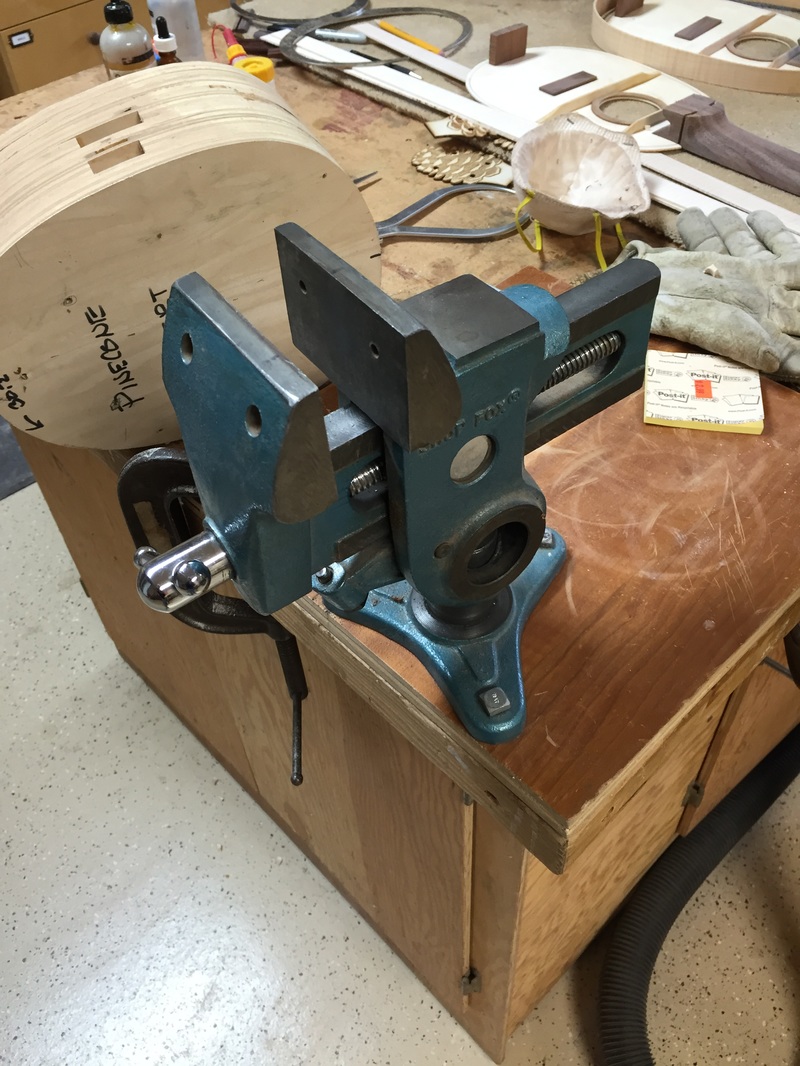
Good tools are essential in instrument making. This is a "Parrot Vise". I clamp it to the work table or wherever I want a vise. It is usually in this upright position but when I want to bend Pinecone sides I turn it on its side
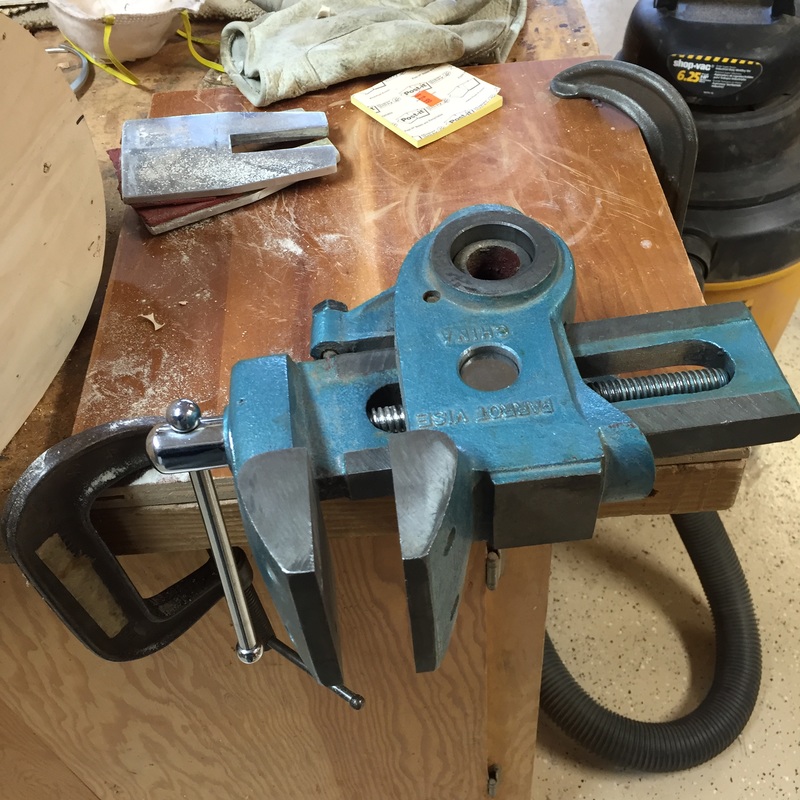
Like This. Now I can attach my Pinecone bending form
 Like This! | 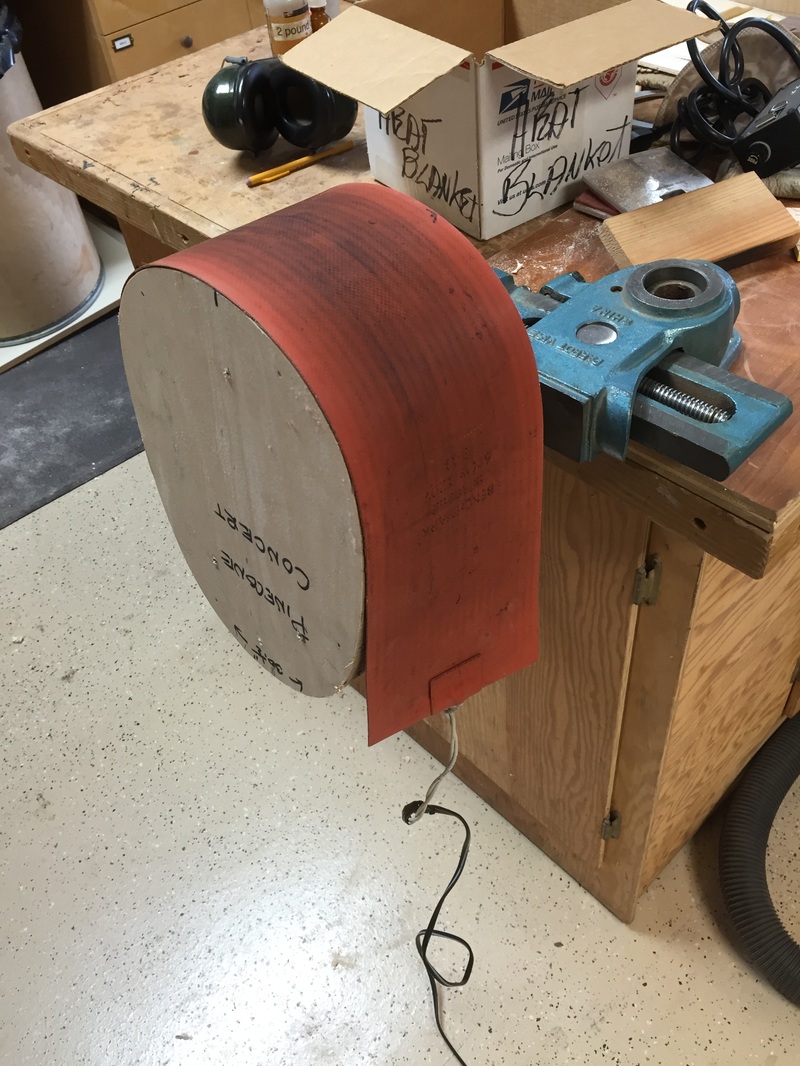 And drape the heat blanket and I am ready to bend the sides. |
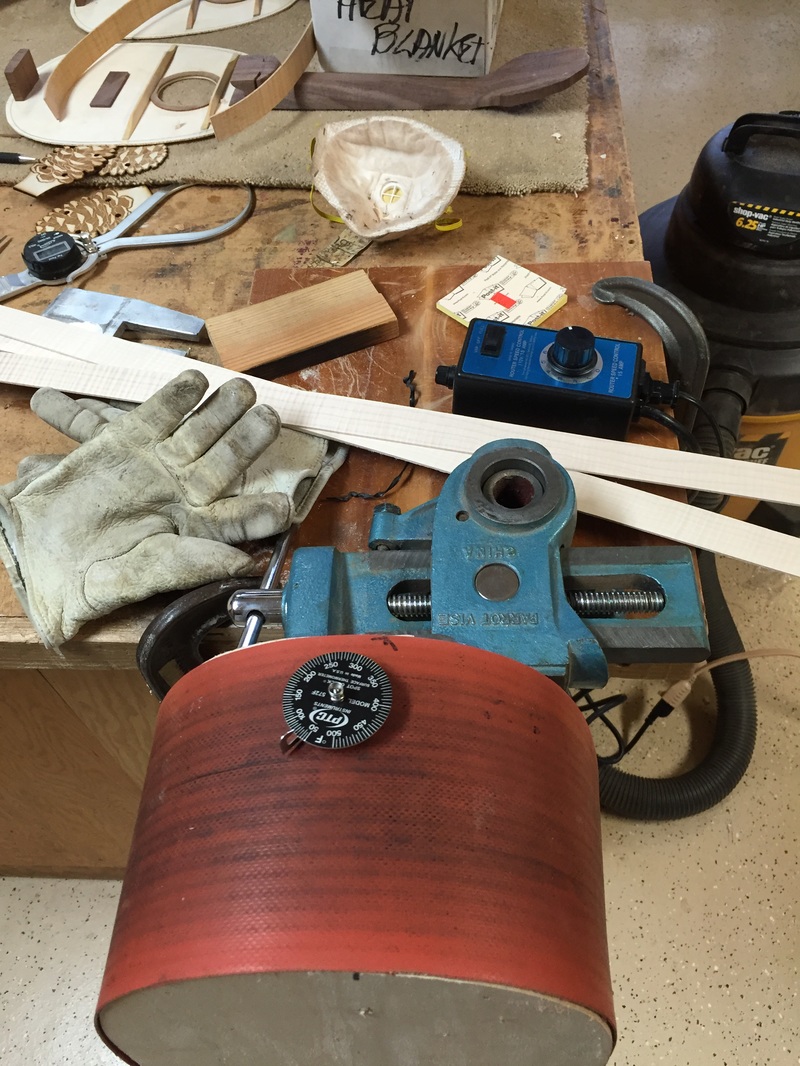
Here is everything I need for bending the sides. The form, the heat blanket, the thermometer, Leather gloves, The pre-cut sides, the blue rheostat controller w/ on and off switch, and a piece of wood to massage and press down the bending sides.
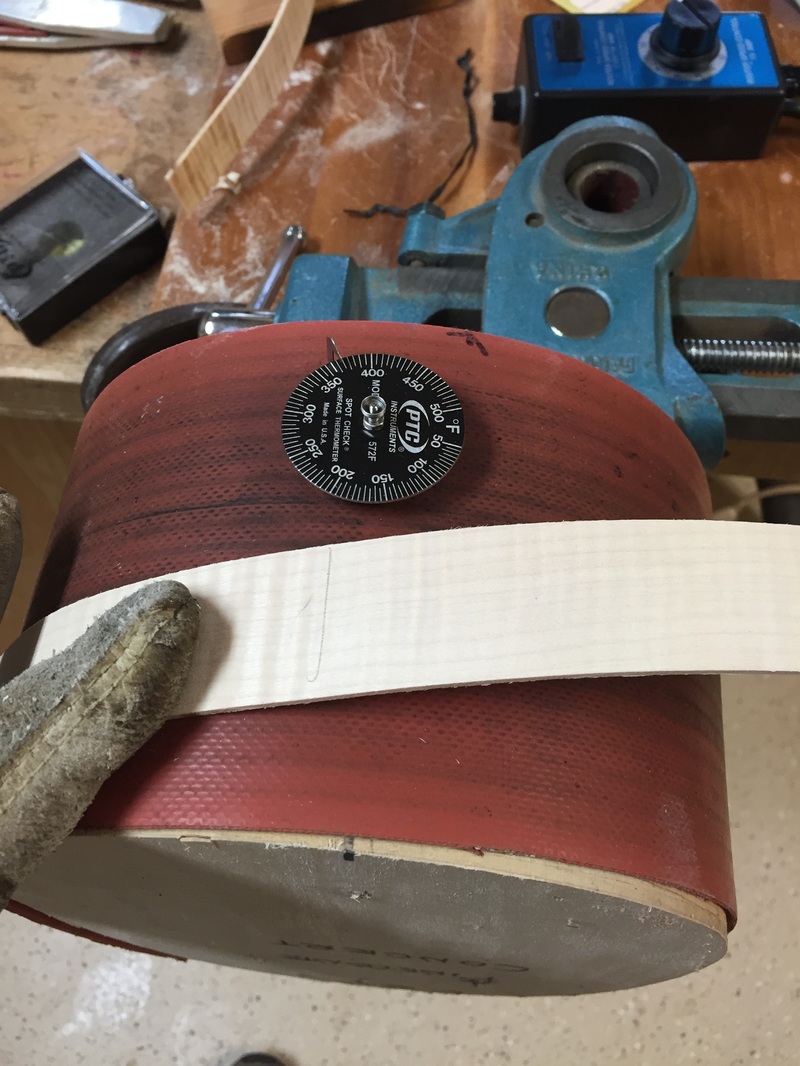
Bending these Pinecone sides is really a piece of cake compared to the compound curves of a tenor. I just spritz the sides with water, center them on a 350 degree heat blanket and gently press the sides. The maple complies without complaint and in a couple of minutes the broad lower part is bent.
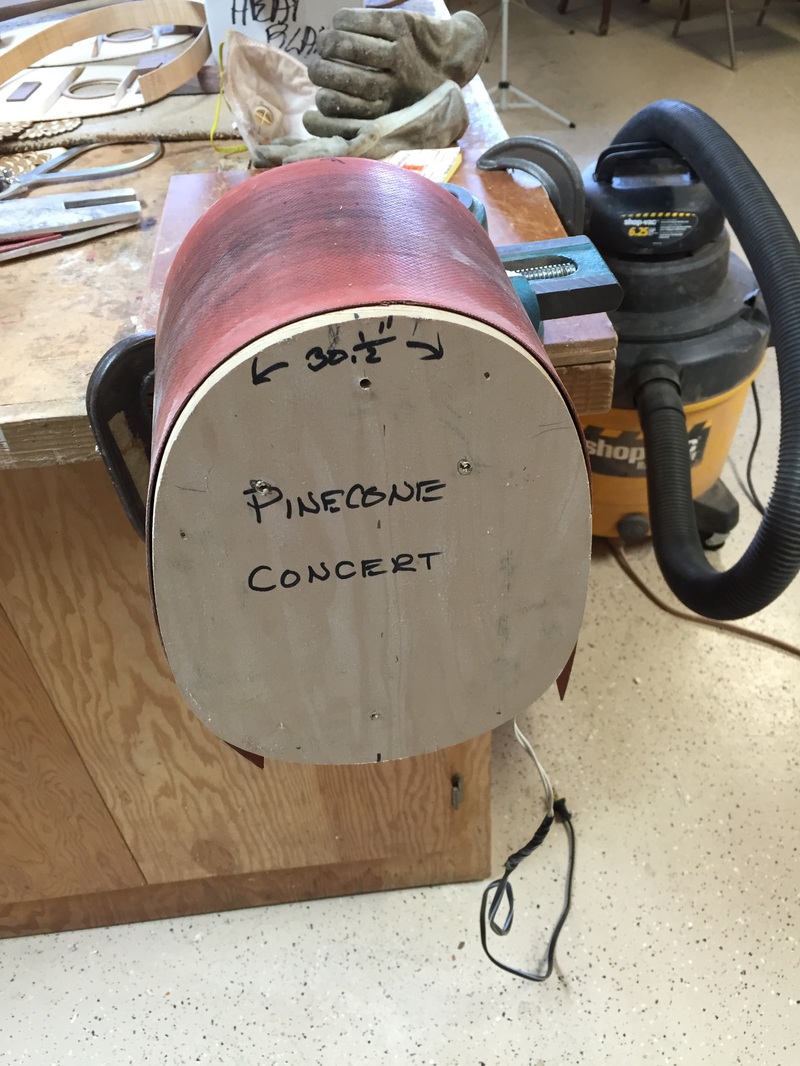
Then the form is turned over in the Parrot Vise and the heat blanket re-draped to bend the sharper bend at the top of the uke. This is also an easy bend
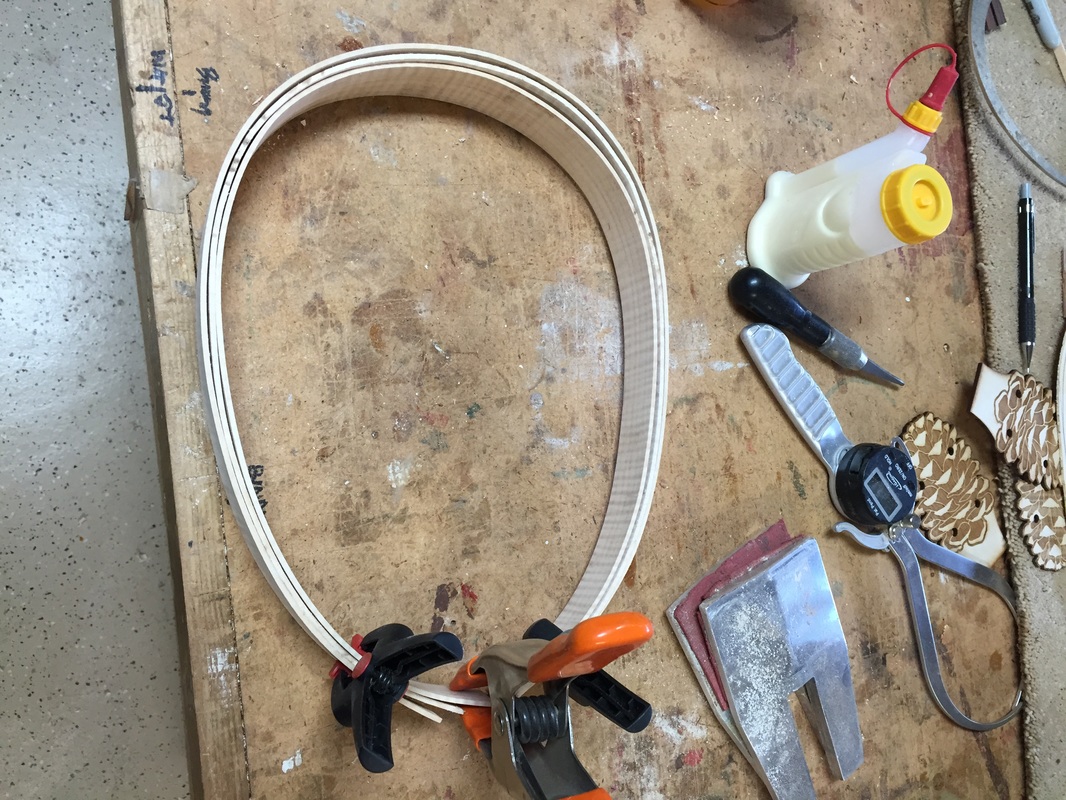
And now all three are bent and I hold them in their curved position with some little clamps as they cool.
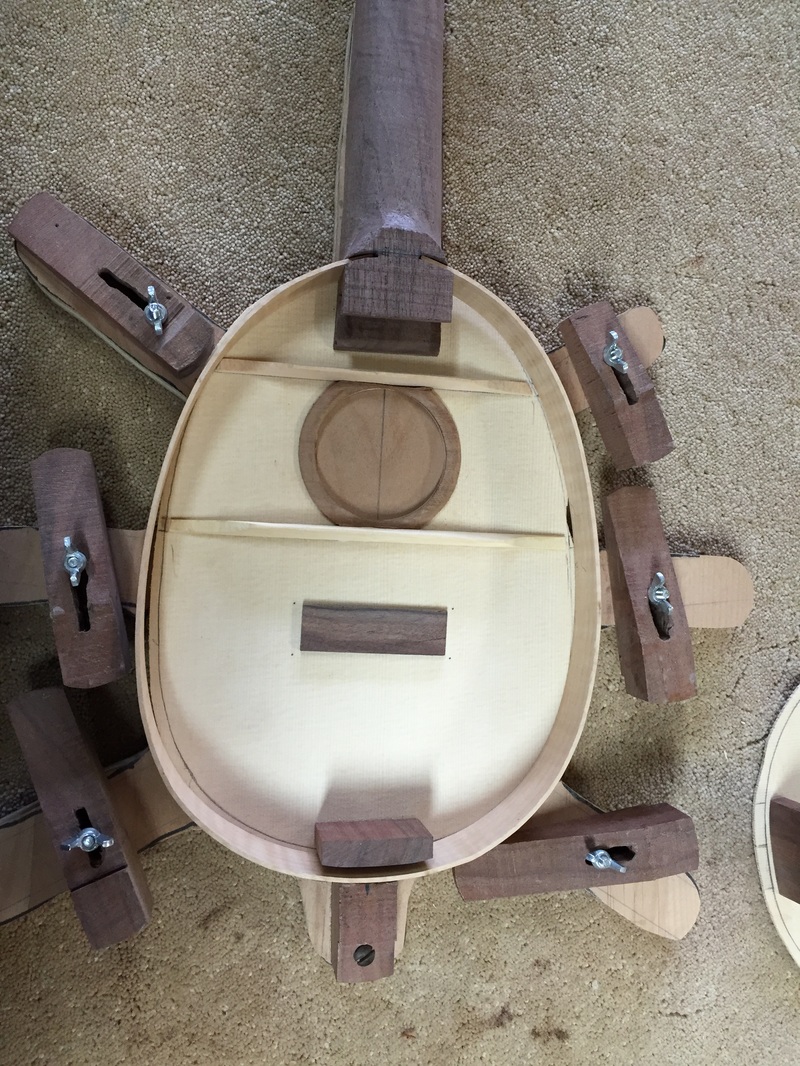
Now lets install those sides onto the underside of the soundboard. First you must trim the ends little by little until the sides fit perfectly within the pencil lines you drew way back in the beginning. This photo shows the assembly jig and a side that is still a bit too long

I carefully shortened each leg of the side until it fit comfortably and perfectly, Then a little glue, a few clamps, tighten the supports on the jig and it is done.
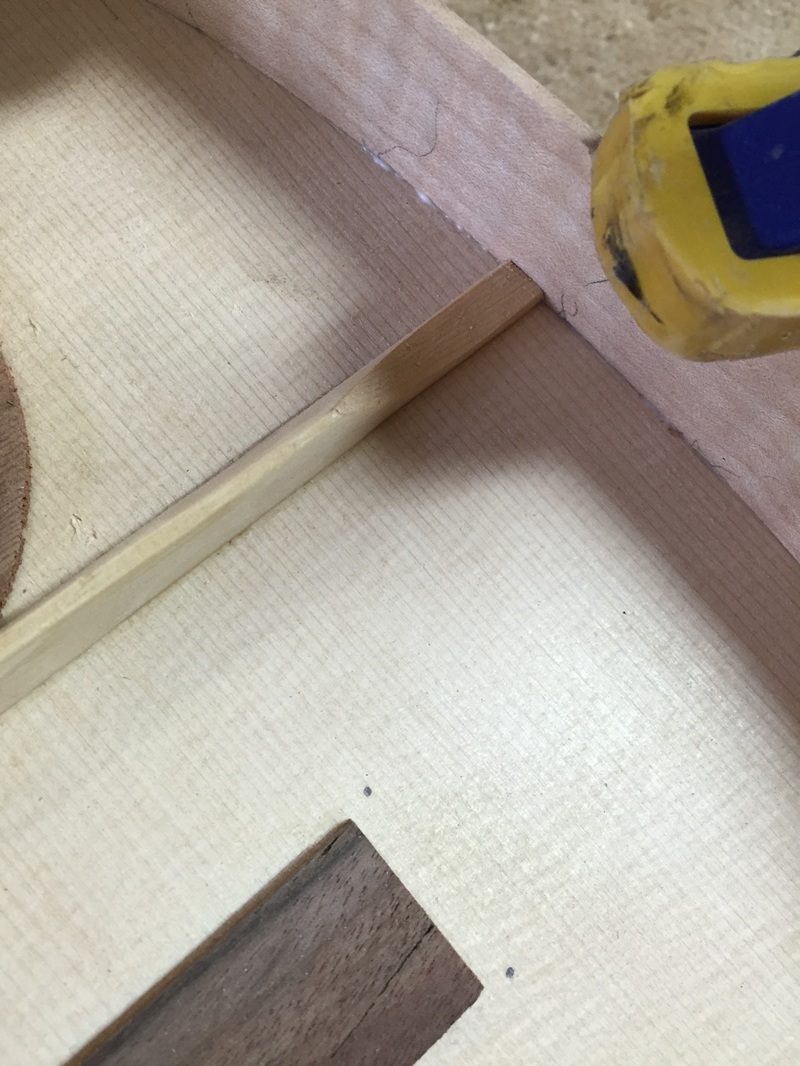 | 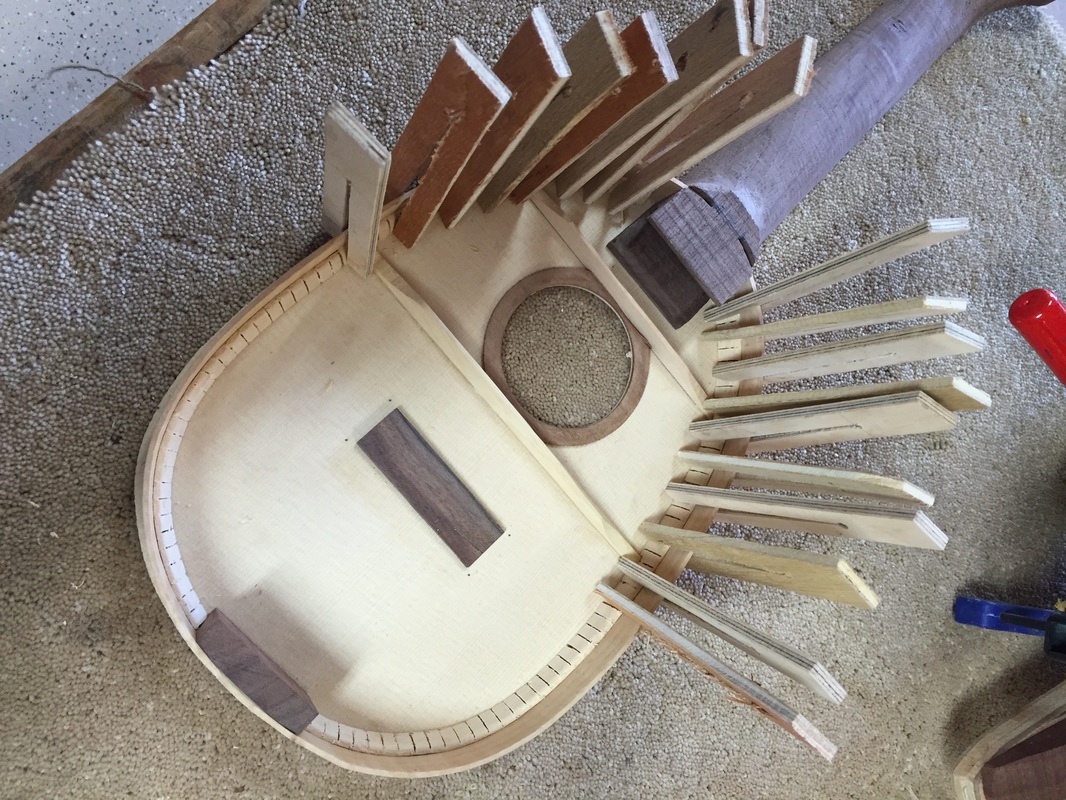 l. Look at the nice tight fit of the brace and the side. It is right where it was supposed to be. >. After a couple of hours in the jig I took it out and glued in Tentalones held in by these simple split braces made of 1/8th inch plywood. |
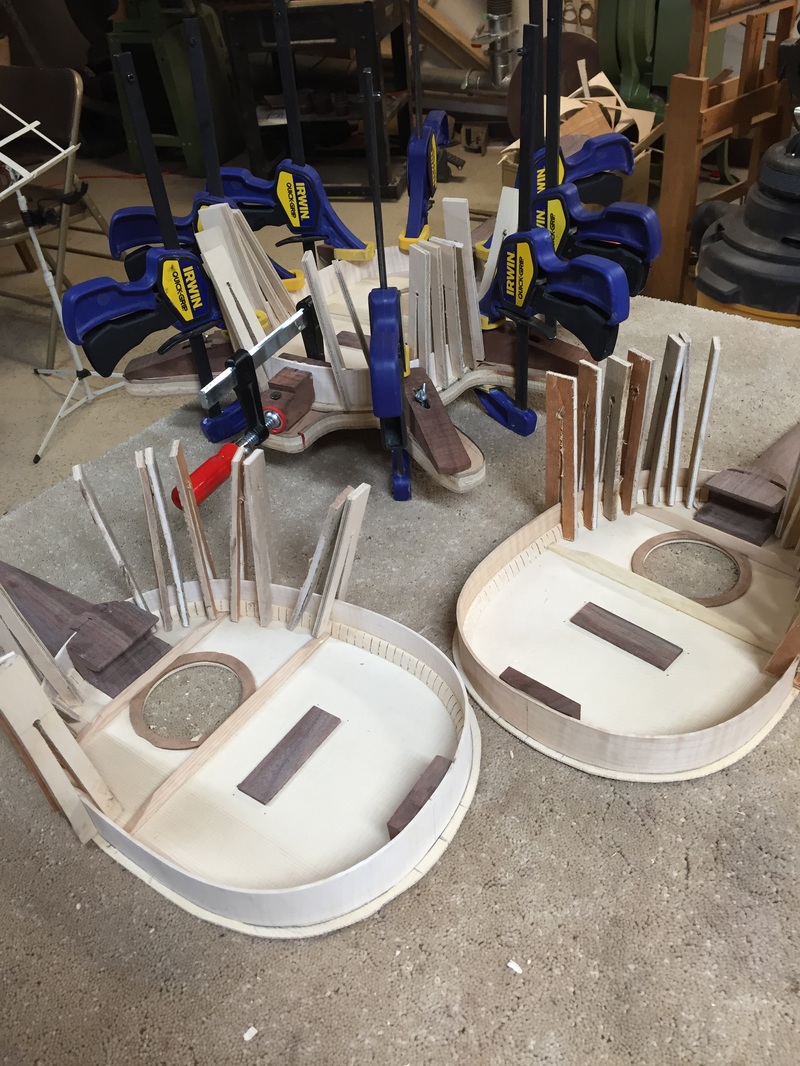
After dinner I went down and put the third Pinecone in the assembly jig. A pretty good day, I got sides on all three of them in three perfect fits.
