 | 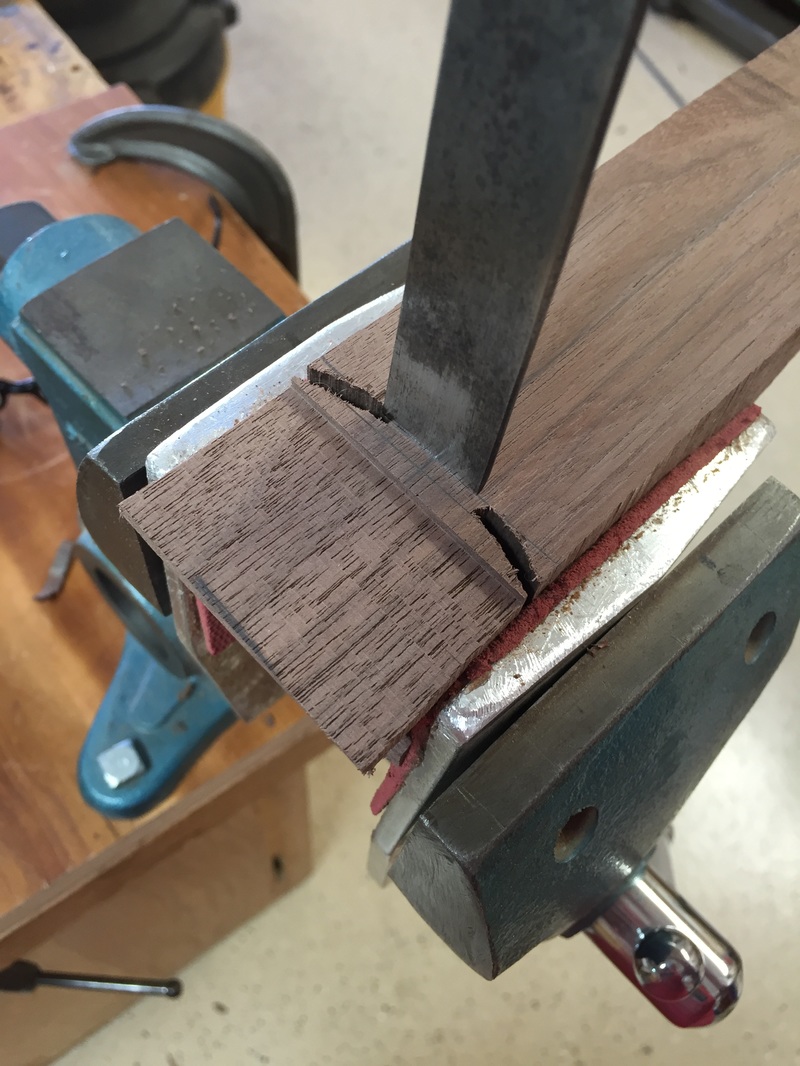 | 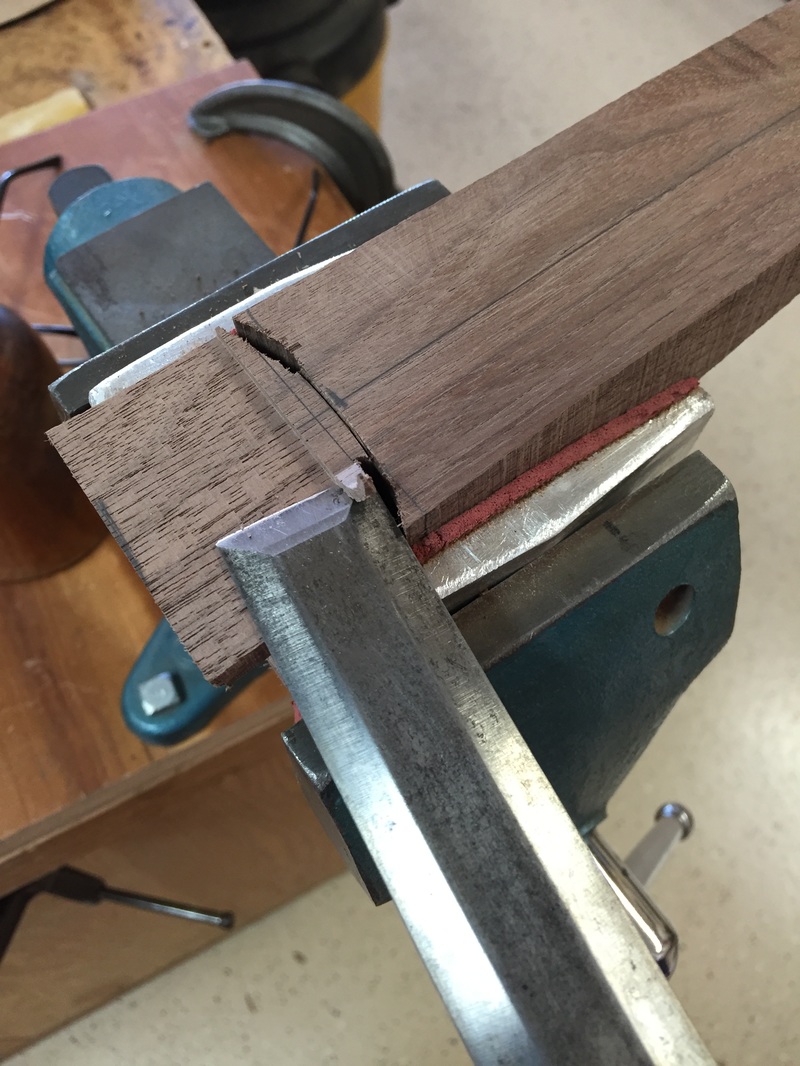 |
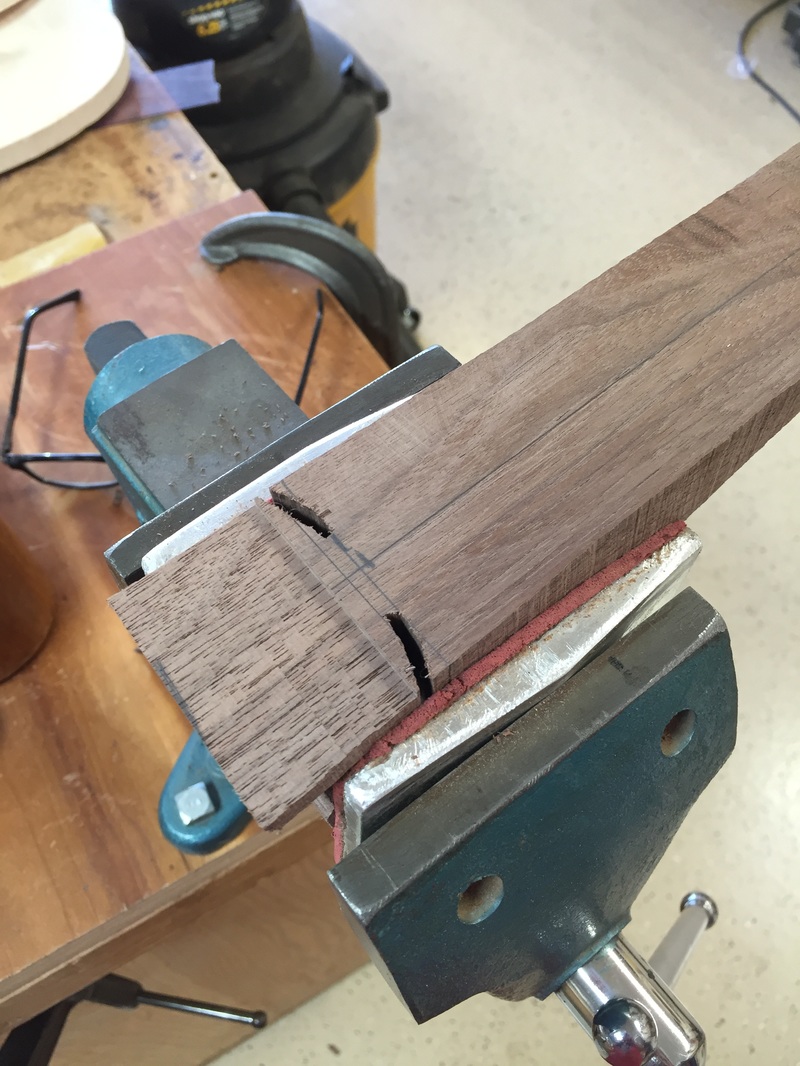
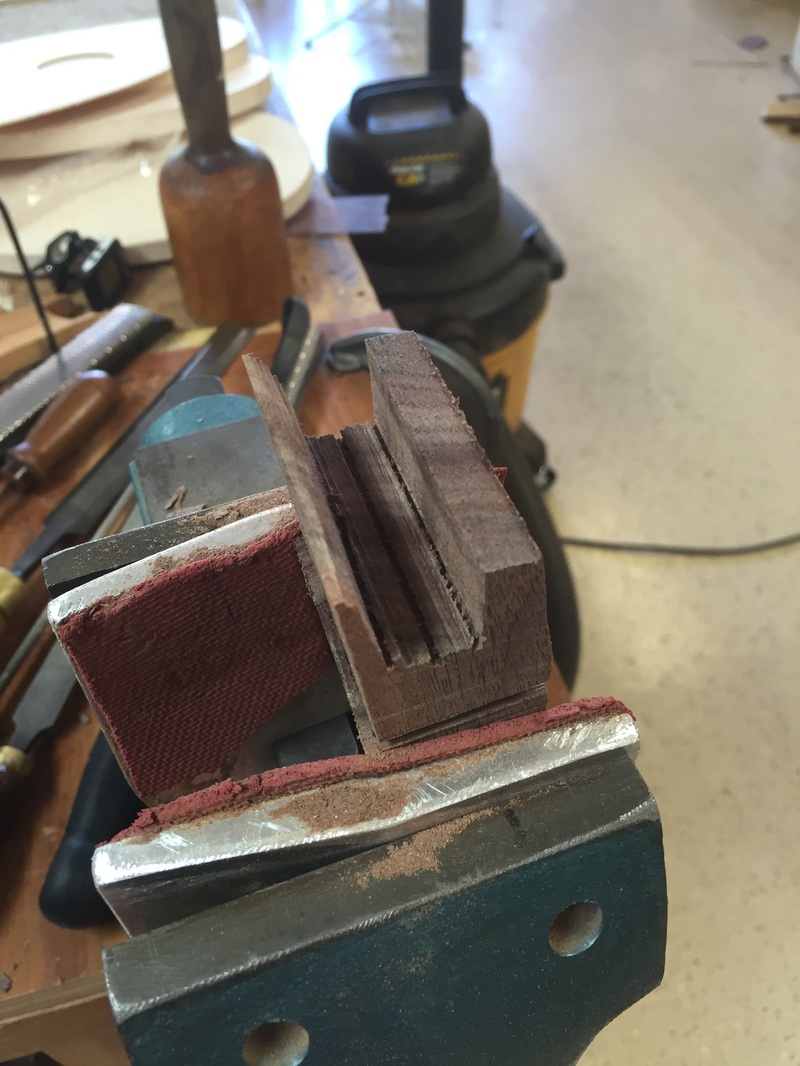
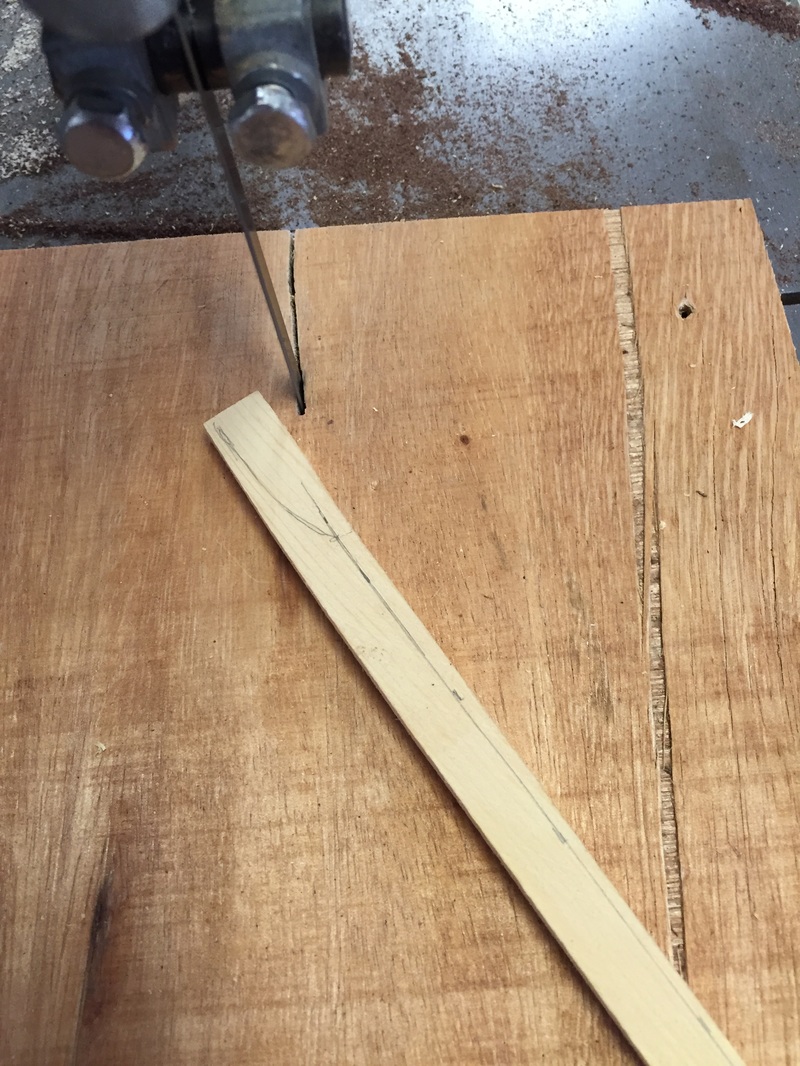
The notch for the soundboard has been hogged out on the table saw carefully matching its depth to the thickness of the spruce soundboard. Now I need to cut out the wood in the curve. A slightly rounded carving chisel and a sharp flat chisel do the work in just a jiffy. Previously I had carefully re-measured and cut the side inlet notches on the band saw.
 |  |
Now to clean up the messy band saw marks on the inside of the neck. These will be visible from the sound hole so they need to be finished.
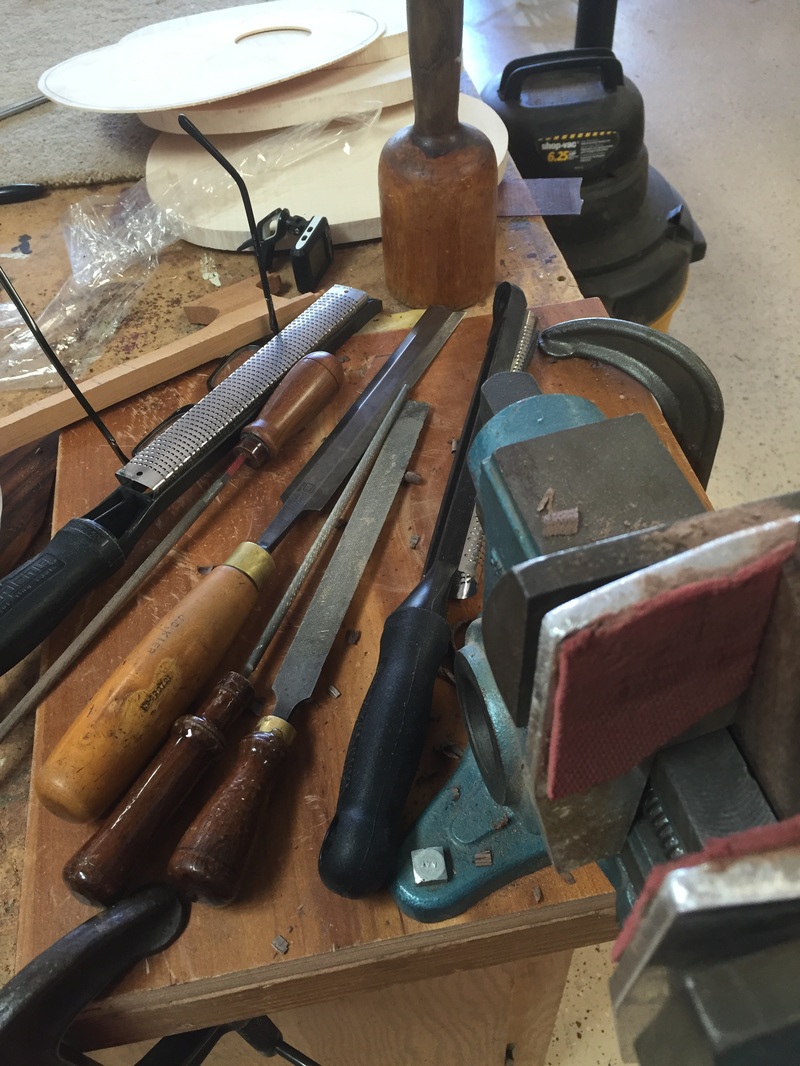
It takes a pretty large array of tools to do this kind of work.
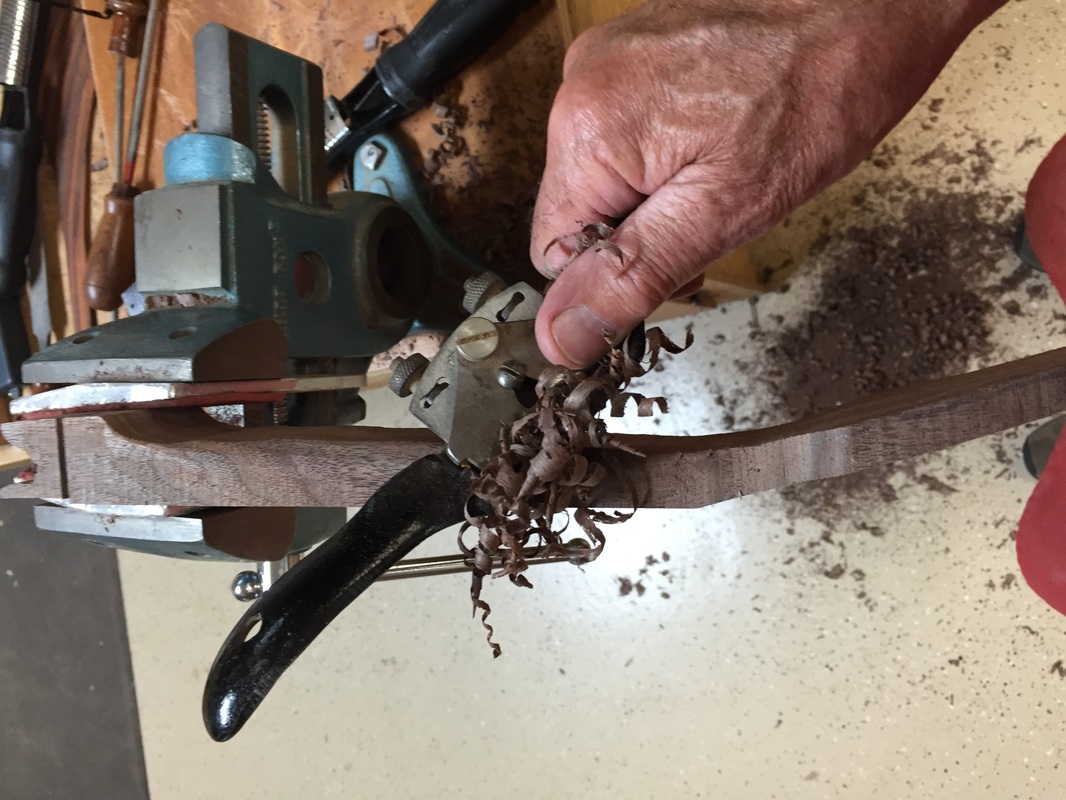 Now I want to rough shape the neck before attaching it to the soundboard-so onto the Parrot Vise it goes and I will hog off lots of material with that favorite tool, a draw knife. Having done as much as possible with the draw knife I turn to the rasps for more shaping. The final shaping and sanding will be done after the instrument is boxed in. | 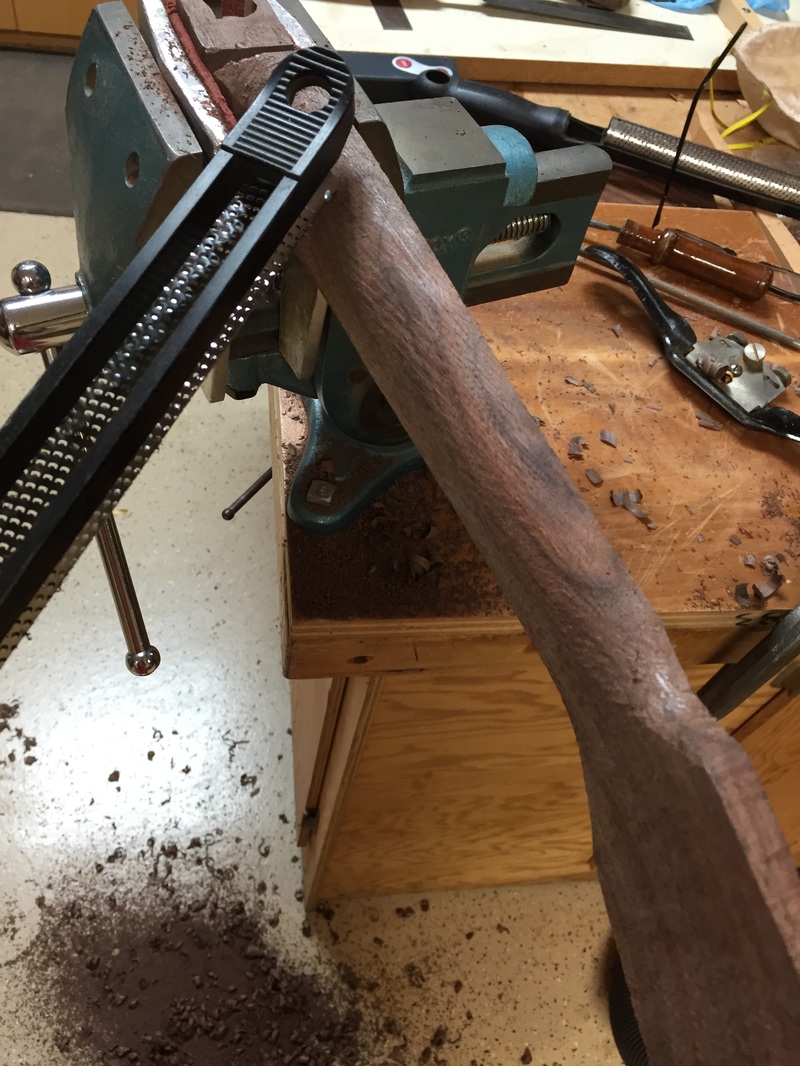 |
 | 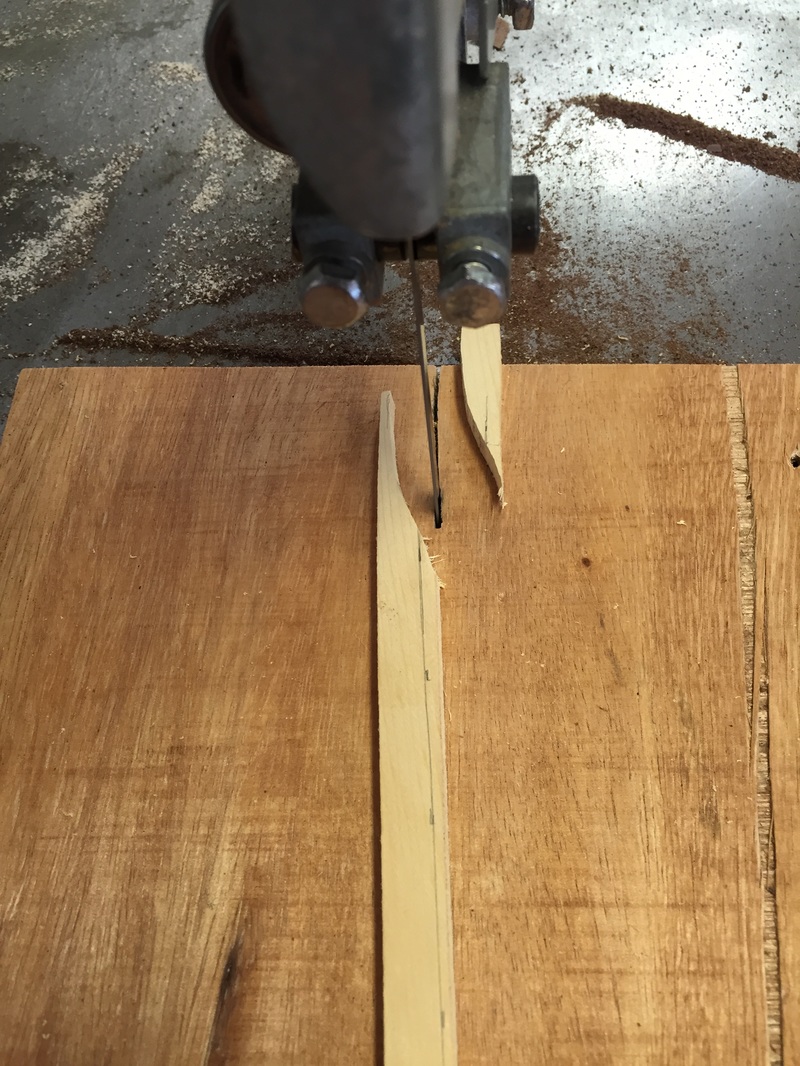 |
Now lets work on the soundboards. First we must make the braces. Only two braces per uke on the Pinecones so this goes really fast. Fine grained Sitka Spruce is cut on the band saw to taper the ends. I find that fine work like this on a band saw is safer and easier if you saw through a piece of scrap 1/4 inch plywood using it for a platform.
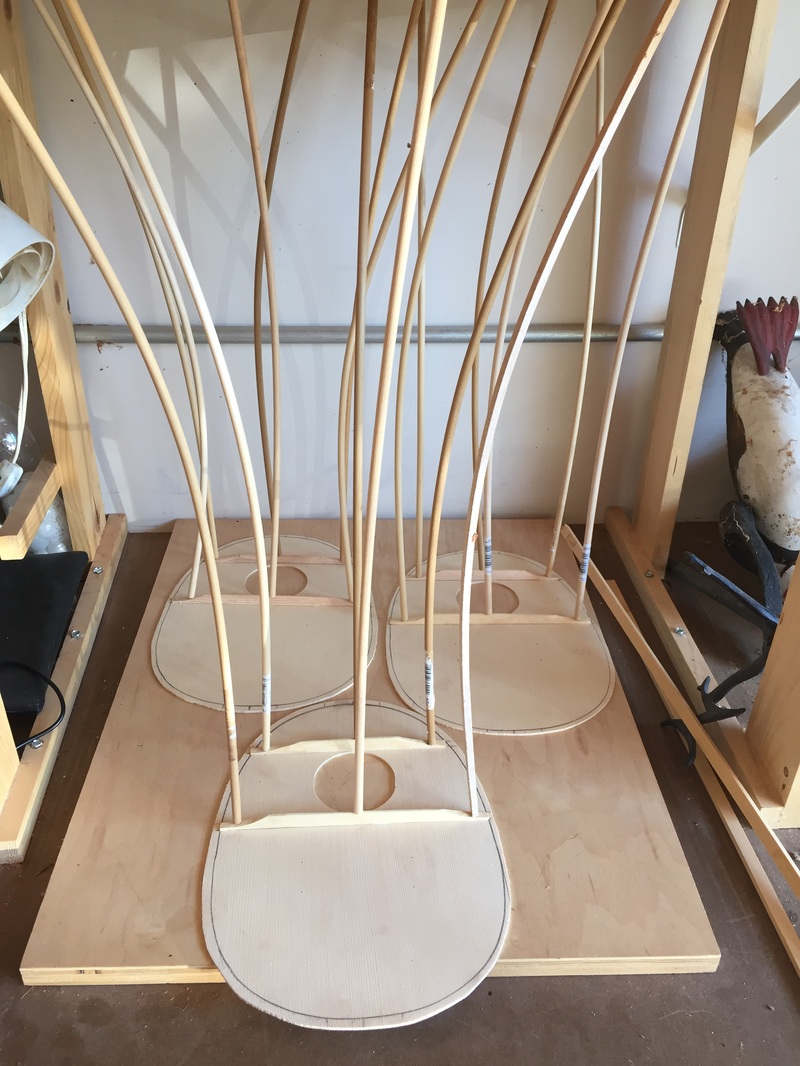
Then into the "Go-Bar" press for glueing. A handy way to glue wide pieces. Works like a charm.
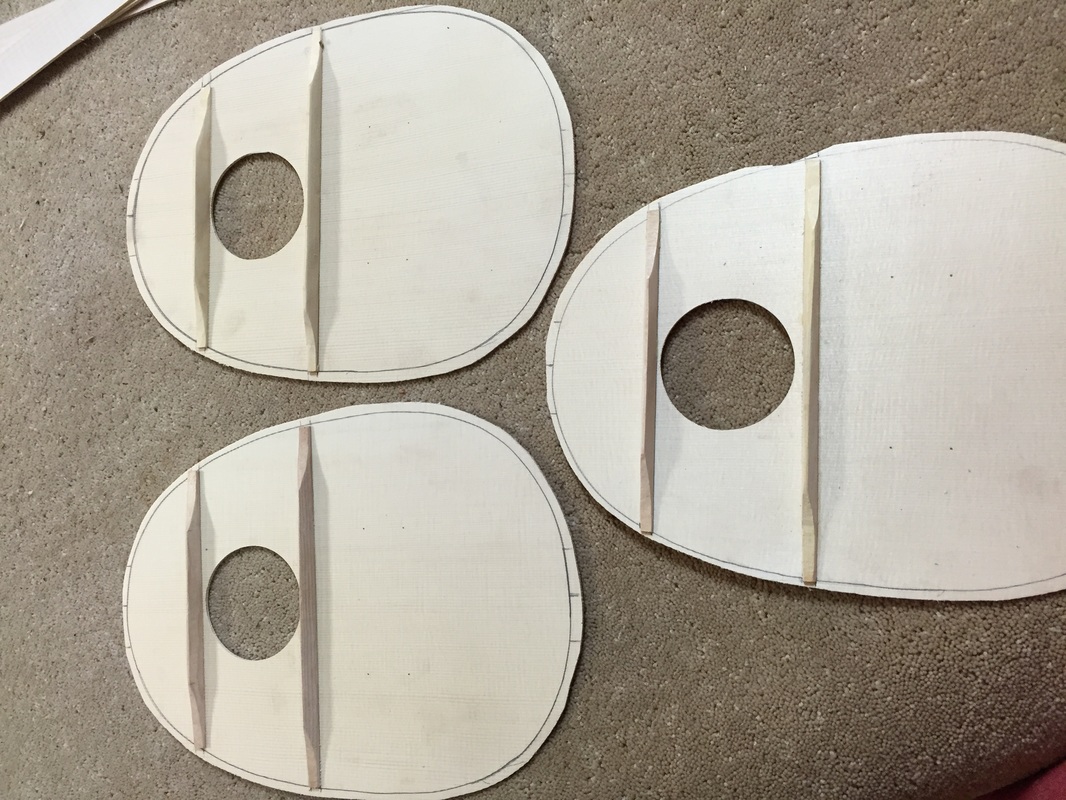
A couple of hours later and they are done. Now just a little trimming of the ends, maybe a little thinning of the tapers with a sharp chisel and the soundboards are ready for their necks.
