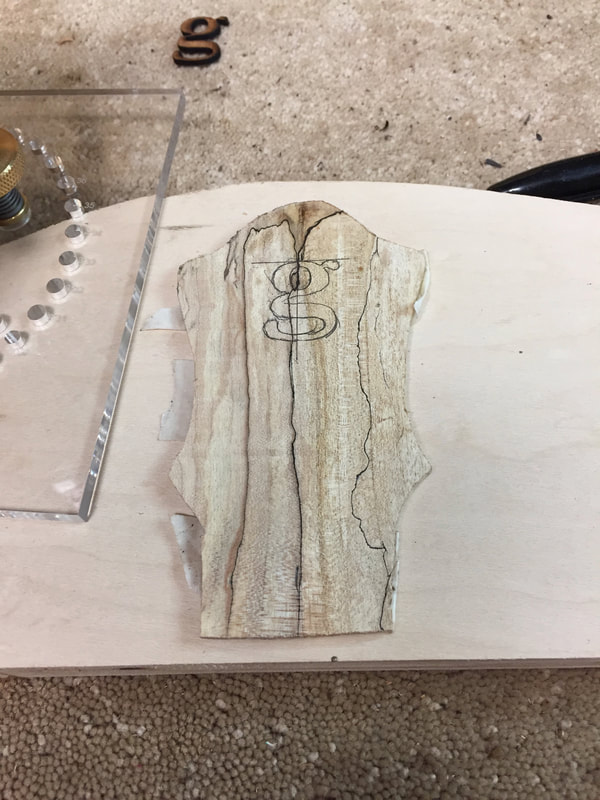
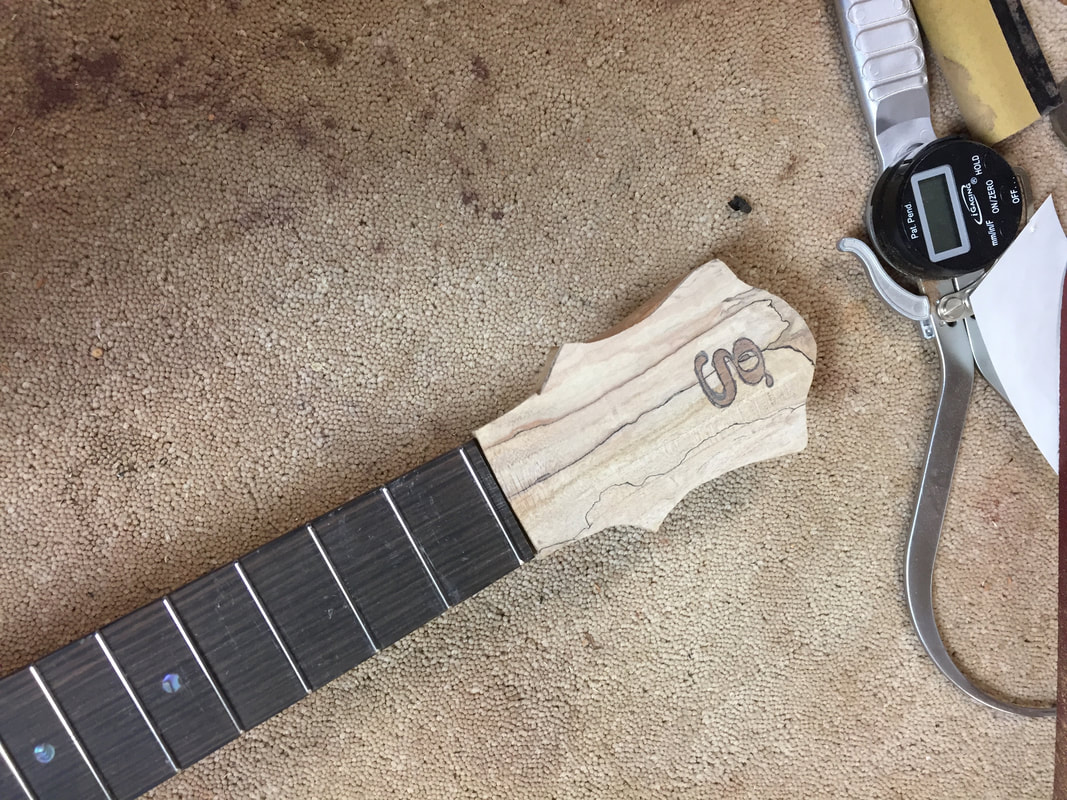
Now for the Peg Head. I decided to put a plate made of spalted maple on the peg head. Of course it must have the familiar "g"inserted. I found that more difficult than I expected.
I selected a very pretty piece of wood. Thinking it too small to run through the thickness sander I taped it to a longer piece with double back tape, ran it through the sander and thinned it down to just the right thickness. I carefully drew the "g" on it and inserted a 1/8th bit in the Dremel.
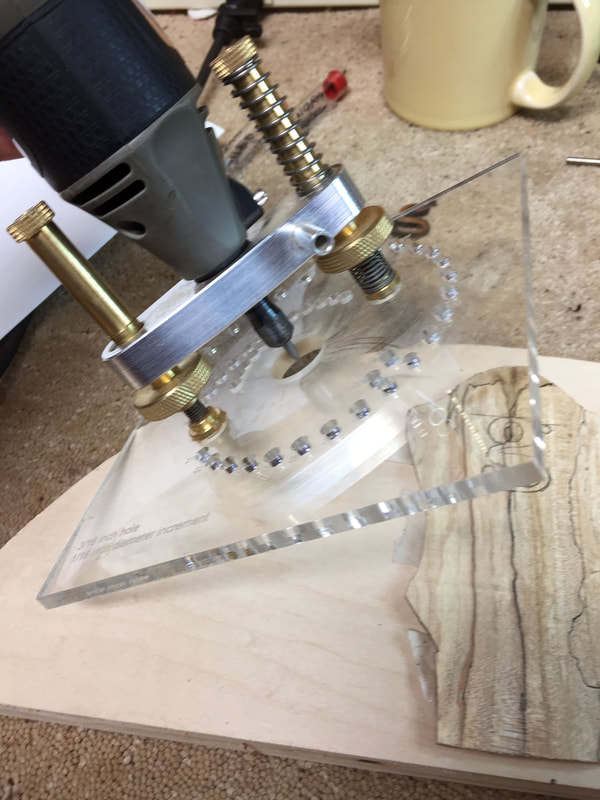
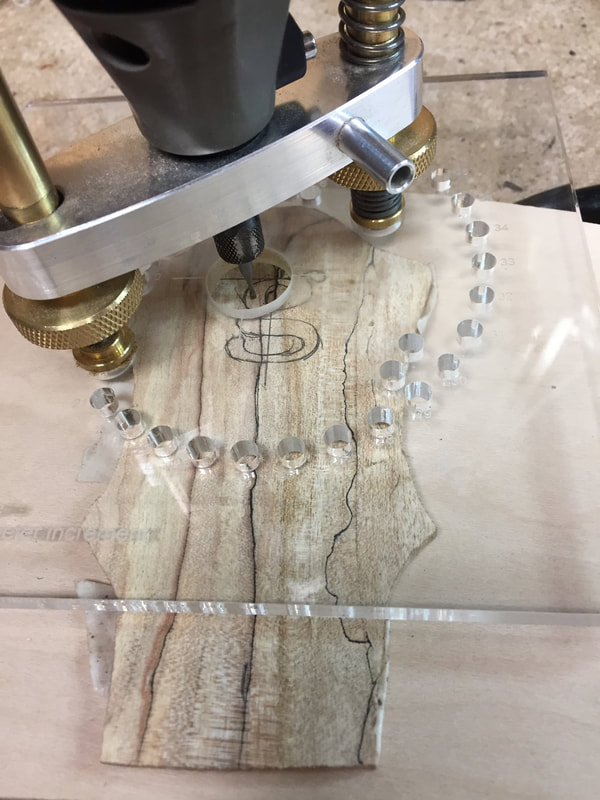
The Dremel is attached to Jon Dale's excellent circle cutting device which makes a great steady platform for inlay work. Now all I had to do was make the cuts.
Here we are, poised for action with the 1/8th router bit ready to attack.
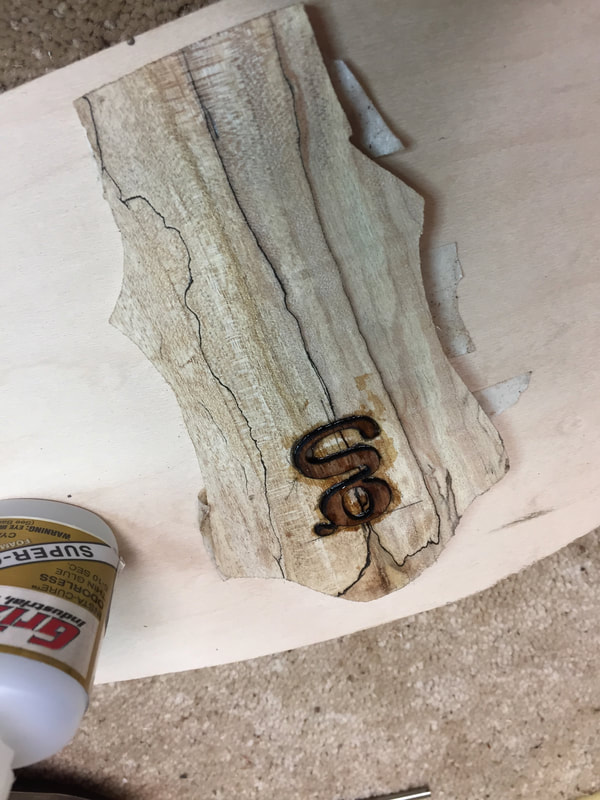
I found that it wasn't so easy. I messed up the first try because the 1/8th bitt was too large. Drove to the hardware store and bought a 1/16th. turned the plate over and cut the inlay groove on the other side. Here it is with the wooden "g" installed and treated with super glue. It needs sanding but maybe it will work.
And here is the result after sanding it flush. Not very good. I may try again in the morning. I love this piece of wood and hate to scrap it, but my lack of experience shows in the inlay. Maybe I ought to try again on another piece of wood.
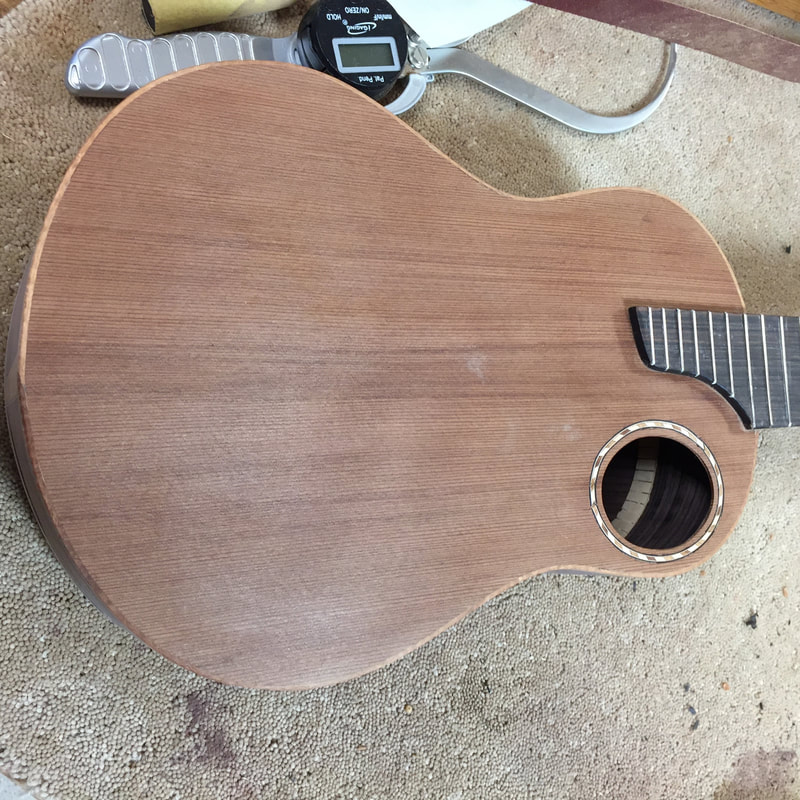
The rest of the project is going very well. I have finished the body sanding, shaping the neck, have a coat of protective shellac on the tone board. Just a bit more sanding on the neck and #100 will be ready for the bridge. (that is after the Peg Head is finished and installed)
