WHAT WOULD YOUR UKELELE BE WITHOUT ITS NUT? , that simple grooved piece at the head of your fretboard that separates the strings. Well, I am a believer that the nut and its up the neck companion the saddle have an important role to play in the quality of sound your uke produces. Today I made the nuts for the Three Tenors currently building. I make them of Bison Bone because its harder than cow, I make them to fit tight and flat to the wood of the uke so they will transmit the vibrations from the strings which in turn creates the sound when your sound box (ukulele) vibrates. I thought you might enjoy a little tutorial about how I make the nuts.
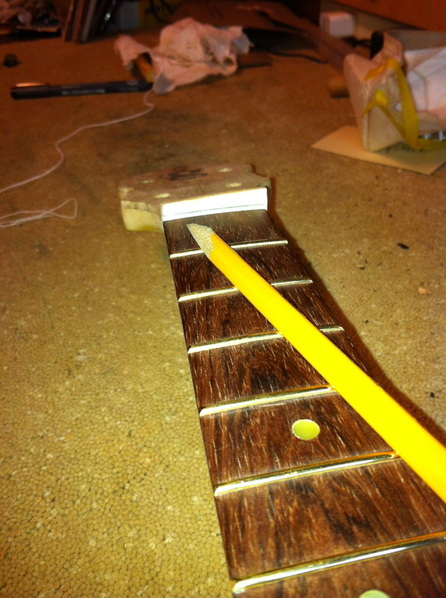
First there is a lot of sawing, filing and sanding to reduce a hunk of buffalo leg bone to the rough shape of the nut and get it to fit tight and fully into the slot in your uke. Once that is done the fine work begins. This picture shows a bone fitted into the slot. I am about to mark the curve of the fret on the bone with this half of a pencil. You simply sand a lead pencil down to half of itself. Now you can lay it over the frets and scribe a line across the bone that perfectly corresponds to the curve of the frets. Actually I have done that here and you can see the pencil marks on the bone.
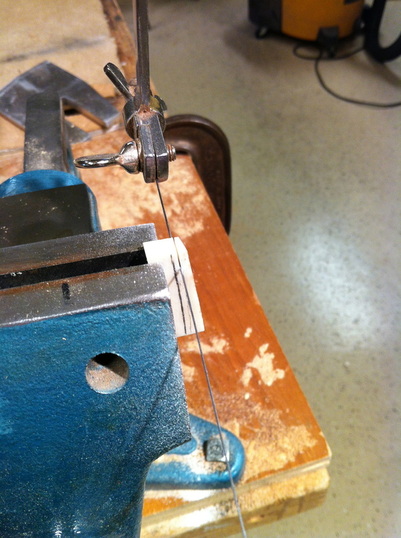
Now I put the bone in a vice and with a jewelers saw, cut away the excess bone.
This does not have to be exact but its easier to do it this way than to grind it away with a sander, smells better too.
This does not have to be exact but its easier to do it this way than to grind it away with a sander, smells better too.
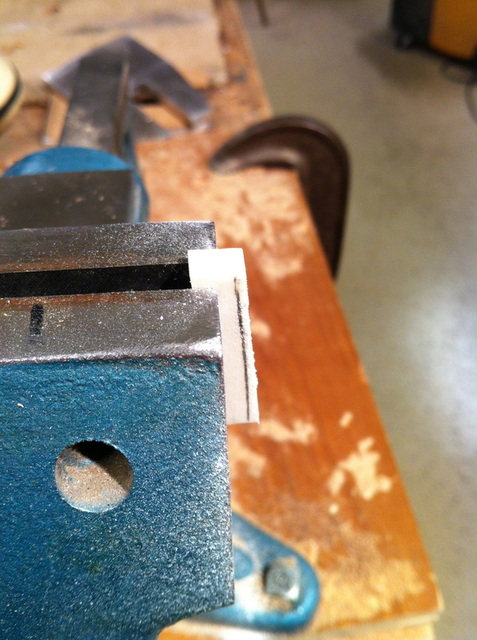
Now we have it reduced down to workable size. It is time to take it to another vice where it will be shaped with sand paper.
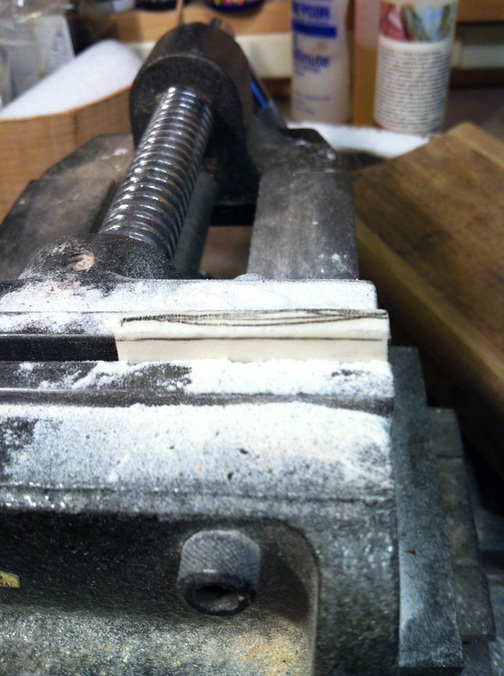
Here I am going to sand it to the same radius or curve that the frets bend at.
the simple way to do that is to use the same sanding block used to radius the fret board itself. So here we go, with pencil marks covering the top I will be able to jusdge the progress of my sanding.
the simple way to do that is to use the same sanding block used to radius the fret board itself. So here we go, with pencil marks covering the top I will be able to jusdge the progress of my sanding.
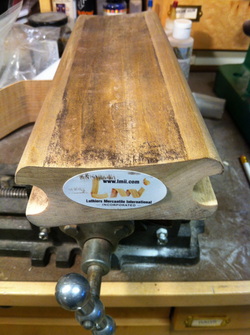
Here is the sanding block with two variations in radius. I put sticking sand paper on these to sand the radius into the fretboard. the same shaper works here on setting the same curvature for the nut and saddle.
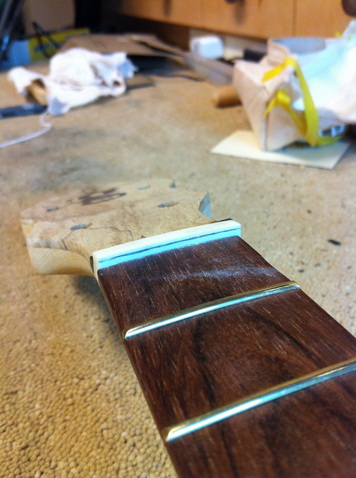
And here we are fitted, curved and close to the final height. I will set that when its time to string this uke up. At that time the grooves for the strings will be located and filed into the nut and the grooves lowered until the playing action is perfect. Then the top of the nut will be filed down so the strings are just about the height of the top of the groove. Then everything will be polished smooth and we will be playing this baby.
SO THATS THE NUTS
