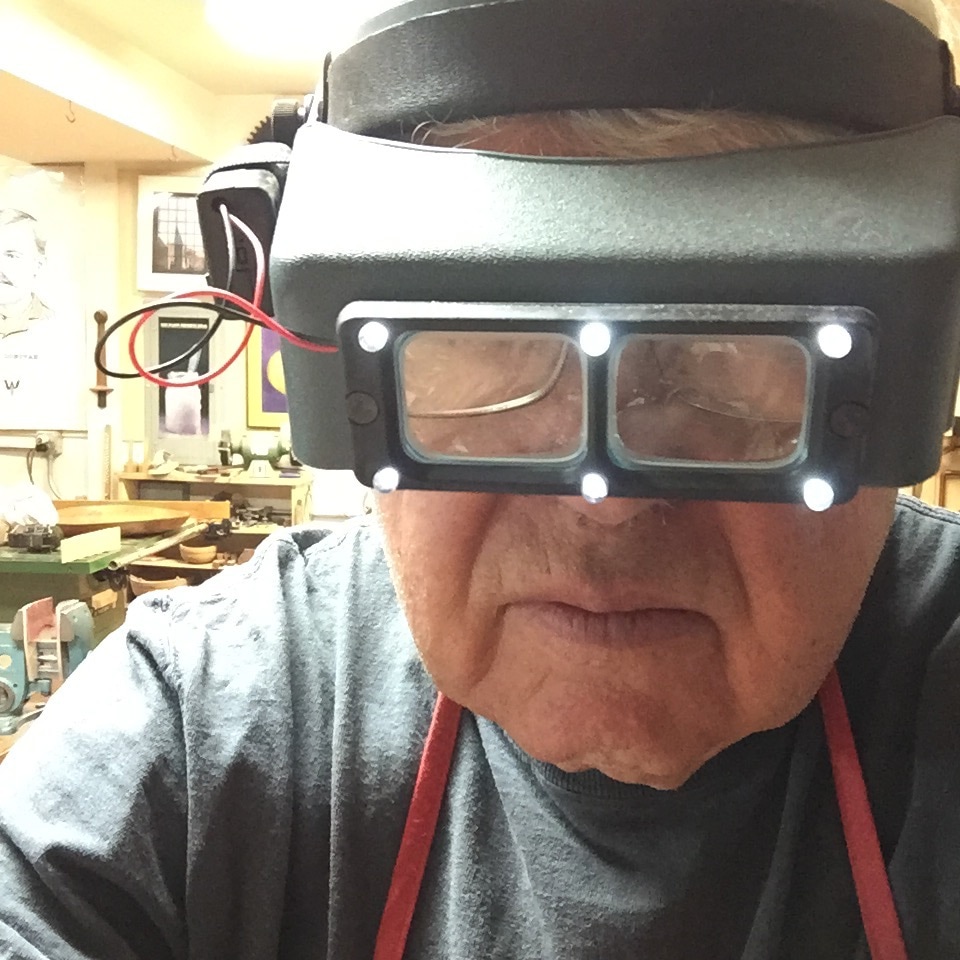
May look strange but these magnifiers with a light are a god-send when doing really fine work, and that is what I am up to now. Fitting the end piece, sanding the bindings, the final detail work that finishes a quality ukulele.
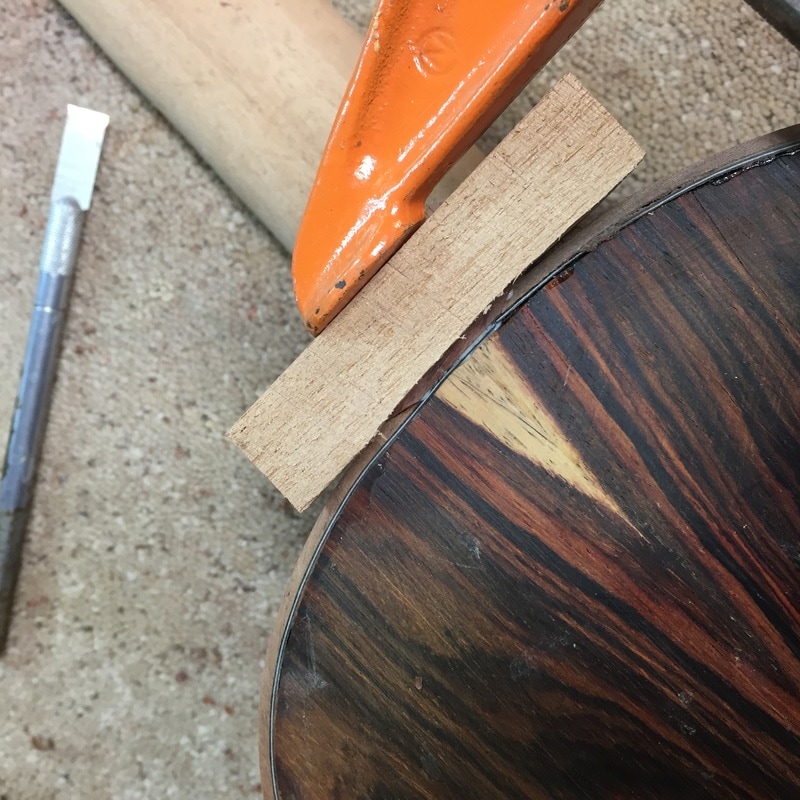
I had to splice in a missing once inch piece of binding here. I carefully carved an already slightly curved piece, glued and clamped it in place and after it was dried, sanded, I challenge you to even find the splice. Amazing how this can be done. All tricks of the trade.
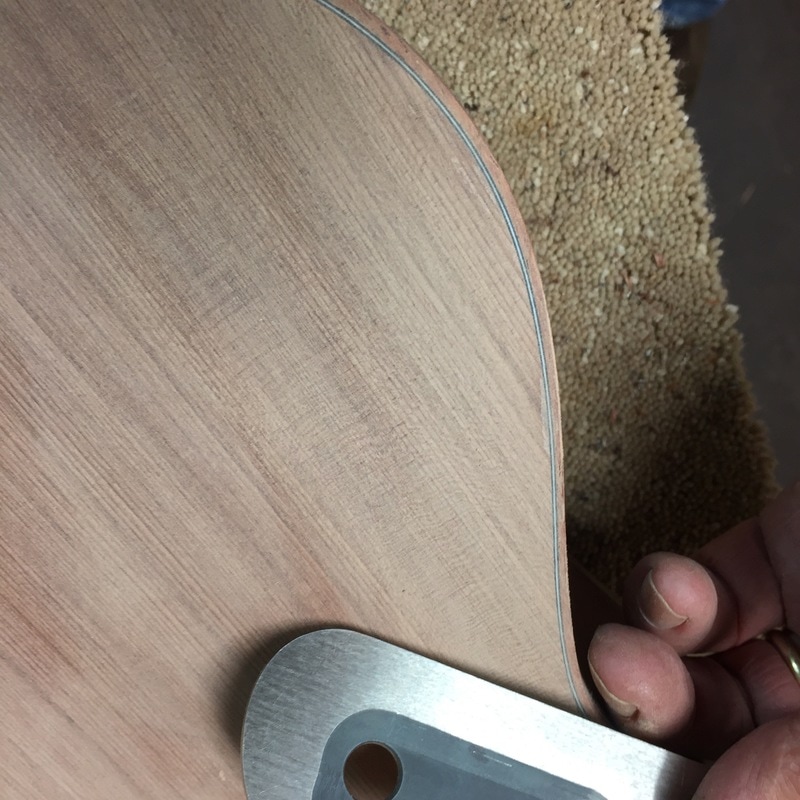
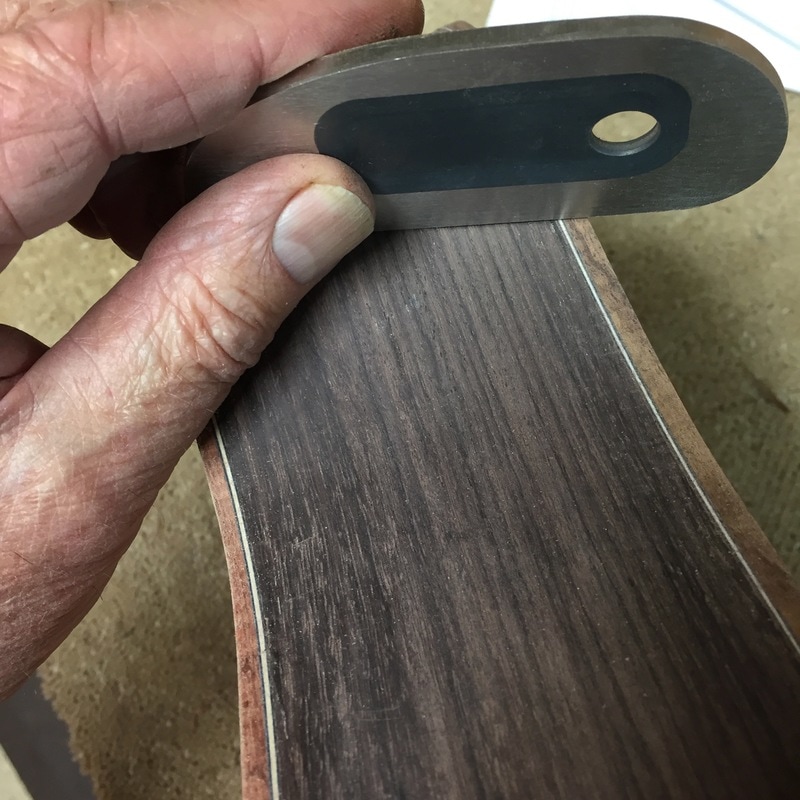
The bindings are smoothed down with this wonderful scraper. Not only is it handy to use because of its shape, but it is incredibly easy to sharpen using only a fine stone grinding wheel. If you don't have one, get one-they are truly great.
Another picture of this great scraper, now working on the sides of the ukulele.
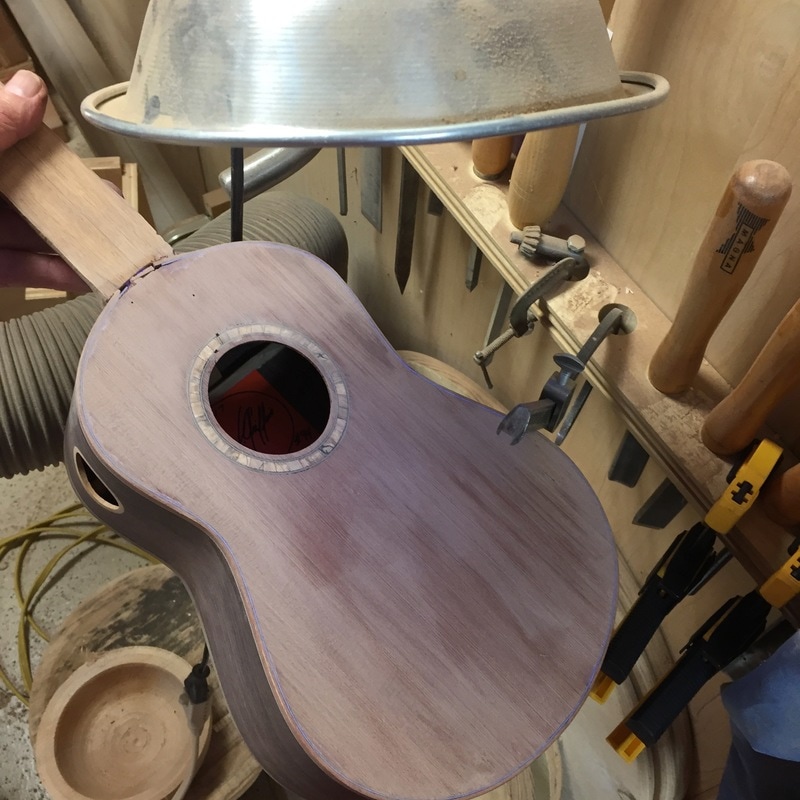
Here I am holding the sanded top under an infrared light. The LMI glue I use contains an additive that shows blue under infrared light. It allows you to be sure you don't have glue spills on your work before you begin to apply the finish. A neat feature. No problems with this top. I got all the glue sanded off.
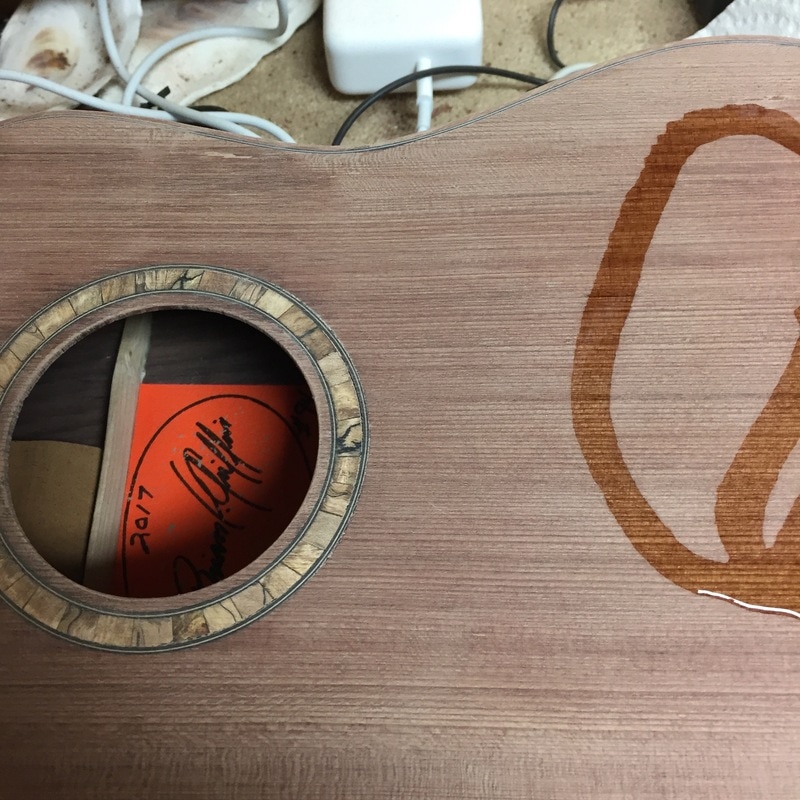 |  |
After sanding the top to 320 grit I want to protect it with a wash coat of shellac. It is awfully easy to stain a bare wood top. This protective coat will prevent that.
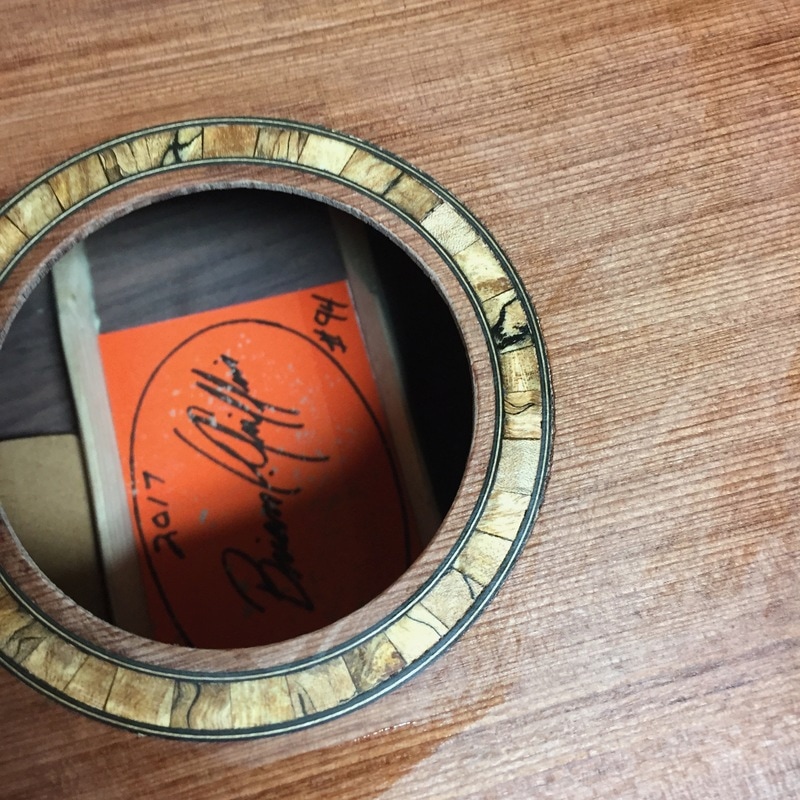
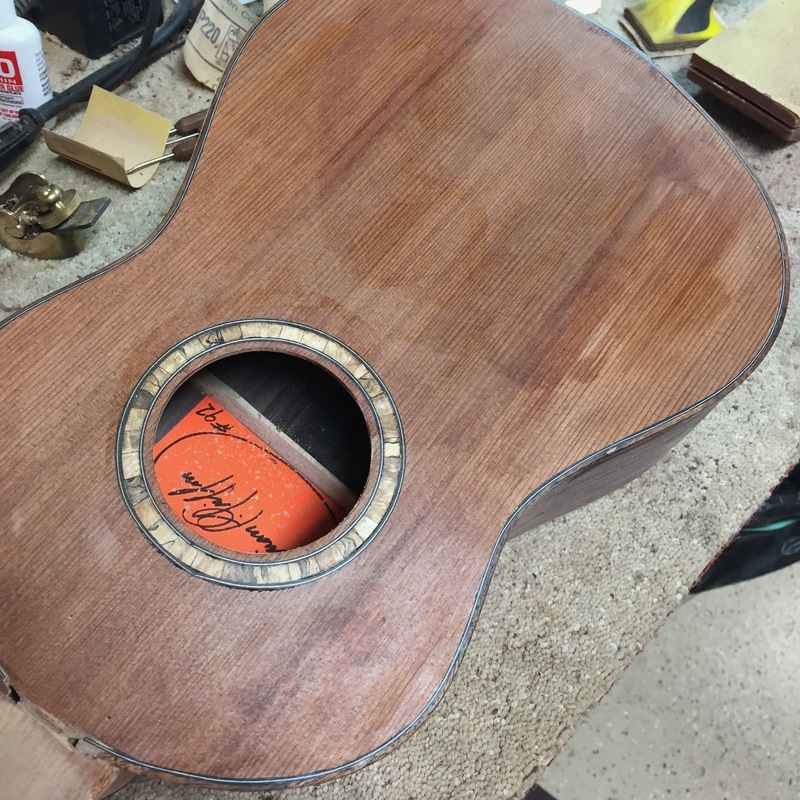
Look how just one coat of shellac brings out the character of the spalted maple rosette
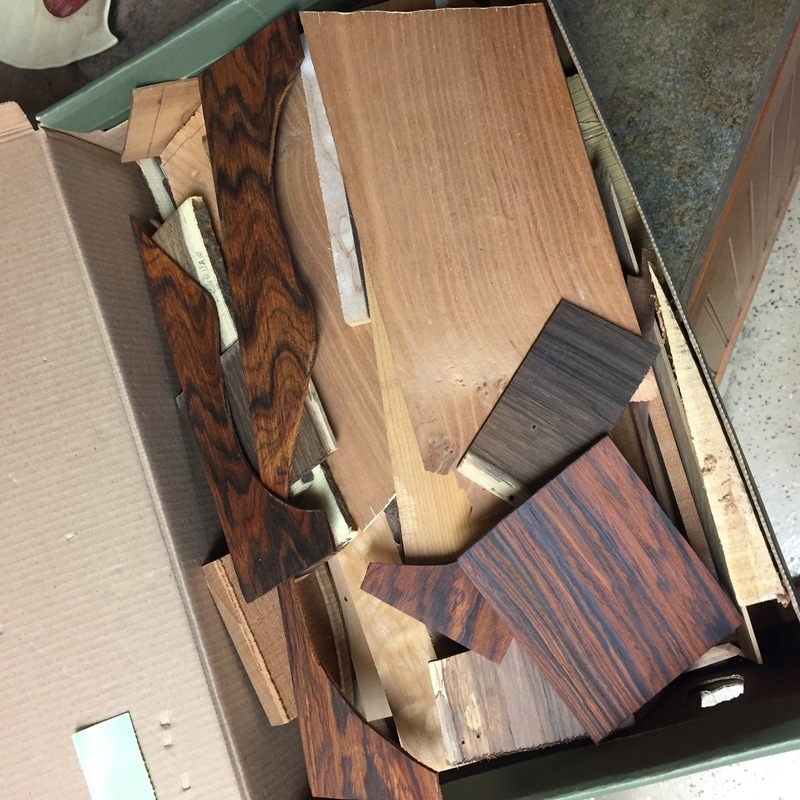 | 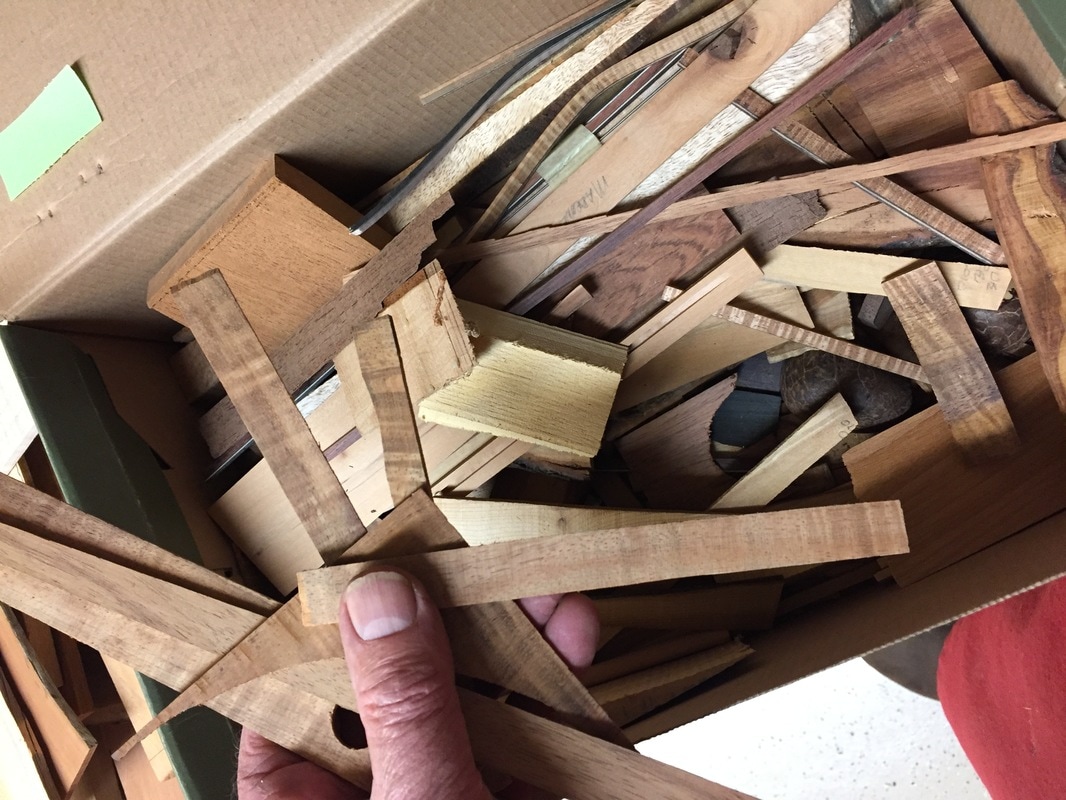 |
Now it is time to dive into my shoebox of assorted wood scraps looking for some wood for the end piece that will nicely match the bindings. I found a few pieces of either koa or Australian Blackwood that will make the match. The lesson is-SAVE YOUR SCRAPS.
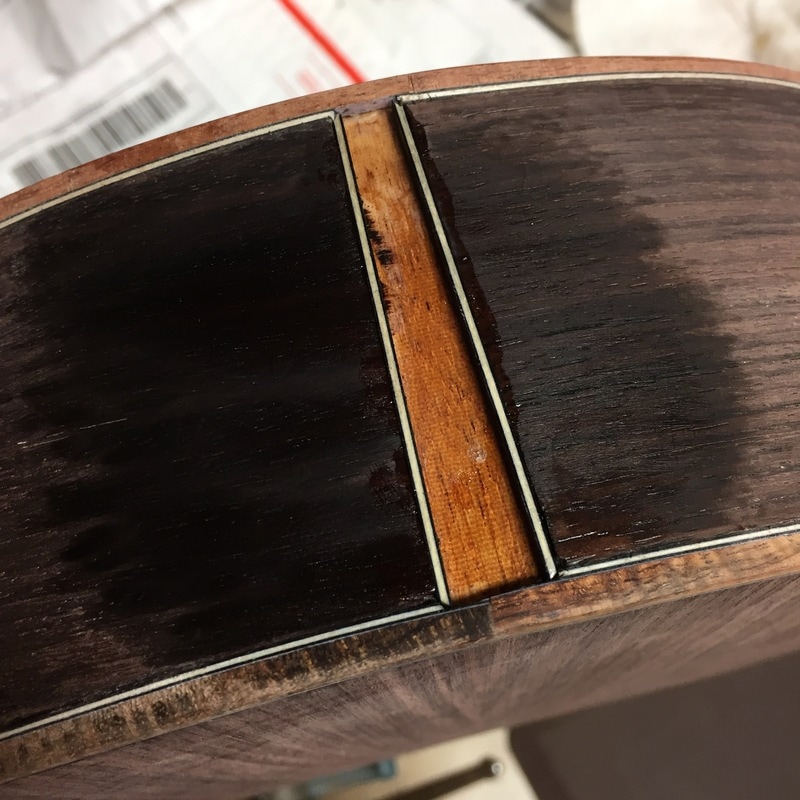
Here is the slot I must fill with wood. I have just glued in a couple of pieces of black/white/purfling with super glue. The dark stain is the catalyst I just sprayed on to set the glue
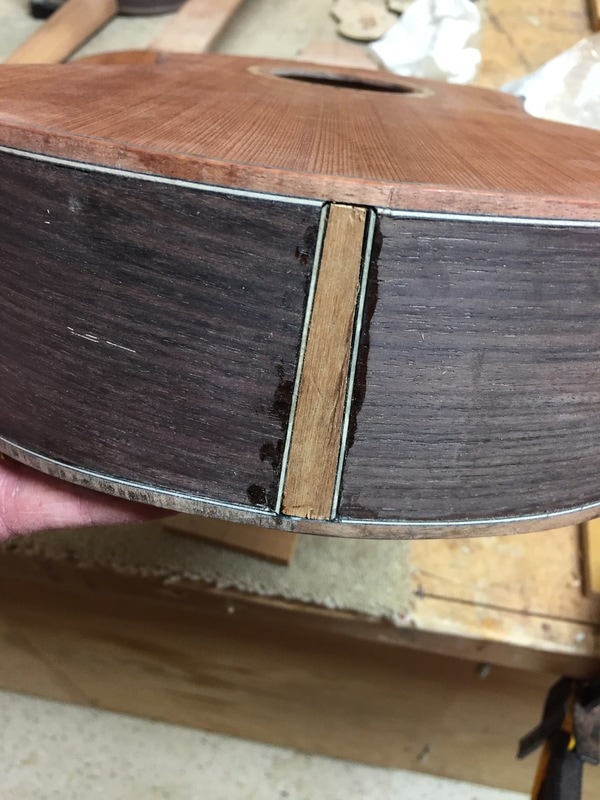
Here is the piece glued in. When sanded and finished this will very nicely blend in with the surrounding wood. I will show you the finished end piece tomorrow.
