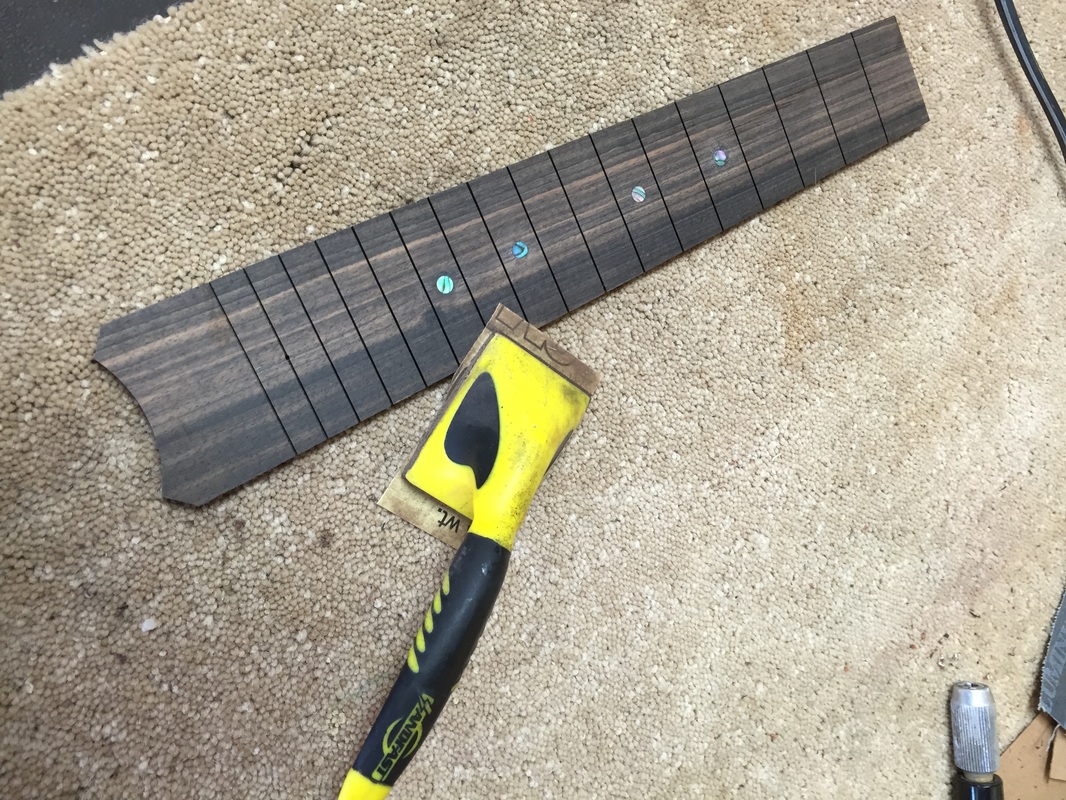
First you want to be sure your fretboard finish is smooth and flat. I sand it first with 220 grit, then 400 grit. It is smooth and slick now.
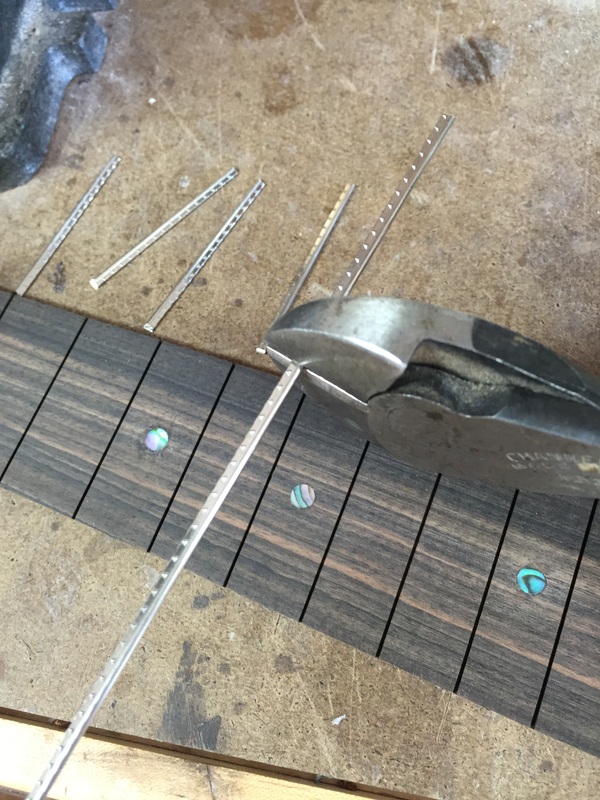
Now I cut the frets to length, setting a piece beside each groove cut into the wood. Fret wire comes in long strips. I will take 1 1/3rd lengths for each uke.
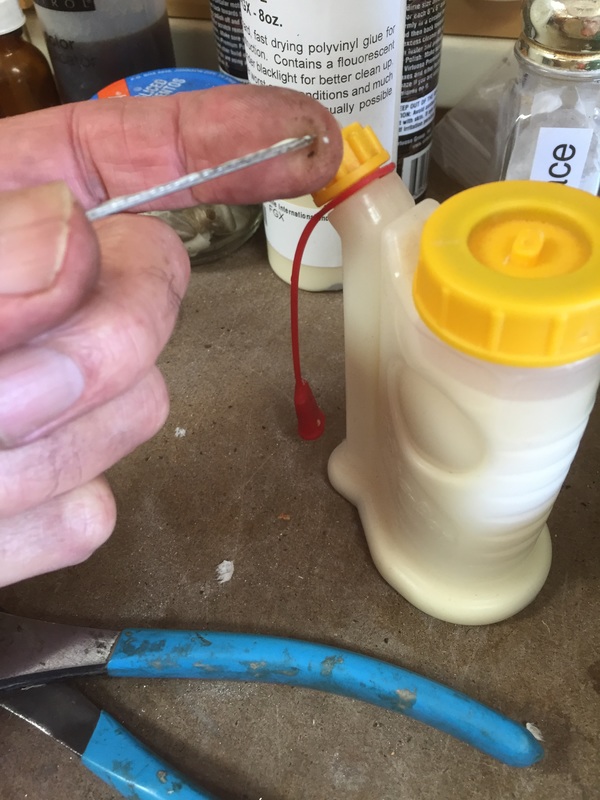
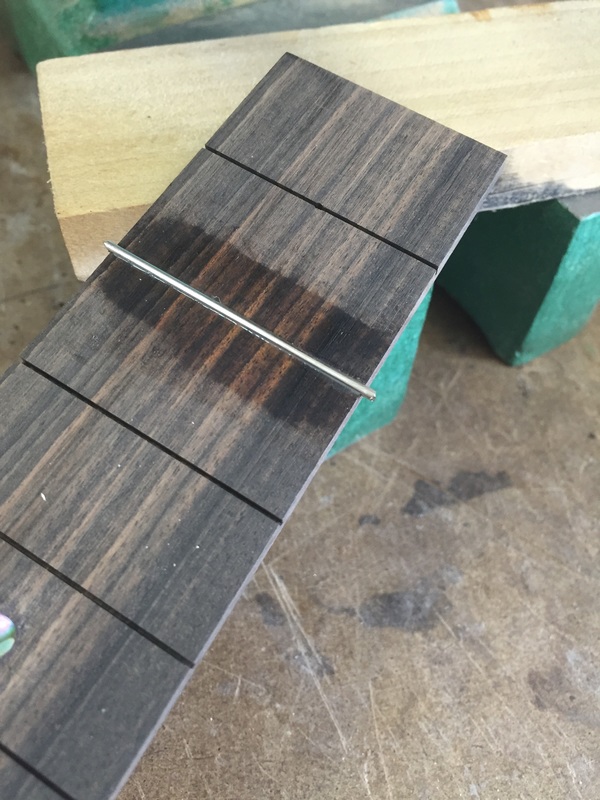
Now a little glue on each fret. There are little grabbers on each side of the fret tang that in theory will hold the fret in the slot, but I prefer to add a little glue. I don't want frets popping off my instruments.
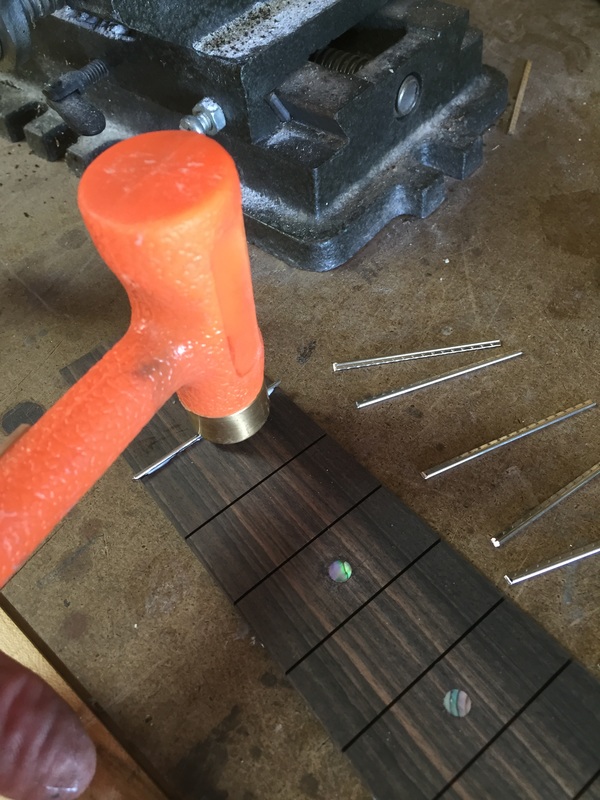
The glued fret is gently tapped into the groove to get it into position.
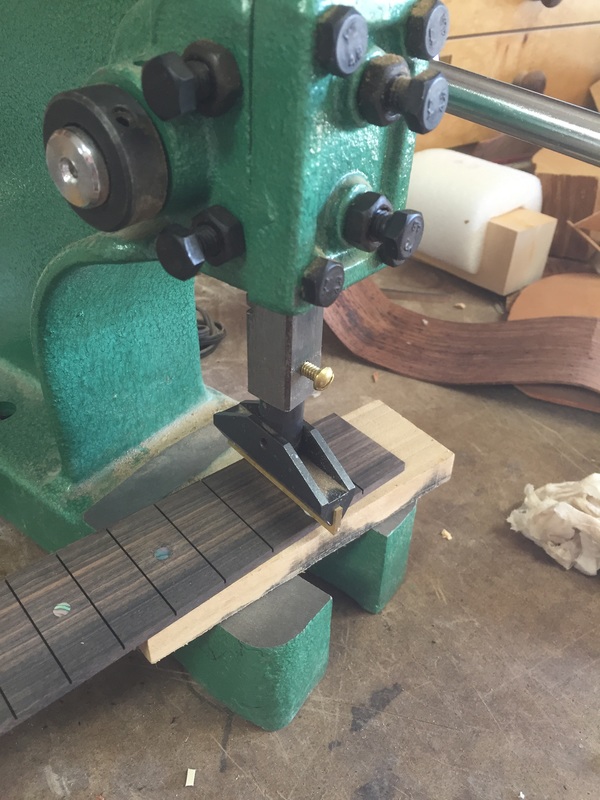
And then it is firmly seated by this lever armed press. This is a really helpful addition to the workshop as it sets frets firmly and completely. I never have a fret not properly seated and causing a buzz later on.
You want to have a damp paper towel handy to wipe up the glue that gets squeezed out in the process. Much easier to clean it up now than after it has dried. Notice that I have started fretting at the second fret. Look closely and you can see the tiny hole drilled in the center of the first fret. That hole is for a tiny brad that will be driven through into the ukulele neck when the fretboard is glued onto the neck. The first and the 14th frets will be installed after the fret board has been attached. The idea is that brads in those grooves will center the fretboard and make sure it is glued to the neck accurately.
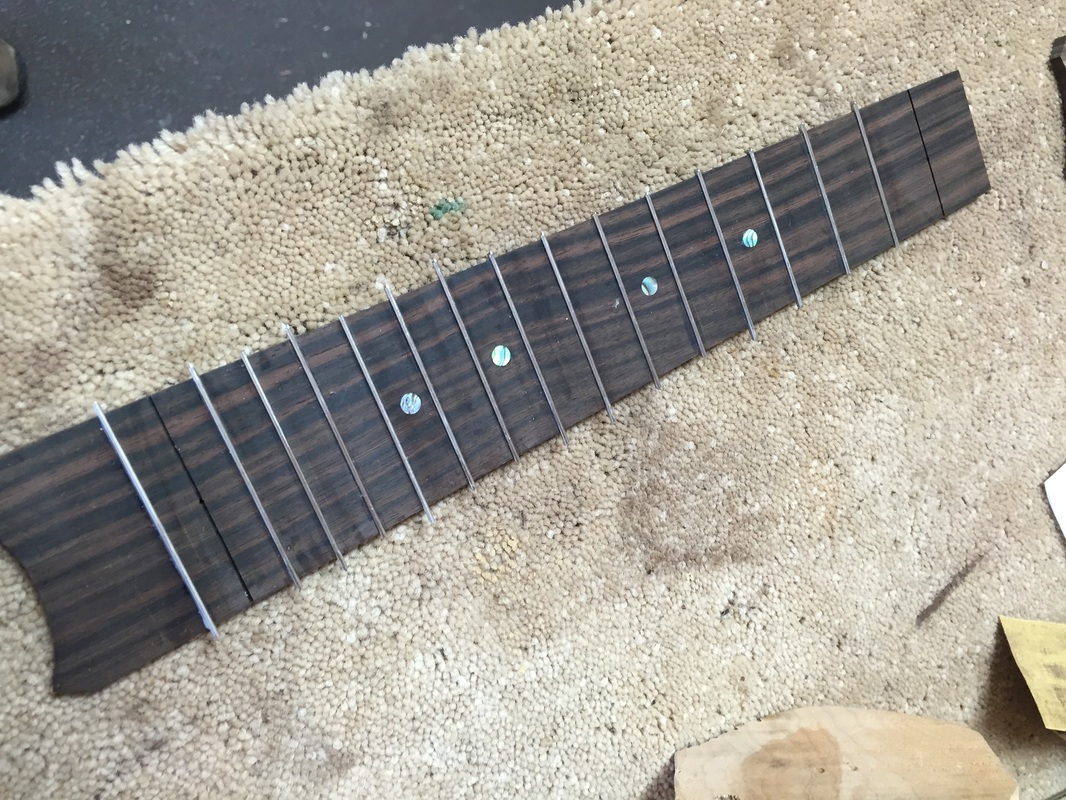
Here is the final result. The frets all glued in (but two). Now once the ends are trimmed with wire cutters and the edges smoothed on the big sander this will be ready to attach to the neck
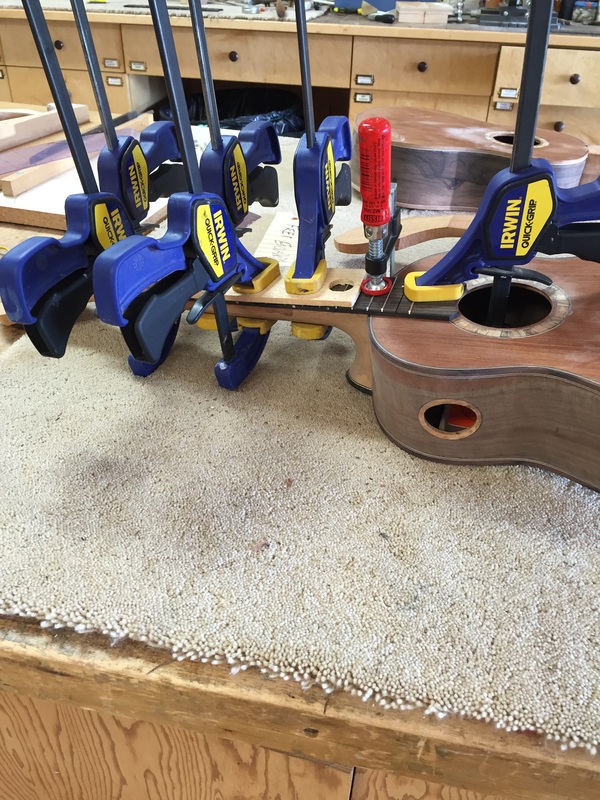
And here it is, glued and clamped.
