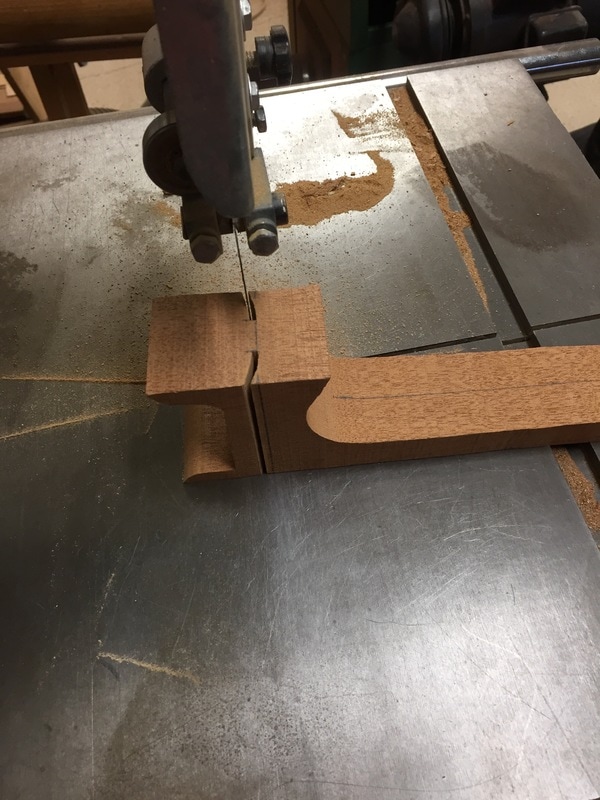
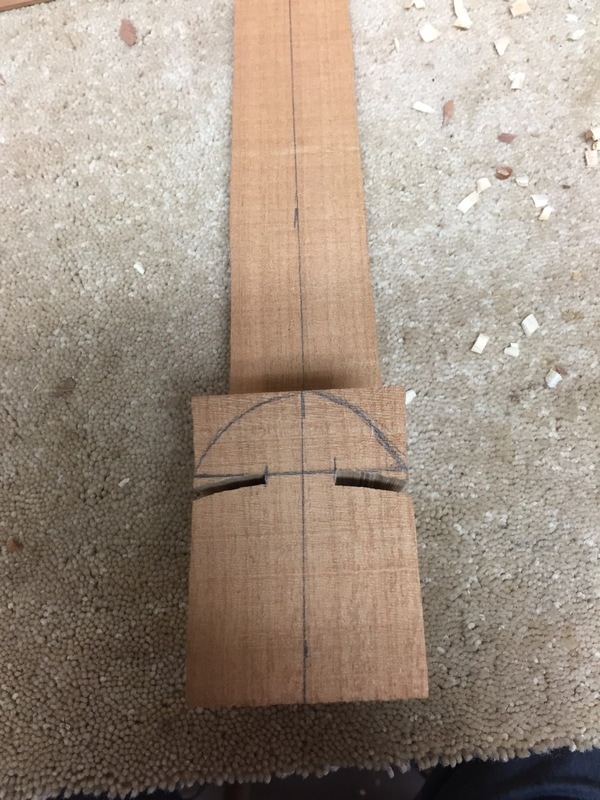
The first step is to carefully mark out the place where the sides will enter the neck, in the Spanish style of construction. Then, checking to be sure that the bandsaw is cutting a perfect 90 degrees from the table surface, the grooves are cut.
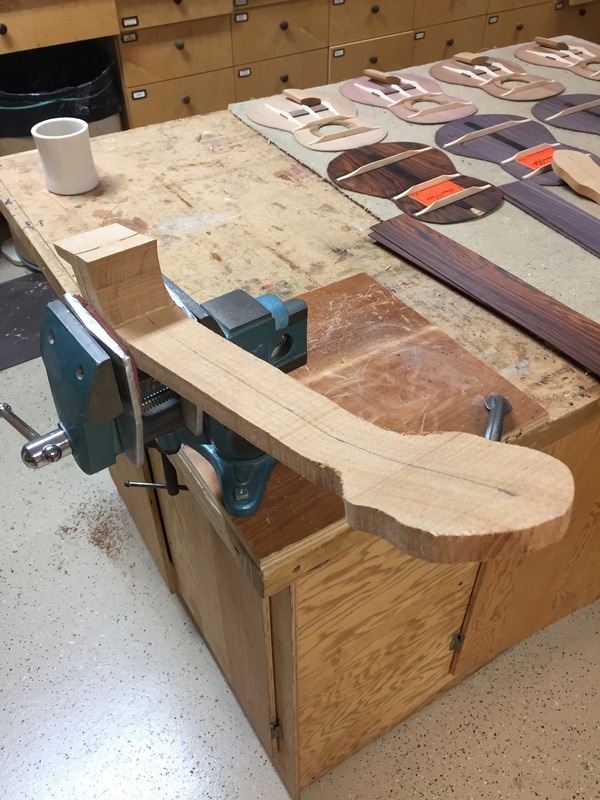
Now comes the Artistry. It is time to begin the shaping of the neck. I want these necks to be slim, and slick and fast an from this point forward it is a matter of instinct and feel. Clamp it in the vise and lets get at it.
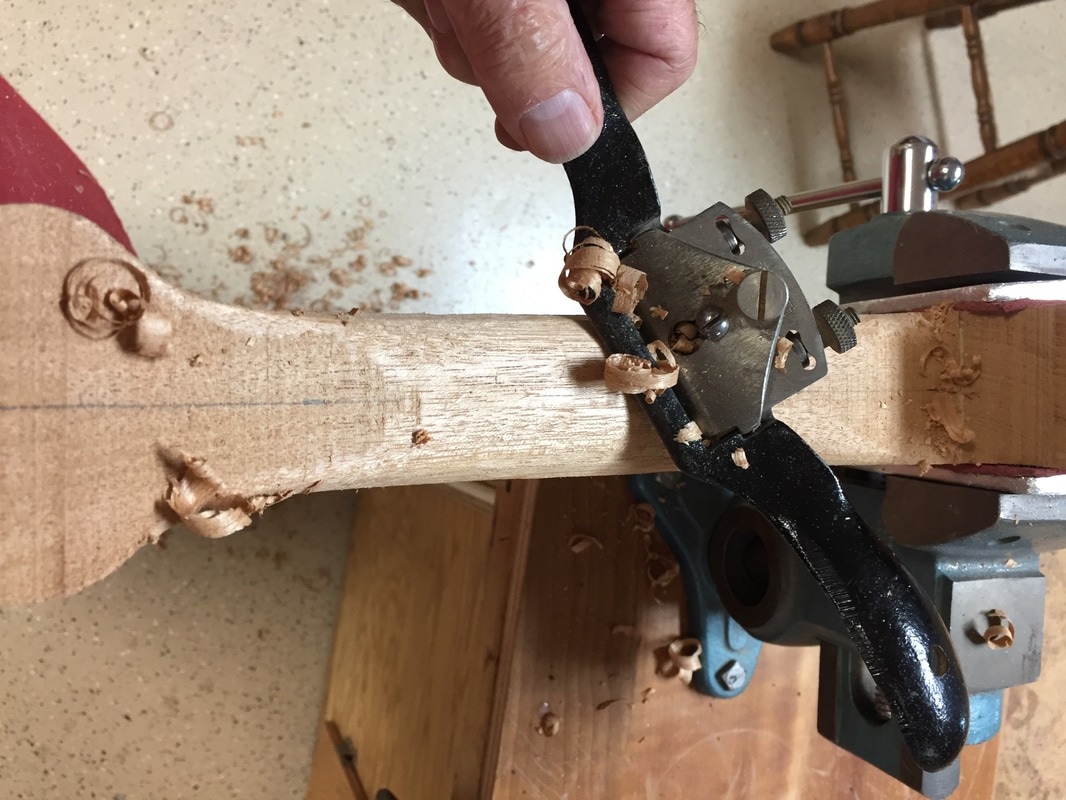
Aw, the spokeshave. I love the tool. It is a great beginning to round the neck one stroke of the shave at a time.
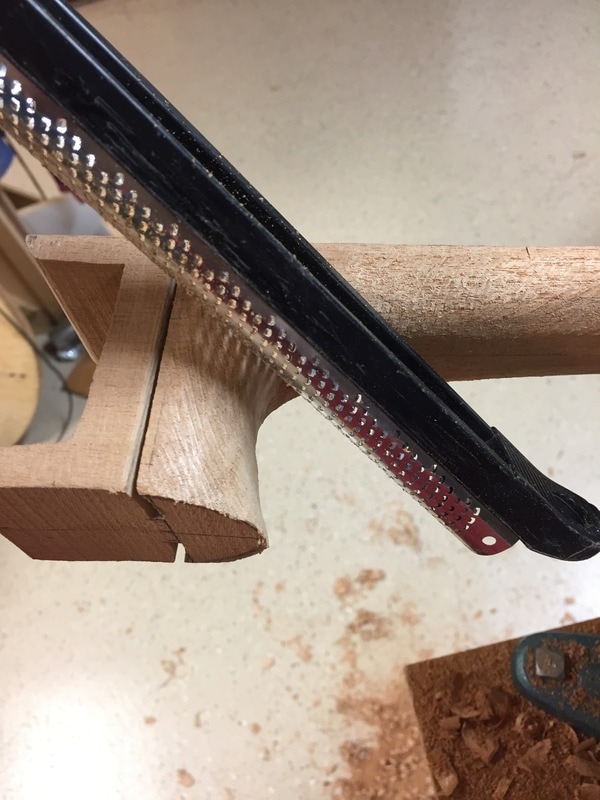
The spokeshave can't get into the corners. It is time to use the rasp. This modern rasp does a nice clean job and comes in both a flat and a rounded shape. Both are handy and effective.
I love the hook I carve into the neck of each ukes. Here is where it begins, with a scribed off place to begin the curve of the hook.
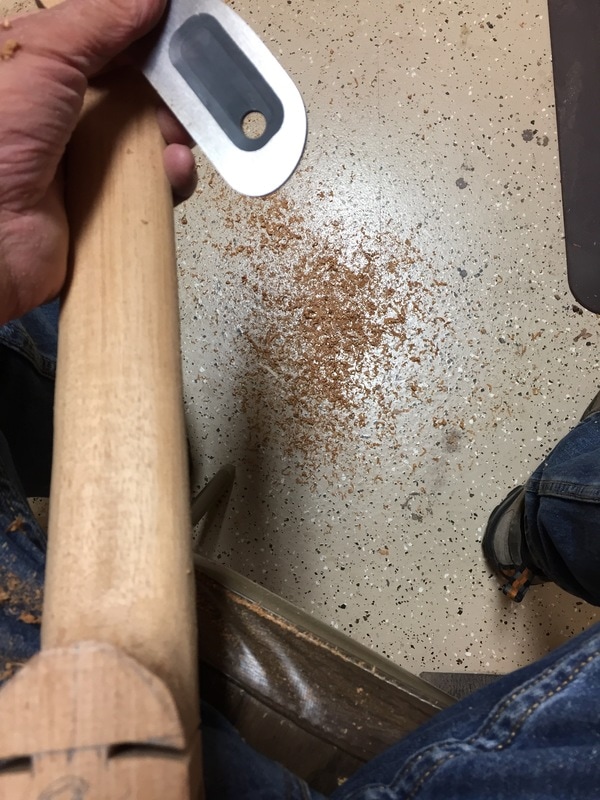
By this time I have the neck fairly well roughed in and now it becomes hands on. I love to use a scraper to take down the final curves and fair out the ridges and bumps. Now we are getting close. Next I will get out the bow sander to smooth everything out
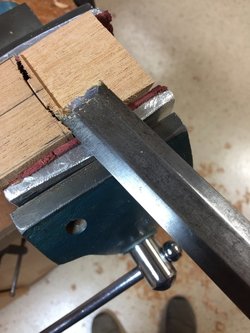
I almost forgot to mention that you must also cut away a bit of the neck to accept the tone board. The cut that you make in the neck must exactly be the depth of the thickness of the sound board. This is done on the tablesaw sled. Be sure you get it exactly right as the fretboard will fit over it and you don't want any gaps.
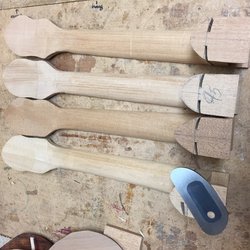
So here are the four necks, all roughly shaped. They are ready to attach to the tone board in the morning. I will finish the carving, shaping and sanding of the necks once the ukes are assembled. The rough work is done and they are looking great. They are made of Honduran Mahogany, a delightful wood to work with, stable, and strong but still easy to cut.
