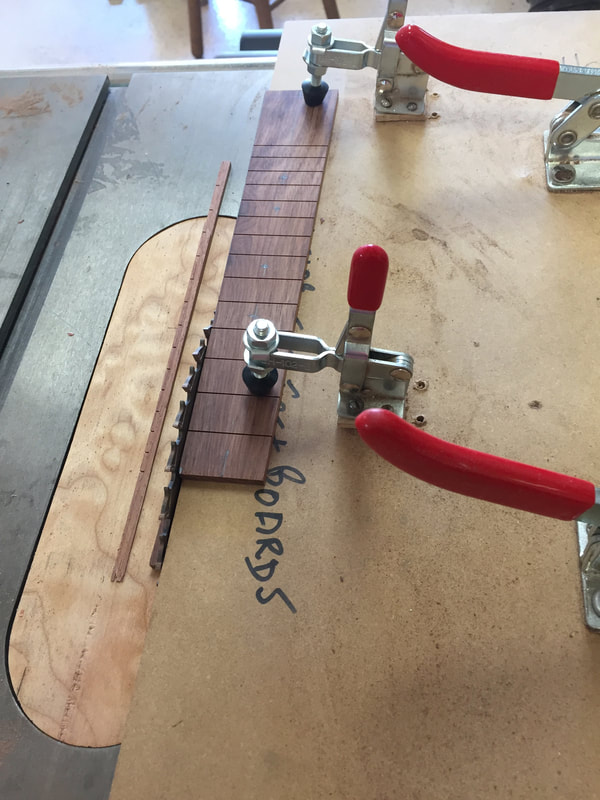
Now it is time to make the fretboards. We start with a couple of Honduran Rosewood pieces exactly two inches wide and the nut end cut at a perfect 90 degrees. Then the thin slotting blade is put into the table saw, and with the aide of a special slotting sled, and a template, the fret slots are cut. Now it is time to place the marker dots on top and sides and cut the taper. Measure for the center.
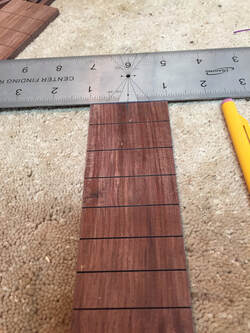
Carefully measure and mark at either end, the desired saw line. I am making my fretboards 1 1/2 inches wide at the nut and 1 3/4 at the 12th fret.
This special sled holds the fretboard firmly in the proper position when cutting the tapers.
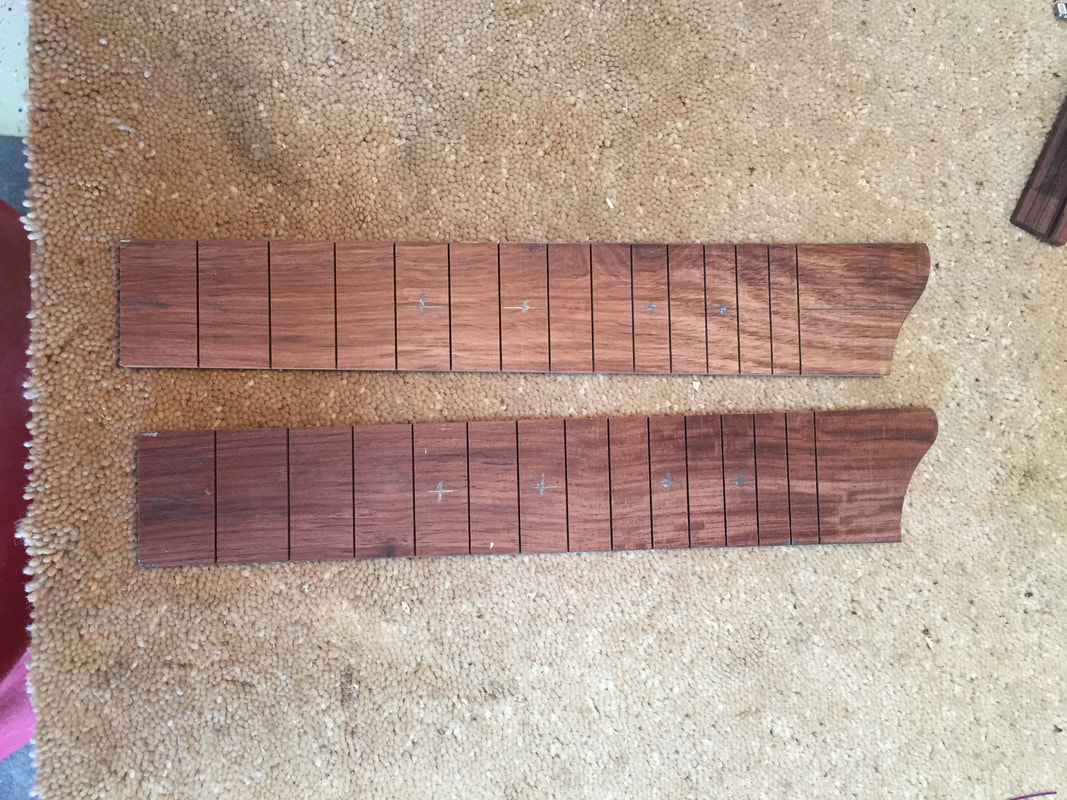
Here they are, tapers cut, the "gumby" cut on the bandsaw and finished on the vertical sander. Marked for the marker dots.
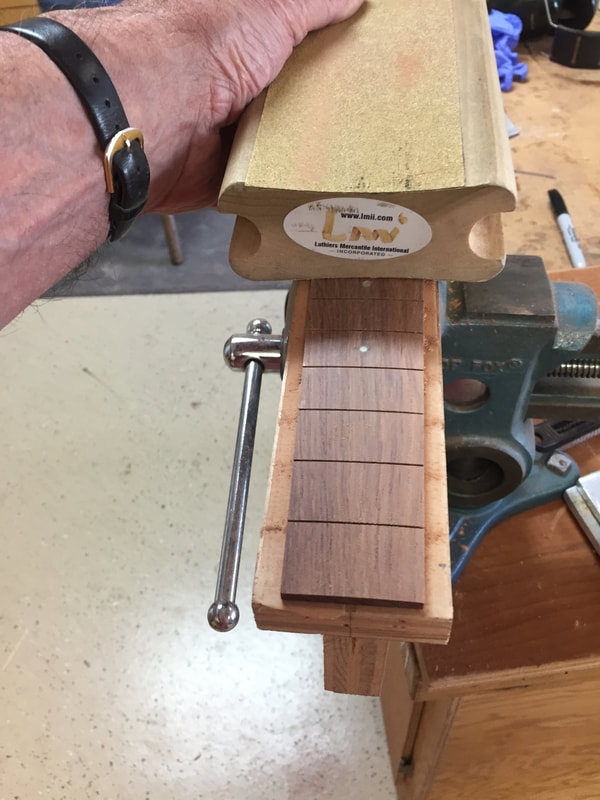
Now, with marker dots installed it is time to sand the 12 foot radius into the fretboard. The sanding block is concave at a 12 ft. radius on one side, 10 on the other. Stick on sandpaper does the cutting,
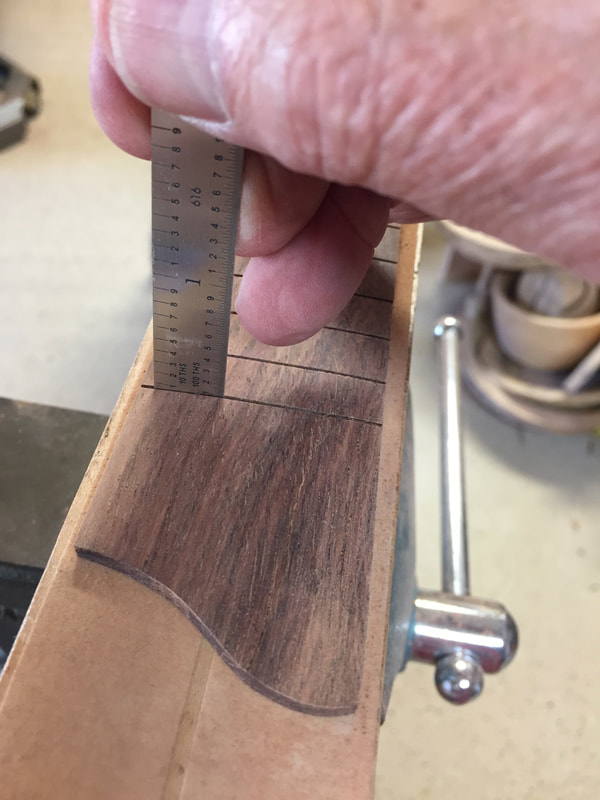
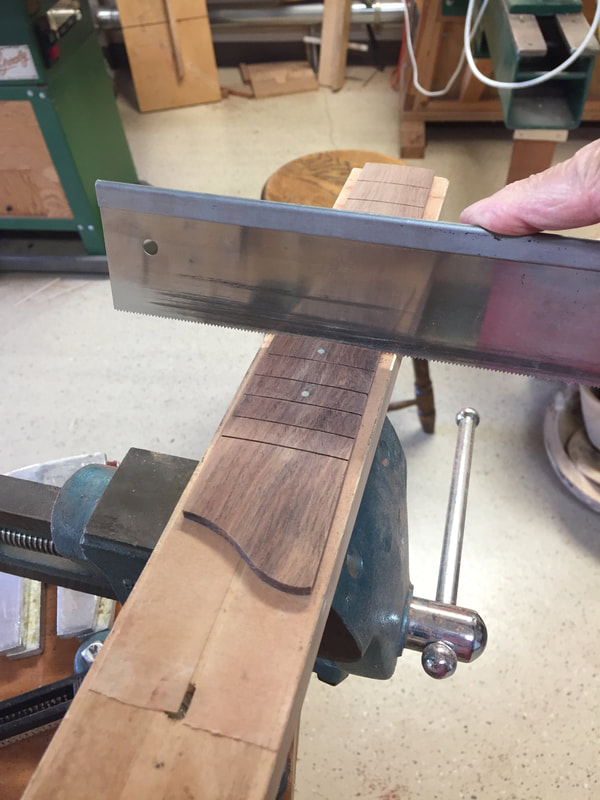
I am checking each slot to be sure that it is still deep enough to accept the entire tang of the fret wire.
A few of the slots needed a little deepening with this saw that is just the right thickness, .023. Just a couple of light strokes, don't want to weaken the fretboard.
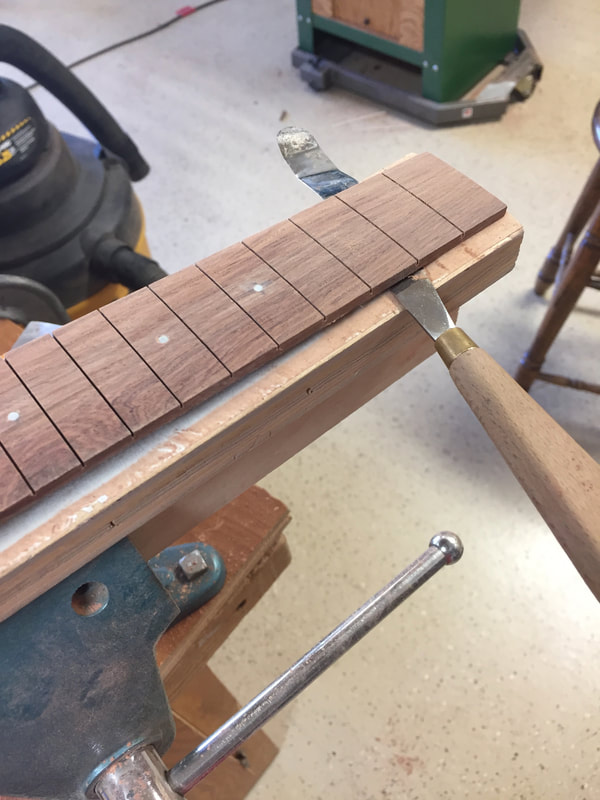
The fretboard is held down with two strips of double backed tape. Now you must pry it loose without breaking the fretboard. Careful now-go slow! Now for installing the frets.
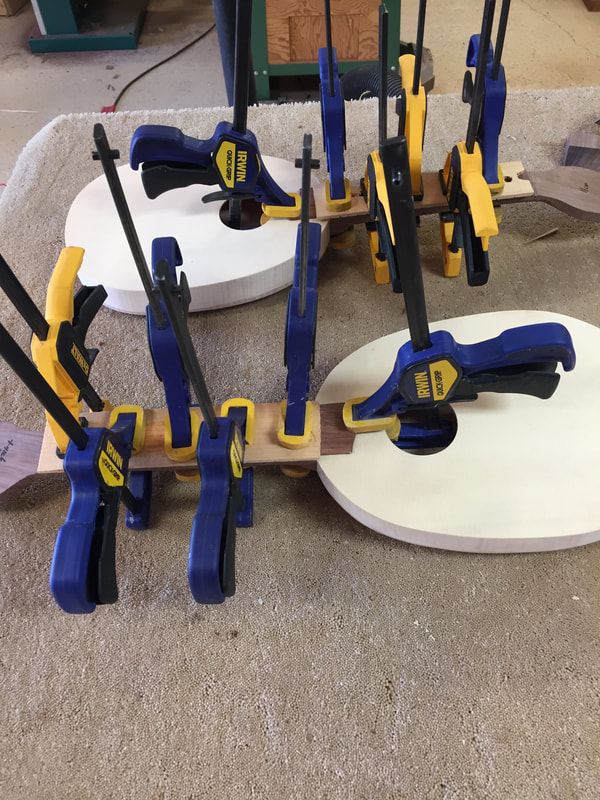
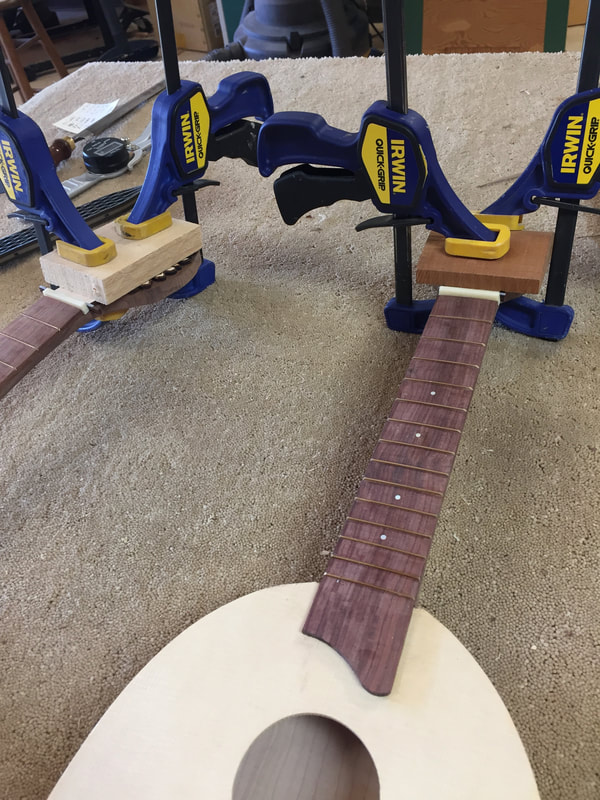
The frets are installed now and it is time to glue the fretboard to the neck.
And finally the pinecone peg head plate is installed. Now the sanding begins.
