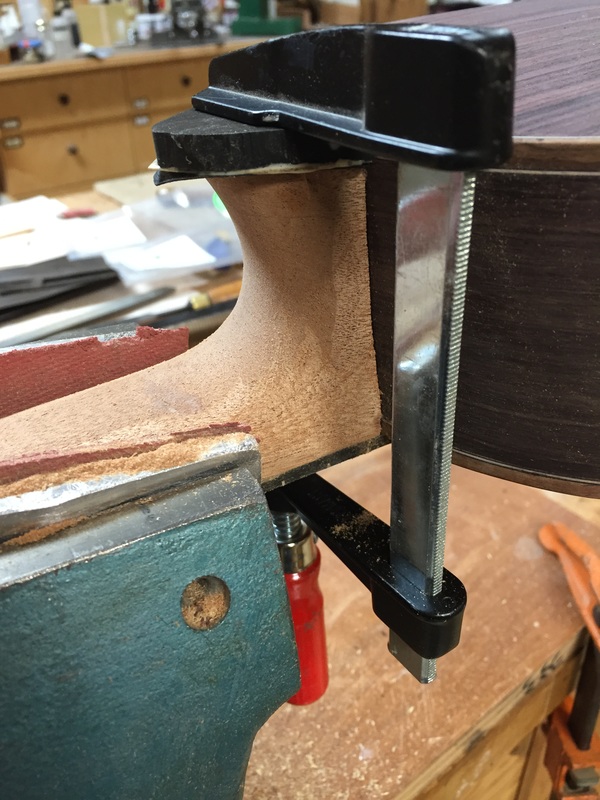
Here I am glueing on the heel cap for the Redwood/Rosewood. It has an ebony fretboard so I am putting on an ebony heel cap. I want it to match the purling around the uke so I have cut out a sandwich of thin veneer, ebony/maple/ebony aka. black white black They are all glued together in one big sandwich with the piece of ebony on top.
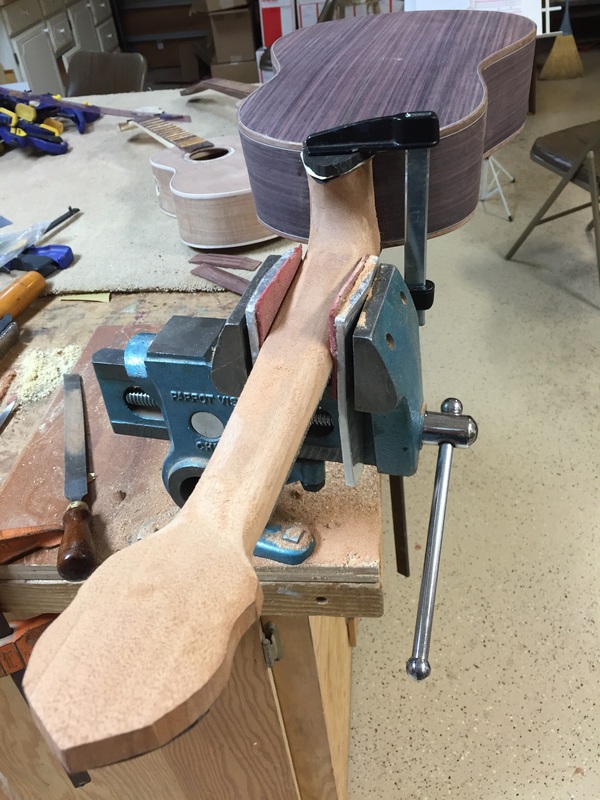
Another view. Note that the "parrot vise" with padded movable jaws very nicely holds the neck of the uke so that it can be worked on. This is a wonderful multi-purpose vice which travels around my shop to be clamped down where ever the work it does is called for. I just clamp the plywood base to whatever work table space I am using.
Now I am in the final neck shaping stage, one of the most pleasant and most important functions in making a playable uke. I thought you might enjoy seeing some of the tools that I use at this stage of the build
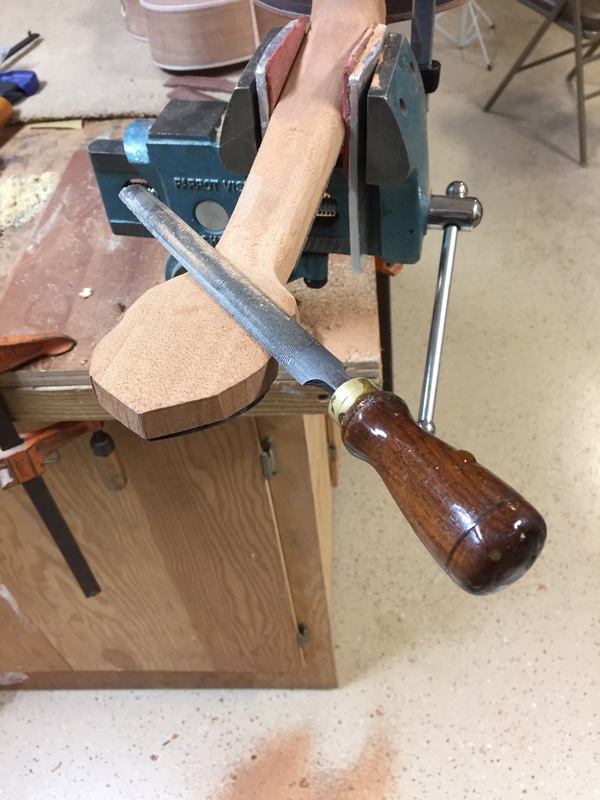
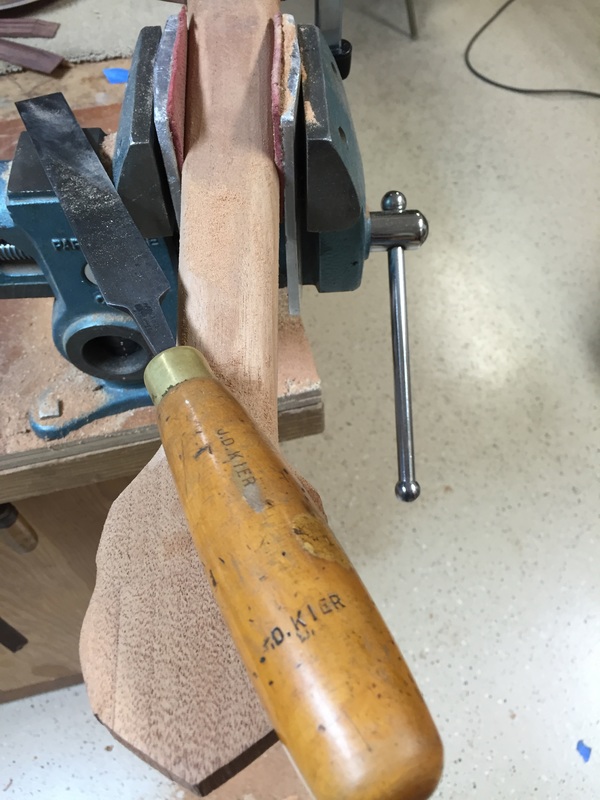
'above is a fine toothed rasp, flat on one side and rounded on the other. I have had it for years. turned that handle and shotgun brass over the ferrel in my old shop on knox.
'above is a fine toothed rasp, flat on one side and rounded on the other. I have had it for years. turned that handle and shotgun brass over the ferrel in my old shop on knox.
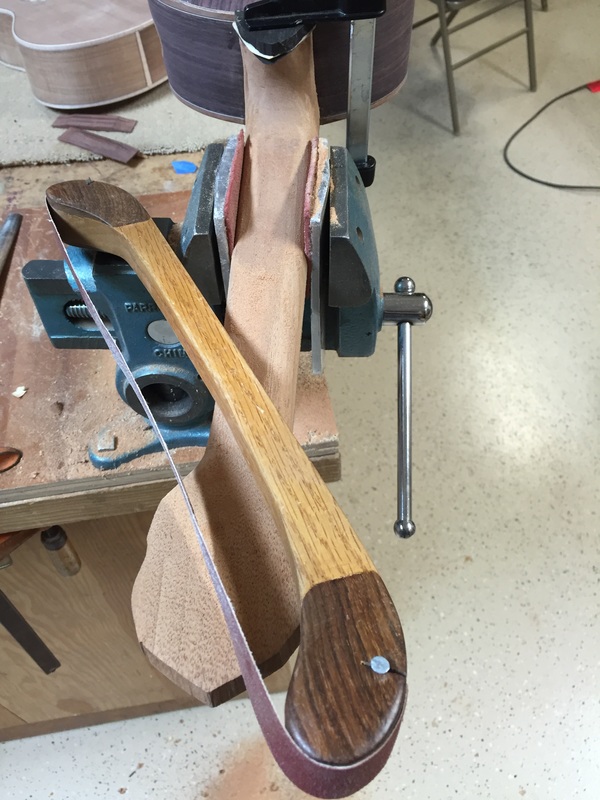
Here is the indispensable bow sander. Make yourself one of these, they are absolutely the best for sanding gentle curves in necks or anything else. Every luthier needs one
This is a master grade chisel. I bought it years ago in a junk shop in England. Old fashioned quality. Sheffield steel blade holds an edge like no other tool I have ever had. I use it for various carving tasks and for leveling the heel to accept the heel plate and for putting the little curve where the neck meets the body. Every time I use it I wonder who J.D. Kier was and what his craft was. I like to think that he would be pleased that his wonderful chisel is still used and loved.
