I STILL NEEDED to cut the slot for the back inlay and so I padded up my bench vise and started in.
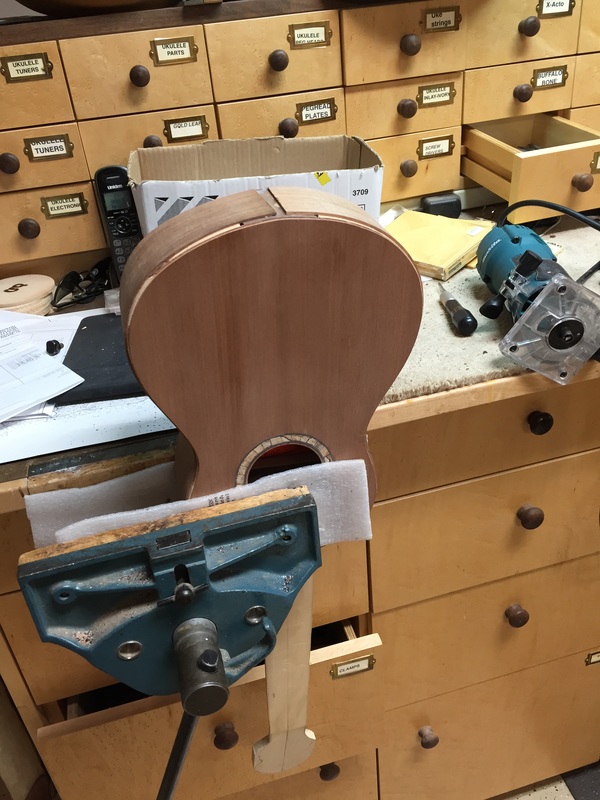
You kind of hate to put a delicate uke body in a vise, but if you pad it well and bring the pressure over the butt plate or the head block it is really quite safe. I have to get it help securely for the next step.
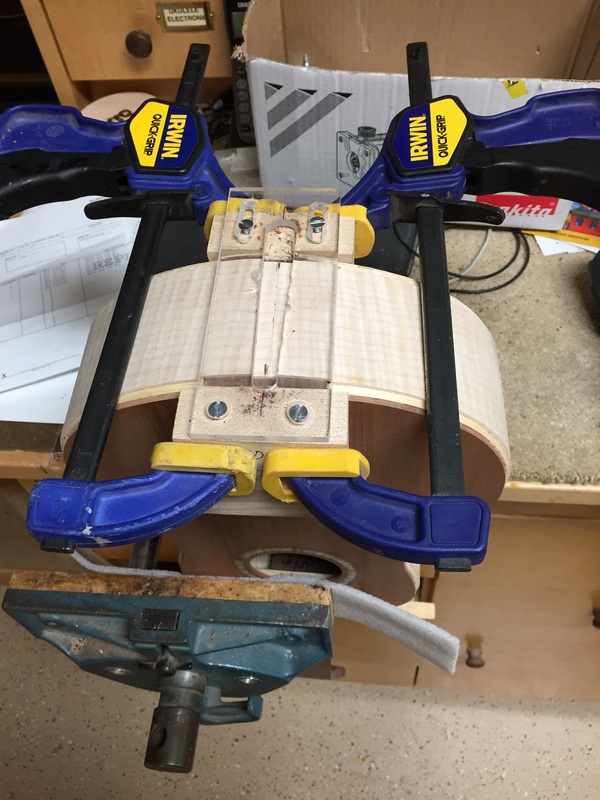
This homemade jig guides the router in cutting a nicely tapered back strip that I will make from wood that matches the binding.
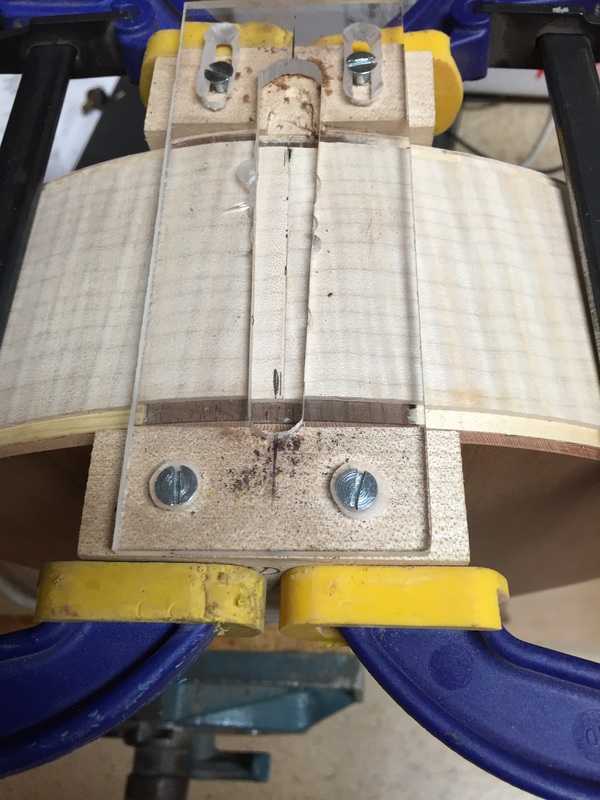
Here is a close up. This thin wiggles around until it is in position and then I can clamp it firmly in place.
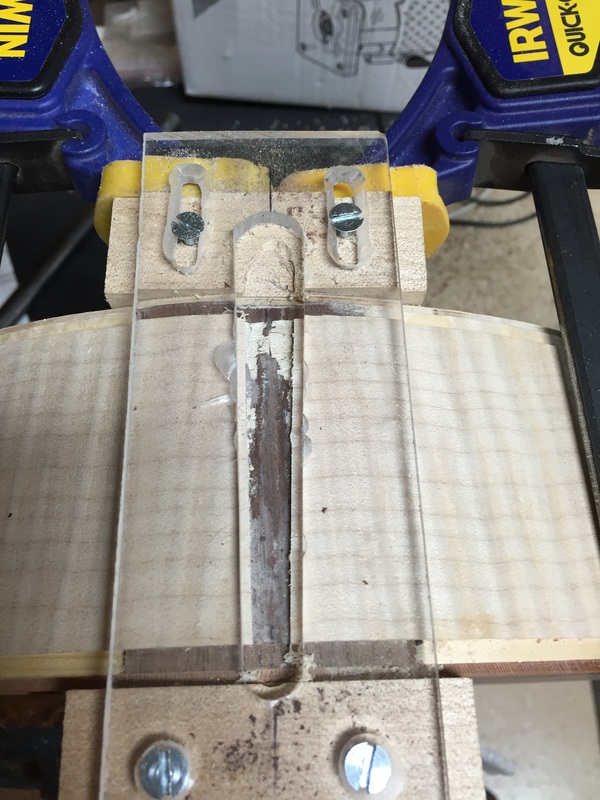
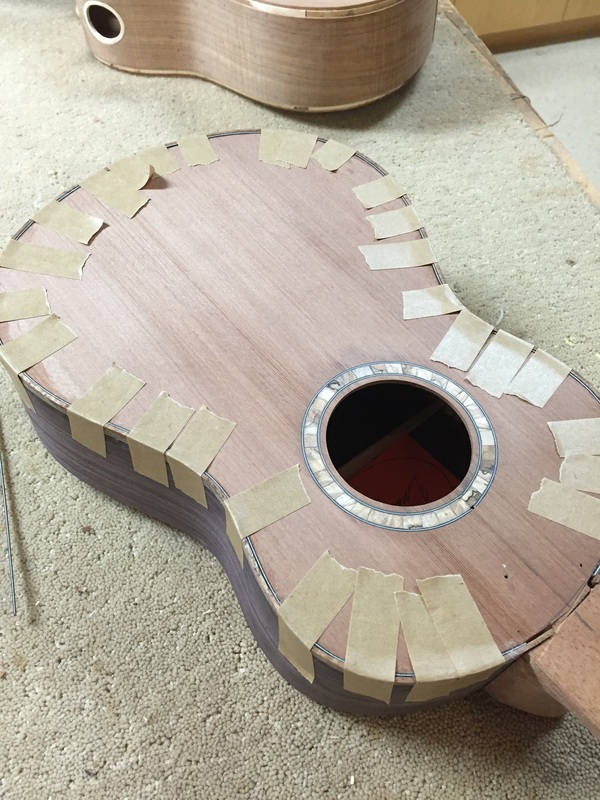
Here it is with the cut made. I just need to clean this up a little, a simple job. Now it is time to begin installing bindings.
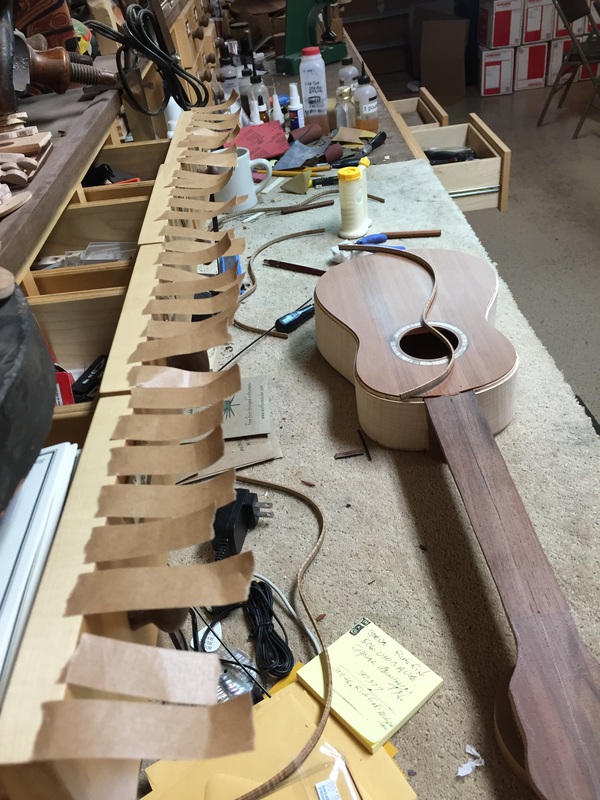
I cut and fit the binding exactly to the body, get plenty of the binding tape ripped to length and ready to apply because when you start a side you want to finish without delay. First apply the glue, then tape the binding into place.
Eleven more of these pieces of binding to installed, quite a job, that takes lots of patience. Better not try it all at once. Maybe after dinner I will do a few more, and finish up tomorrow.
