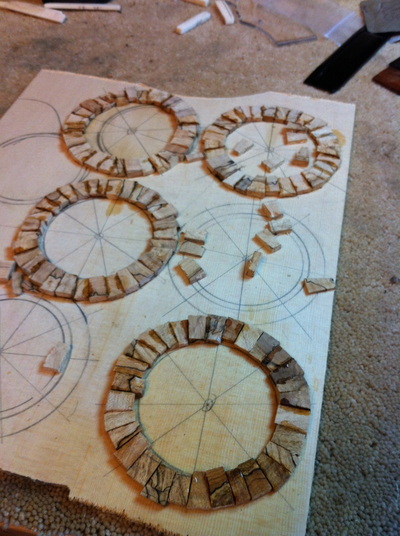
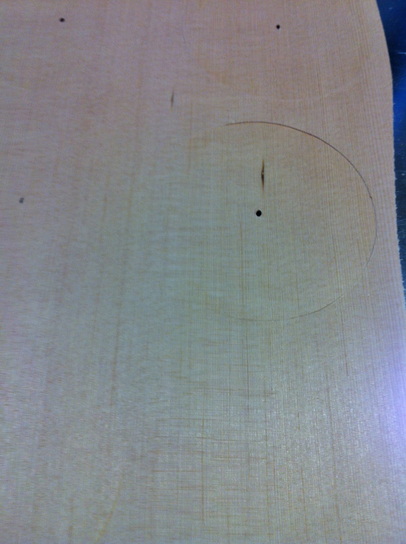
I AM ABOUT TO TELL YOU MORE THAN YOU PROBABLY WANT TO KNOW about the making of rosettes. I have been doing it for a bunch of hours today so you might as well join in the fun. Here are the scribed circles sized to what I want to make ,covered with pieces of spalted Maple. I have glued them in position with super glue.
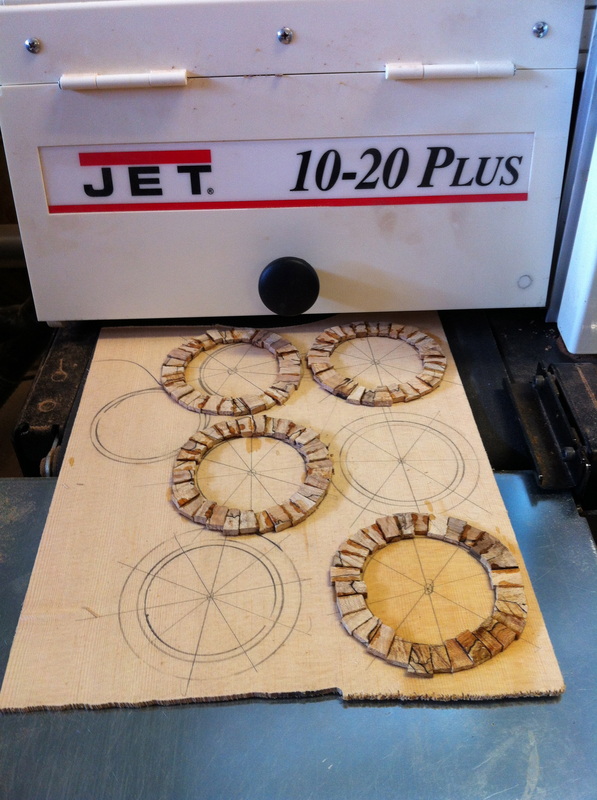
I will pass this through the thickness sander until they are all the same height.
I will pass this through the thickness sander until they are all the same height.
And here they go through the sander
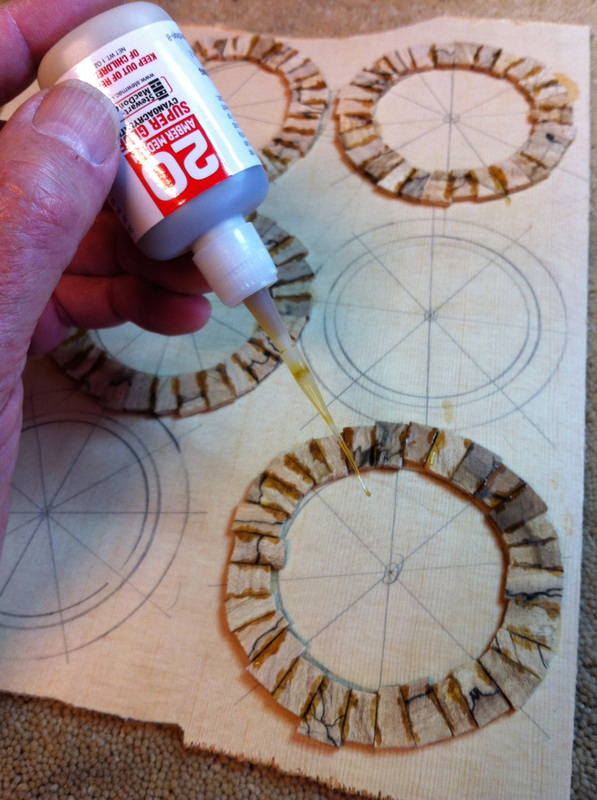
Once they are leveled I give them another shot of amber colored superglue to fill any voids between the pieces and let it set up hard before putting them to the stress of cutting to proper width. Note the very thin applicator on the super glue bottle. They cost just pennies, stick them on the super glue bottle and throw away the cap. They are so thin that the glue does not set and plug up the entry hole. You can use super glue for weeks and weeks without it clogging. If it does jut nip off 1/8th inch of the spout and your are free for more weeks of easy application. Great invention!
Now it is time to cut to size. first the inside, be sure to leave room for a border piece to confine your rosette both inside and out.
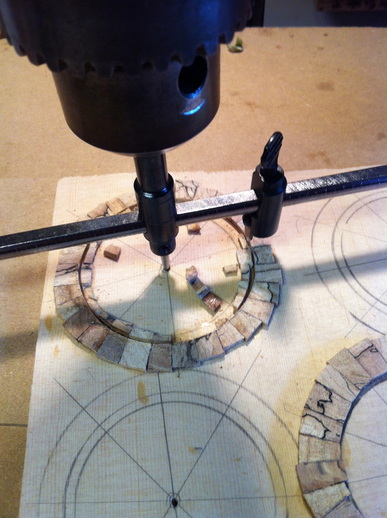
The inside cut.
Next the outside cut
Next the outside cut

Now the outside cut, again figure for the black surrounding ring you are going to want.
Now its back to the thickness sander. When you cut those two edges you did not go entirely through the backing piece so the whole thing stayed together. Now you wand to separate the partially cut out rings. You simply turn the project over and sand the backing away until the Rosette rings still with some baking are freed. You can just see the sanding beginning to reveal the circular cuts from the other side.
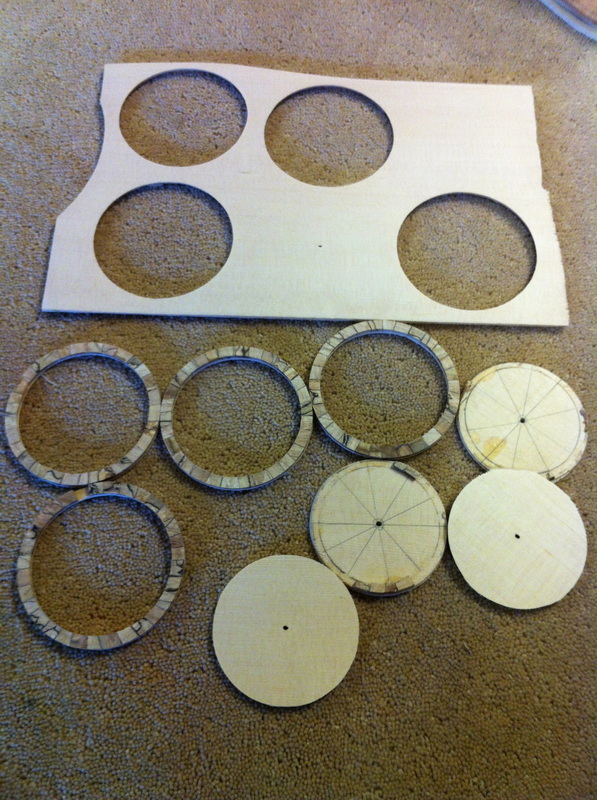 | And now they are free. The rosettes are done, still stuck to their scrap background of spruce, ready to be put into the ukulele top. Stay tuned. Tomorrow I will show how that is done. |
