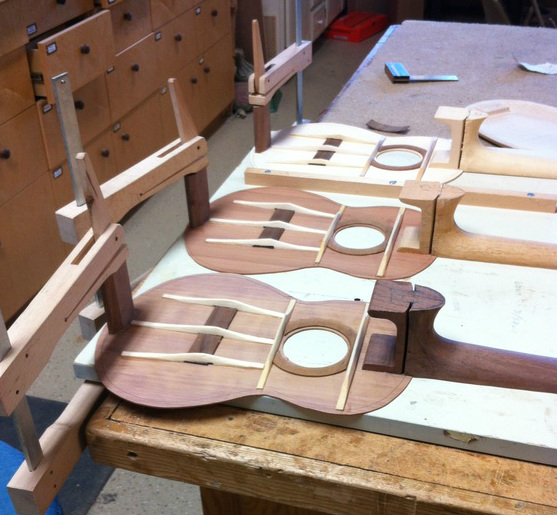
NOT A LOT of time for uke building today but I did get the butt plates glued onto the tops. This is how I clamp them up.
Later in the day I got some time to experiment with the new port hole that my cousin Ric made on his CNC machine. This is a study in progress. I wanted to try the prototype with a broken maple side. Here is what it looked like.
The sound port study.
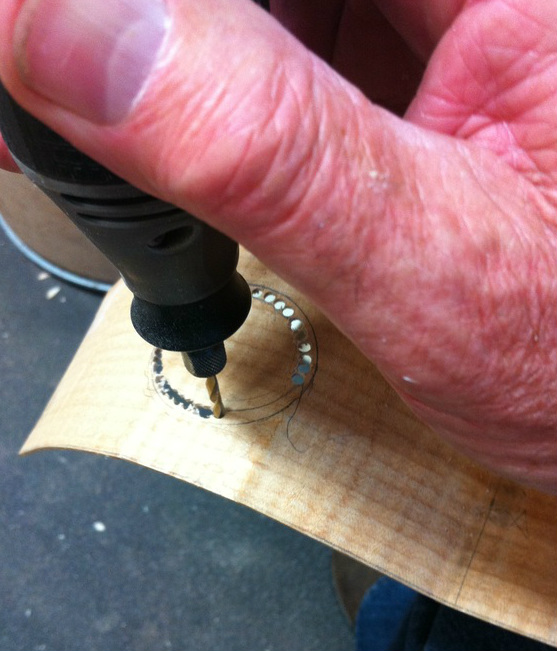
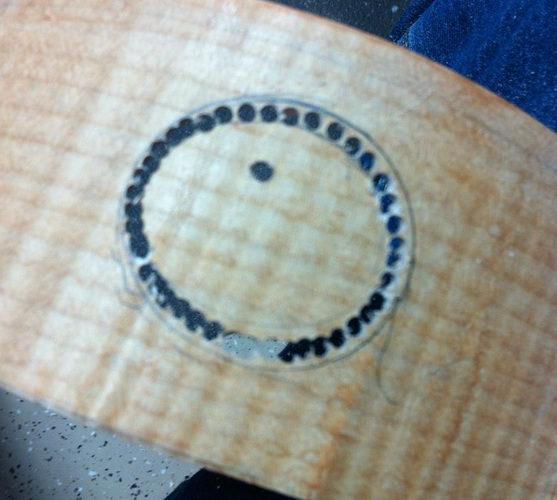
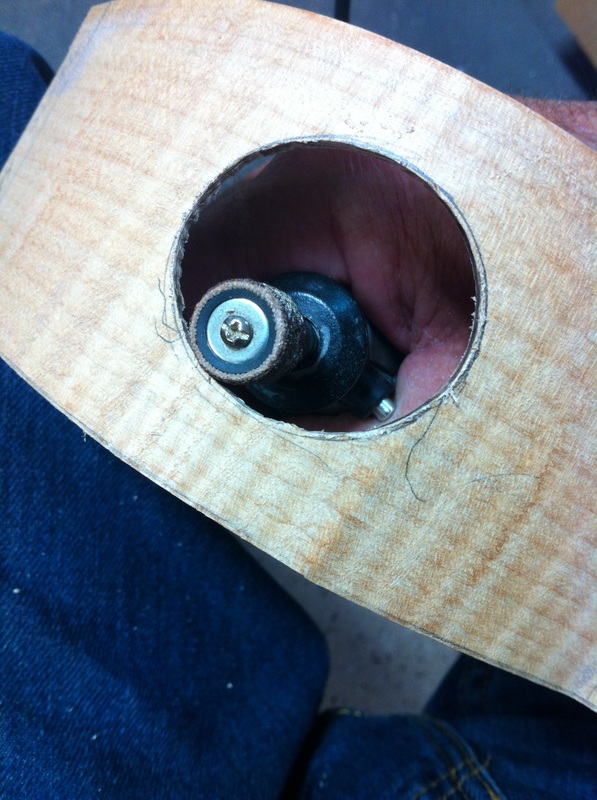
I wanted to get a good look at the possibilities of using the CNC "porthole" so I used a reject side with it's bend. Drew the oval by running my pencil around the porthole and started the excavation by drilling these holes with a drill bit in my Dremel.
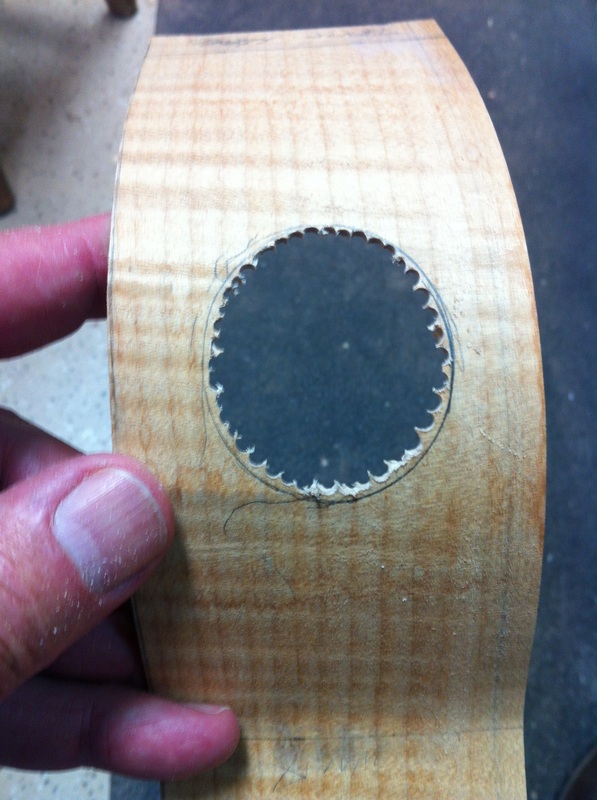
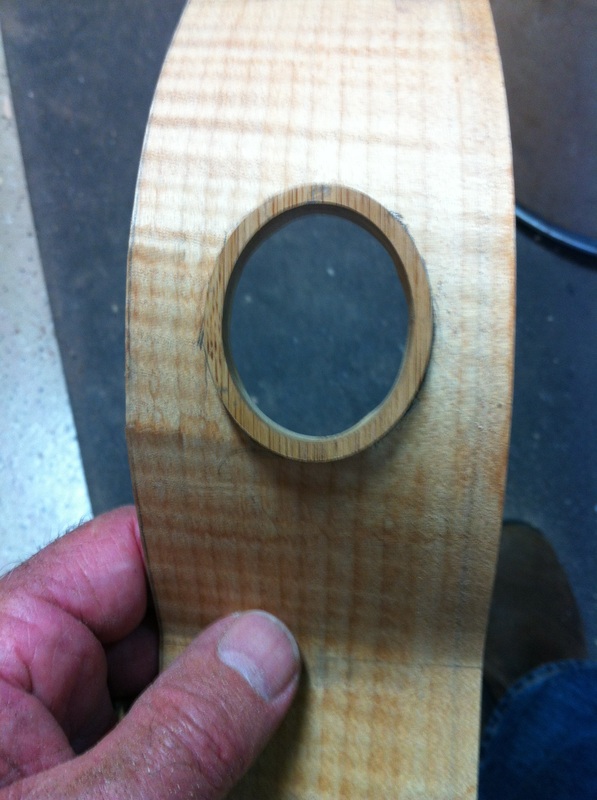
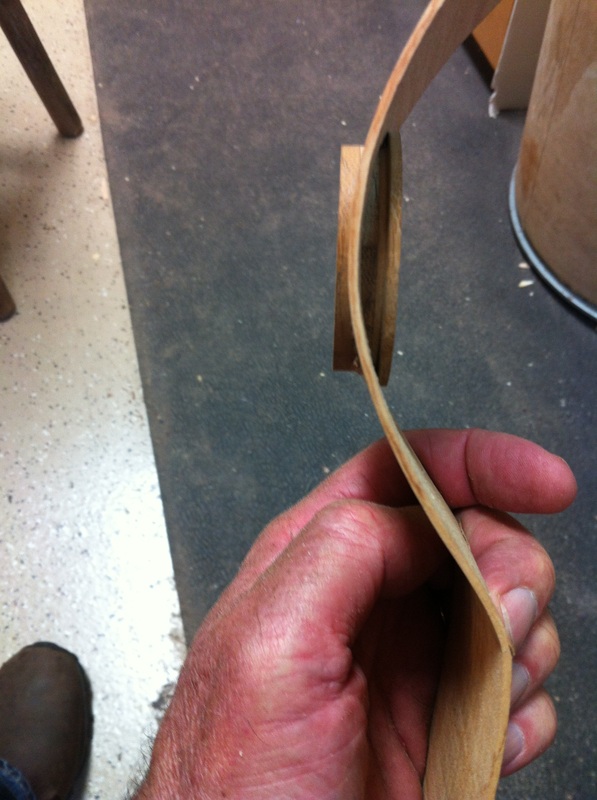
| Here is the porthole inserted from the inside. Now in theory one would gluee it in place and sand it down to be flush with both the outside and the inside. | Here you can see the challenge. The flange touches only at the top and bottom of the oval. The real challenge is in cutting the hole in the side perfectly. Perhaps using a sanded flush prototype to make the pencil lines would be helpful. I was not delighted with the hole I was able to cut. It may make more sense to try to bend with heat a border for the sound hole, but this shows some promise. |
