HERE IS A TUTORIAL about making rosettes. lots more than you probably wanted to know, but here we go
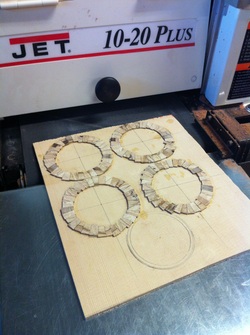 first we need to sand the rings down to the same thickness. The thickness sander does that job nicely. 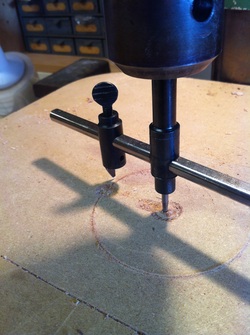 Set your drill press so that the cutter blade will not quite cut through the material. LIKE THIS 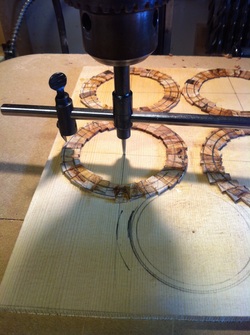 Now you can make your outside cut on the line that you scribed with the compass.  Now the inside cut and it is time to take the piece back to the sander 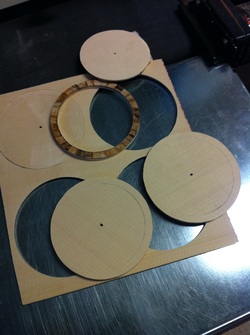 Voila! the rings just separate. You may have to pull them apart gently. | 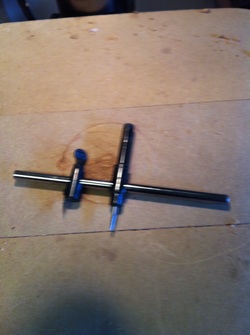 The next tool is this fly cutter, or gasket cutter. You use it in your drill press. 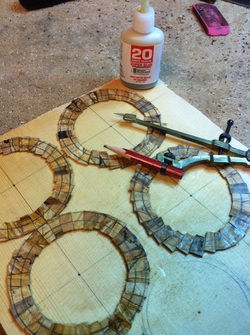 Now go back to your compass and mark the inside and outside cuts. I also fill any cracks with superglue at this time. 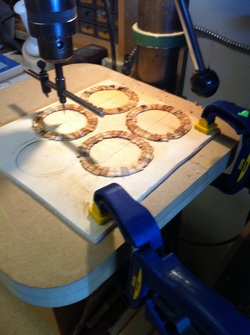 CLAMP YOUR WORK TO THE TABLE. That cutter arm would make a big owie if it hit your hand. 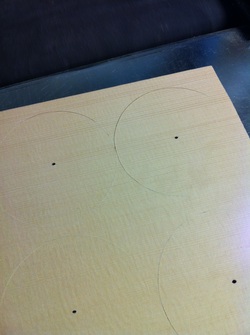 You have sanded the spruce backing down until now you can begin to see the cuts showing. Just a little more and 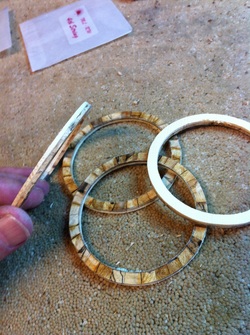 Here are the finished rosette rings with their spruce backing. the "show" surface is yet to reveal itself. |
TOMORROW'S BLOG WILL SHOW YOU HOW TO INSTALL THESE RINGS INTO THE INSTRUMENT TOP AND CUT THE SOUND HOLE. STAY TUNED.
