Did you ever wonder where the name "Rosette" came from. I guess it is easier than "ring around the sound hole" but it is a strange name. Anyhow, spent a few hours today continuing the rosette work.
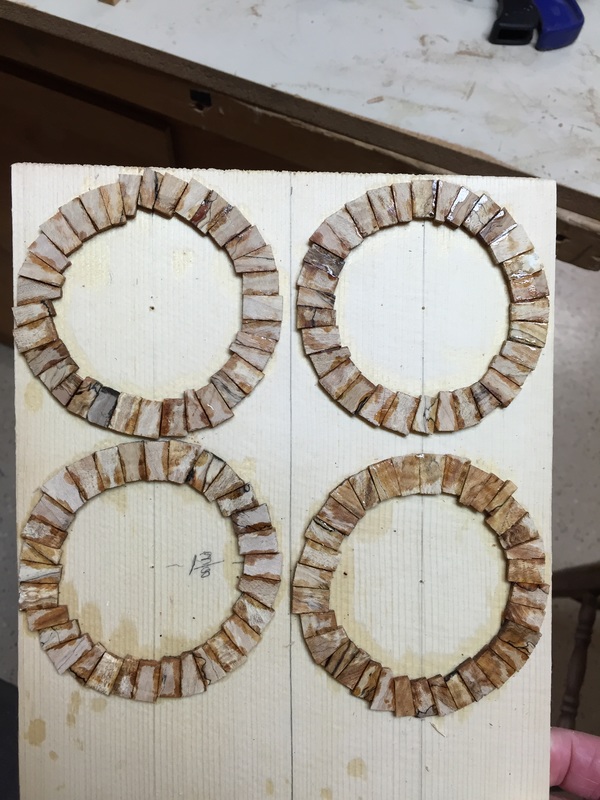
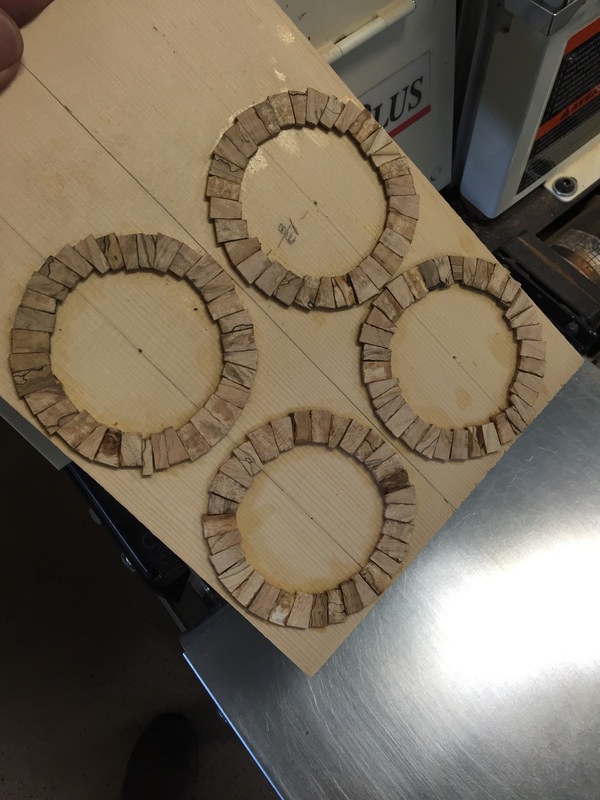
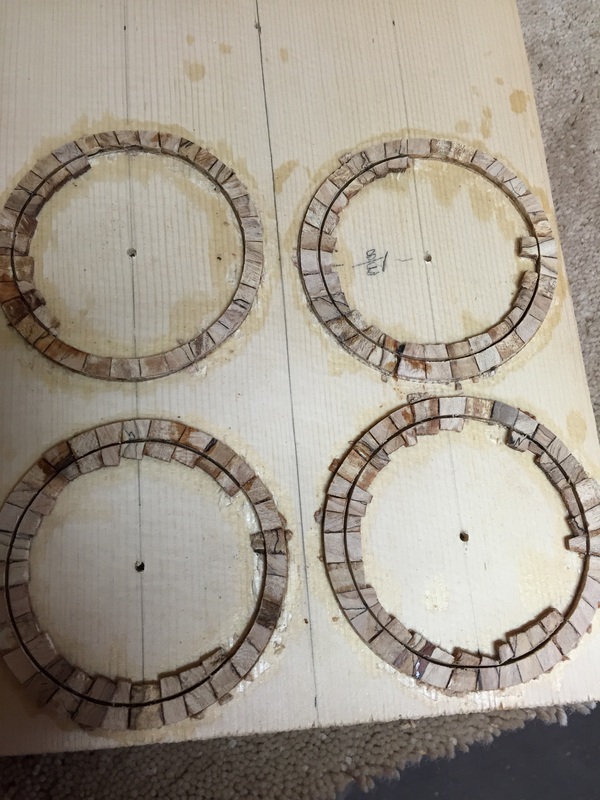
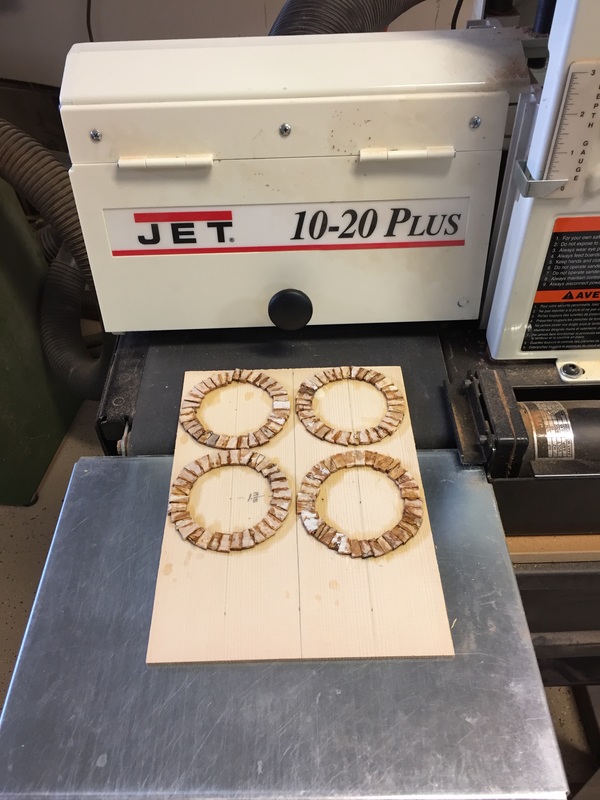
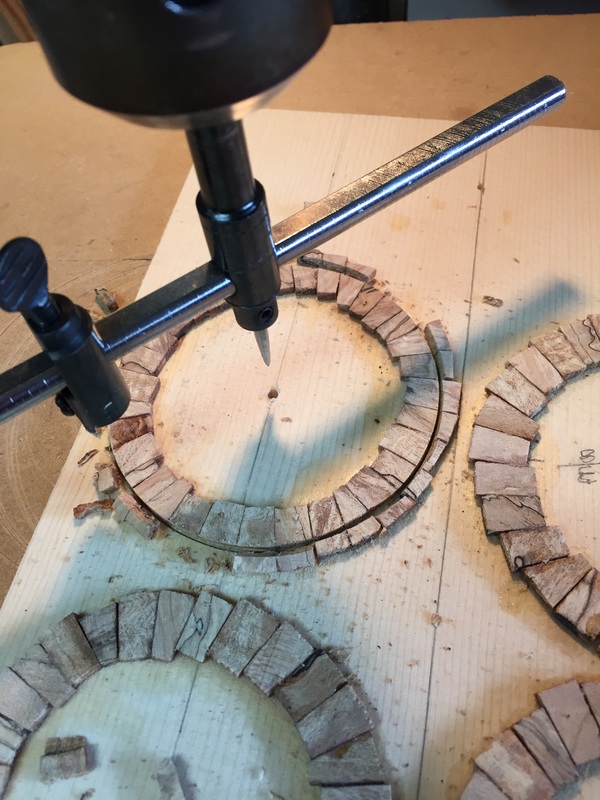
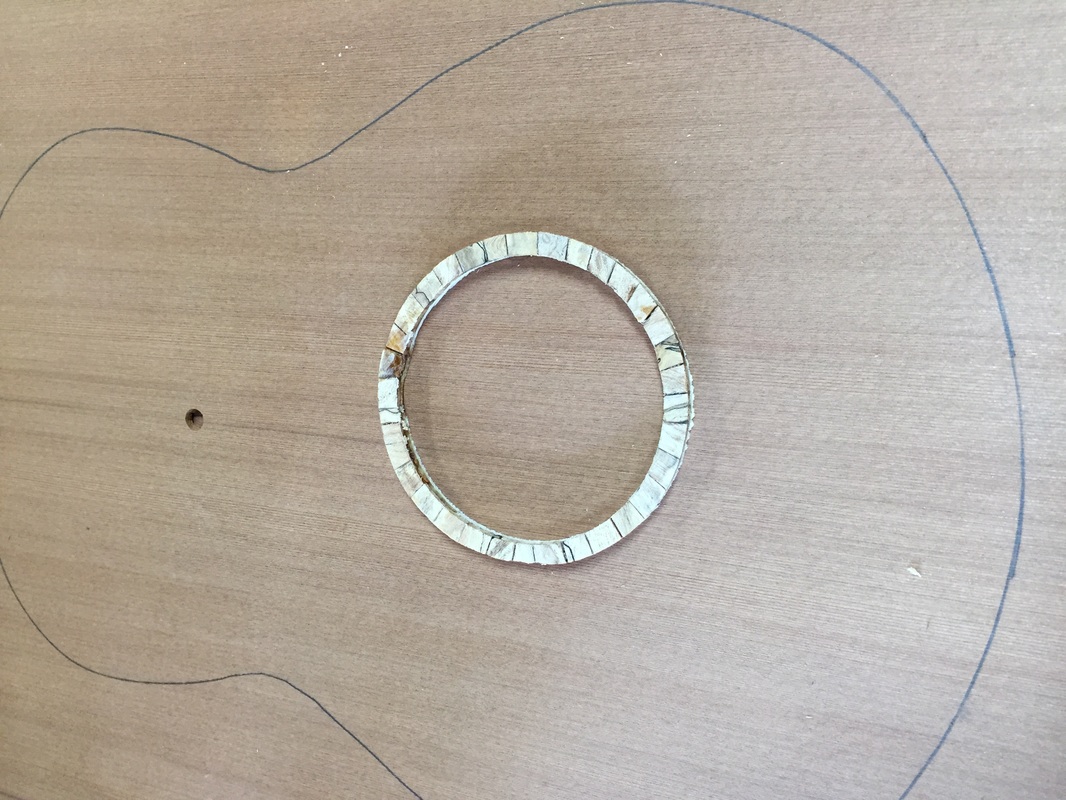
| Here are all those tiny little pieces super glued to a scrap of spruce and covering the drawn circles that indicate the final size of the ring. Now they are nicely smoothed on top and should cut ok on the circle cutter. Now they are cut. We must turn the whole thing over and sand away enough of the spruce to free the rings which will still be glued to spruce backing | Before they can be cut to size I want to smooth them off and sand away the excess glue on top. So I pass them through the thickness sander. The first outside cut is successful. The secret here is to set the cutting blade to penetrate through the rosette and almost through the spruce backing. You will be sanding that backing later to free the ring. you wa Now the rosettes are free, each with spruce backing still glued to it. After the proper size groove is routed in the soundboard the ring is glued into that groove face down, with its attendant "black/white/black" purfling on each side. Then the sound hole will be routed in the soundboard and it will be returned to the thickness sander to sand the backing away from the rosette and sanding it down to level. Then it is turned over once more and the soundboard will be sanded to a thickness of .075. |
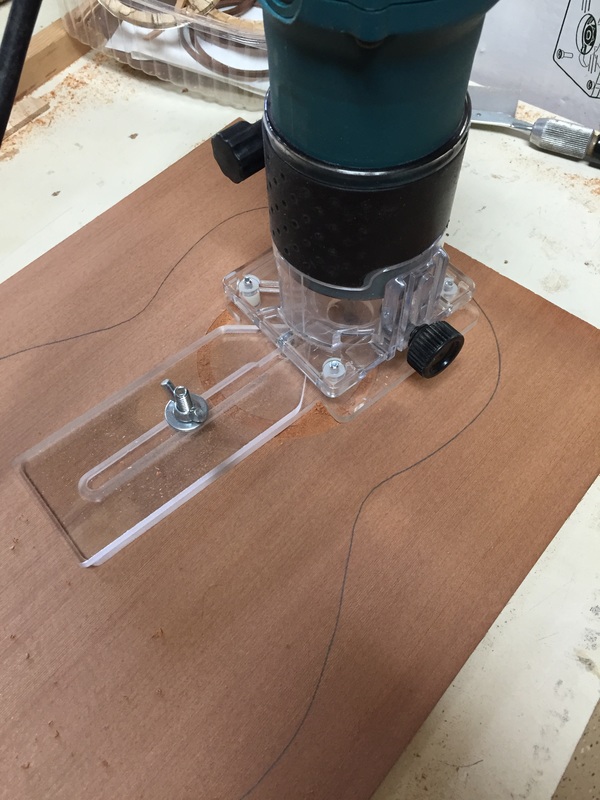
Here is the first outside cut. Now we must get serious, A mistake at this point could ruin this magnificent redwood so its measure twice, think it through, measure a couple more times and think once again. Then you turn on the router and make the cut, holding your breath all the while. By the way, be sure to have a sharp router bit.
