It was a long-slow day in the workshop figuring how to cut an oval sound hole and surround it with an oval 1.8th inch wide rosette, and then doing it.
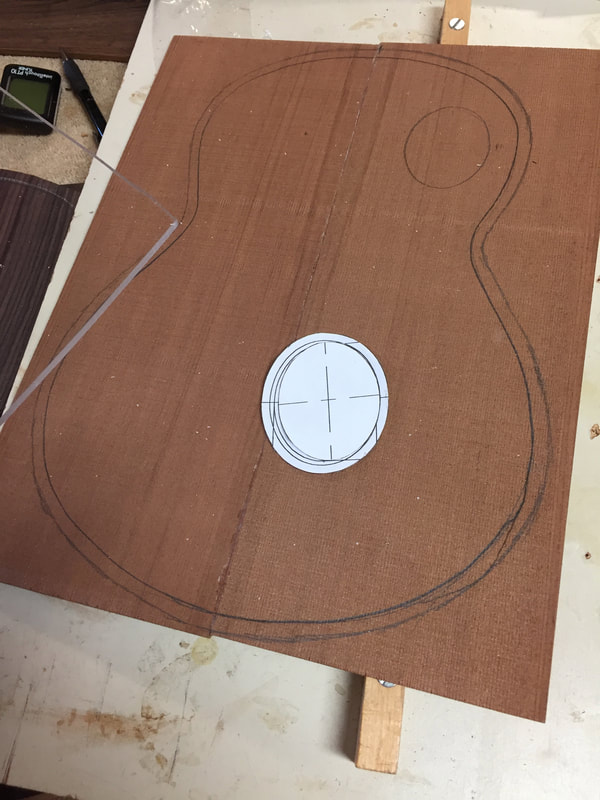
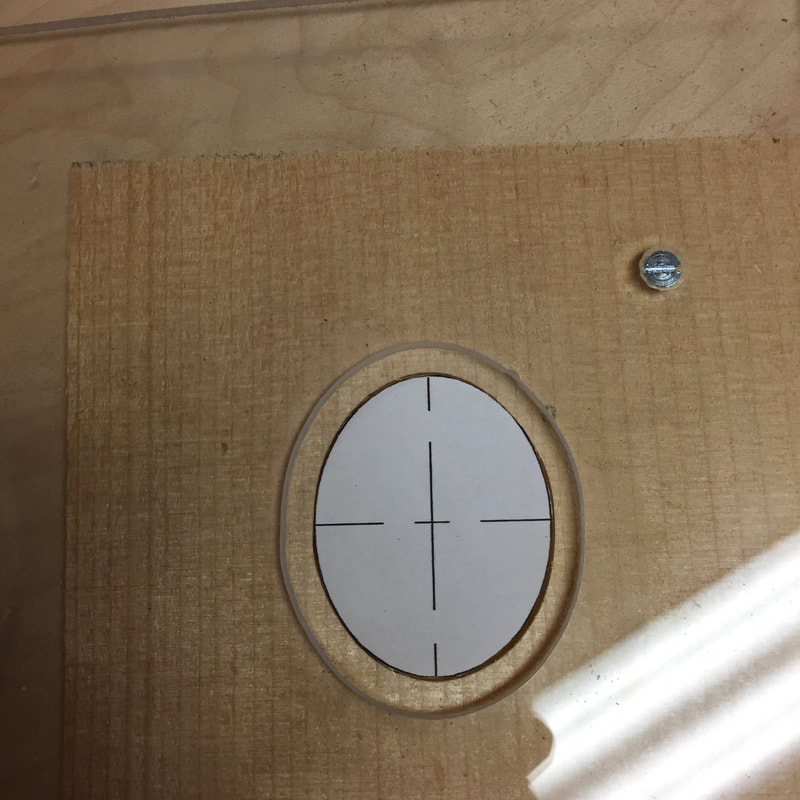
First, I put the plan under my printer and copied the oval. Then I cut the oval out with scissors, Then I drew and cut another oval larger by the width of the router rig.(this pic. shows on oval on top of the other. Then I traced the oval on the soundboard where it wants to be.
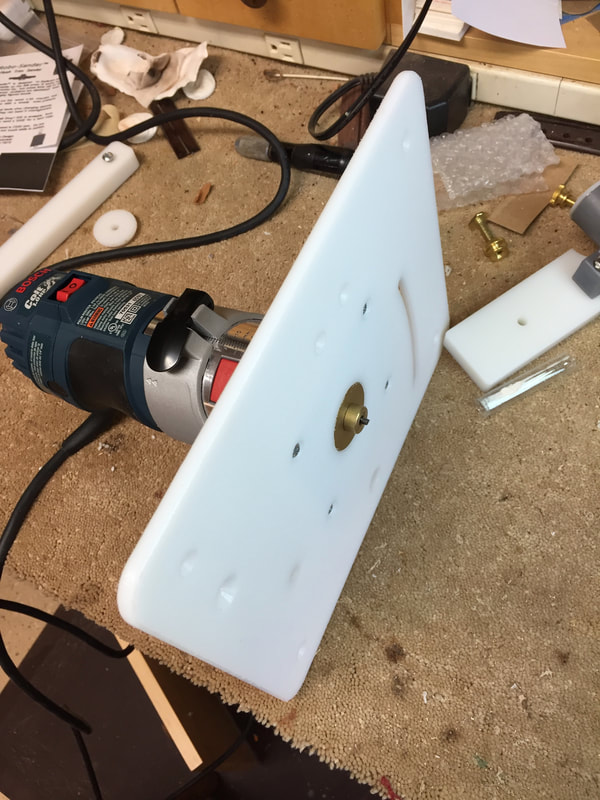
. The little round roller will follow a pattern, so the challenge was to make an oval pattern just enough wider than the hole I wanted to cut. The roller is exactly 1/4 inch thick so I made my pattern using 1/4 inch thick acrylic.
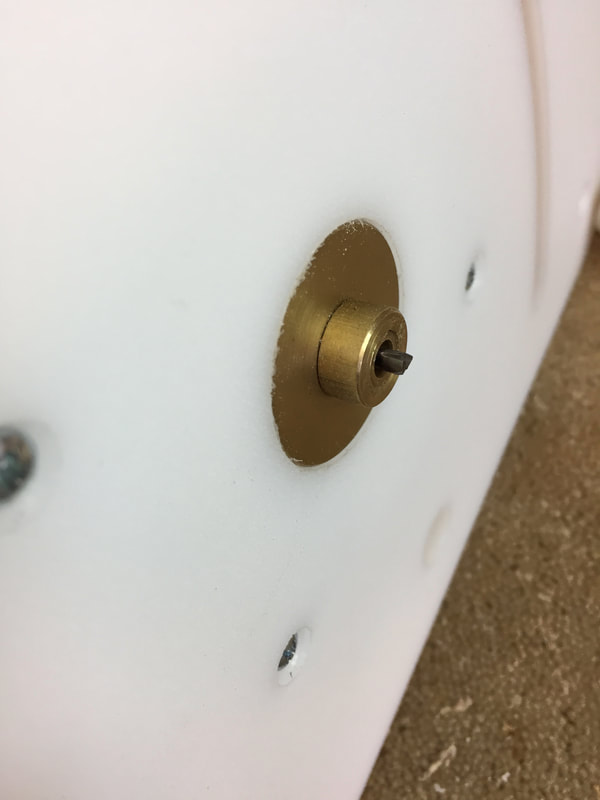
A better picture of the roller guide with the router bit protruding through it.
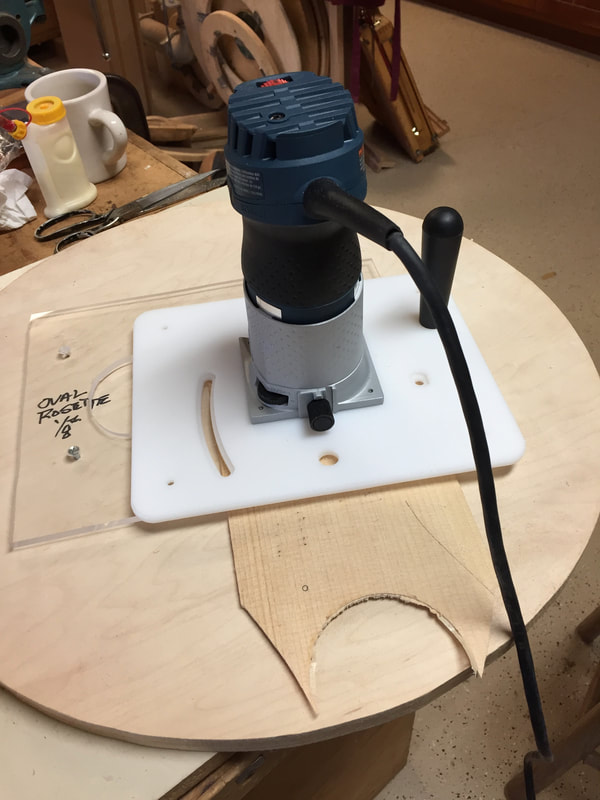
In a piece of 1/4 inch acrylic, I cut two ovals. One to cut the sound hole and a larger one to cut the channel for the rosette. This acrylic I screwed down over a scrap piece of spruce to test my theory.
My goal was to cut out the oval illustrated by the paper oval. And then to move the acrylic plate putting the larger oval that would cut the rosette in just the right position over the first cut.
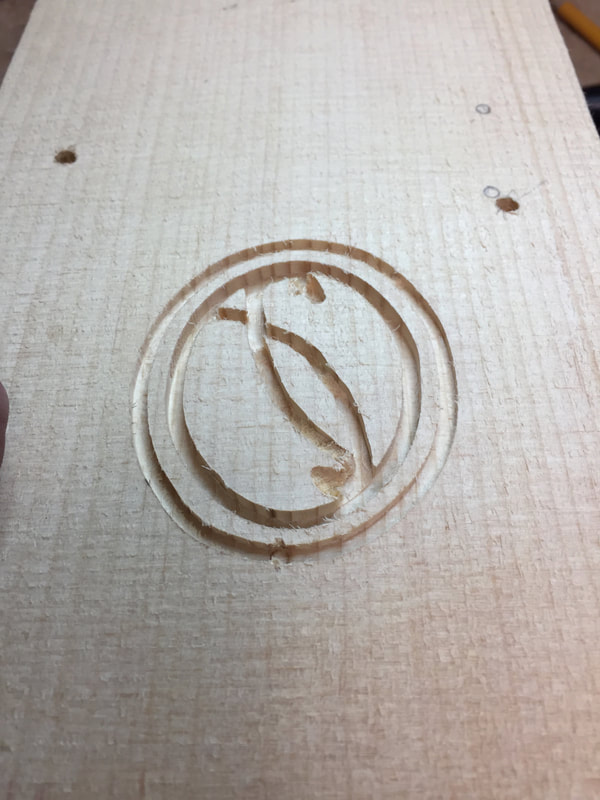
Well what do you know, It worked!! Here on the scrap spruce is the deeper sound hole cut, and the more shallow outer cut for the rosette. All that center piece gets removed when the wood is turned upside down in the thickness sander. The challenge will be to get the acrylic pattern perfectly placed so the cuts are just where I want them. Time to try it on the Redwood soundboard.
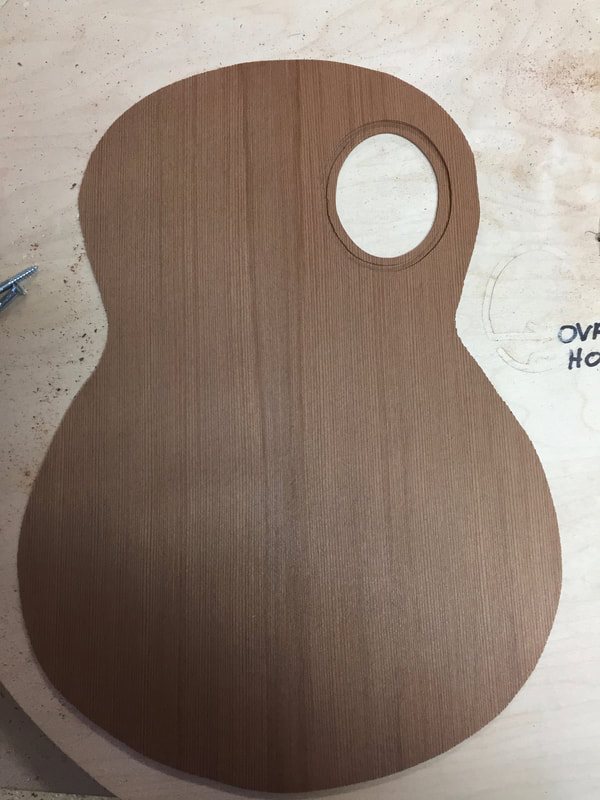
And here is the finished product sanded down to .085. I will need to sand it more once the rosette is installed, and It will be finish sanded also, so I figure the final thickness will be .080. The pattern was not perfectly aligned but a little judicious sanding later on will help. The basic principle is sound, the execution may take a little experience.
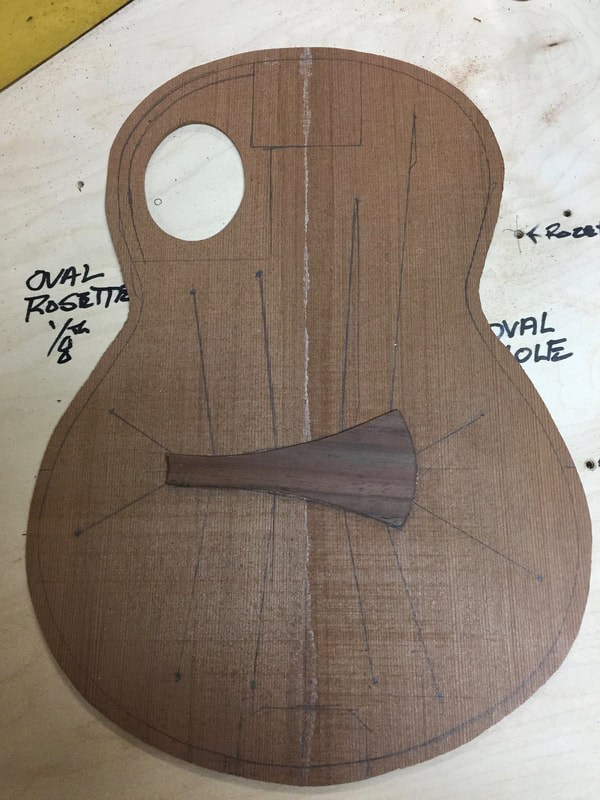
Then I turned it over and drew in the tone bar locations and other features for the underside of the soundboard. That sloppy glue line gets sanded and then covered with a thin bracing strip. There will be a cross grain patch around the sound hole. The thin walnut bridge brace will support the toneboard, host the tips of the tone bars and have four string holes drilled in it, supporting the string knots with its strength. I guess whittling and installing tone bars comes next.
