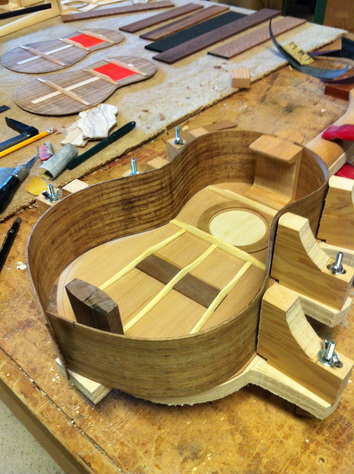
First you must carefully measure and cut the ends so that the side fits the soundboard perfectly. Note that the front of each side piece slips into the groove cut in the neck piece. Then the jig's movable braces are pushed inward and set with the wing nut. The next picture will give you a better look at that connection.
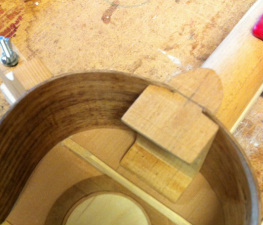
Here is a closer look at those inserted sides.
| 
|
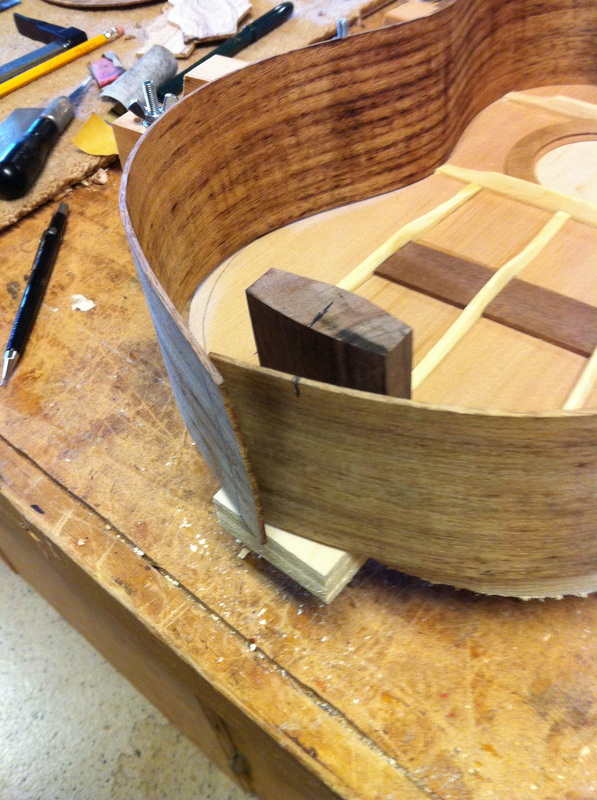
Now you carefully position one side and mark the cut-off point at dead center on the butt block. See the pencil mark on the side piece. With a square set from the flat bottom piece you draw the cut off point. After you have done that with both sides, take the sides off the jig and tape the rear joint together with masking tape. Now you are ready to glue it up and install.
| 
|
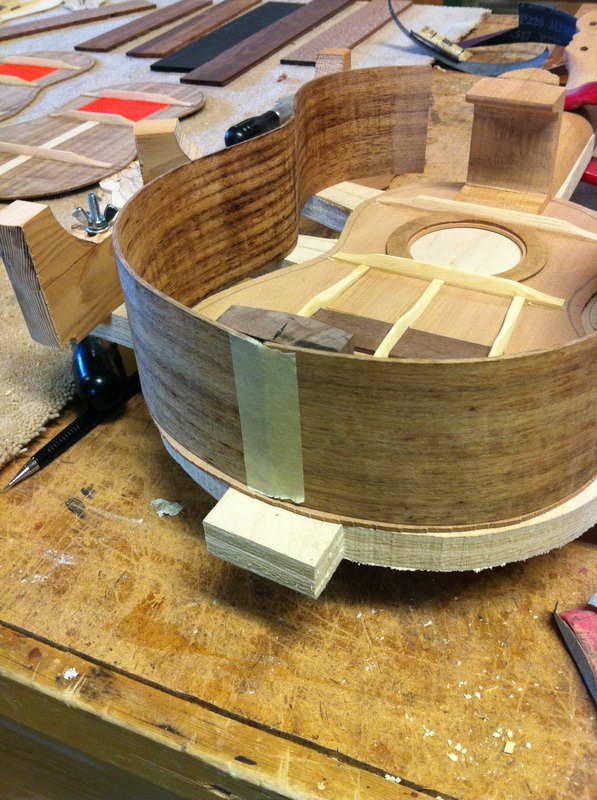
Carefully apply glue to the entire lower edge of the side, also on the back of the butt plate, and the side joint where they will meet. Don't put glue in the neck groove however. That wants to remain glue free.
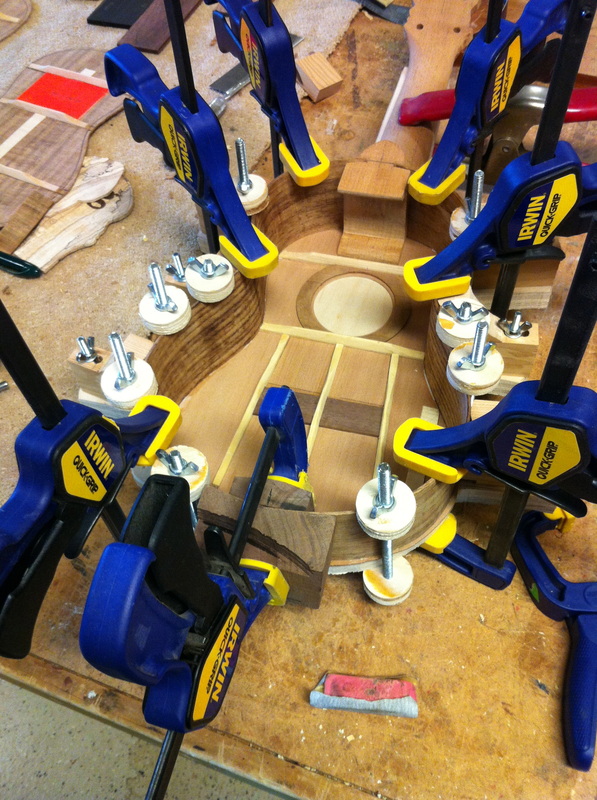
Using a caul at the butt plate, tightly clamp the taped together side pieces to the butt plate being sure you push the sides down tightly on the soundboard. Then clamp the sides down tightly all around the instrument using a variety of clamps.
Let it dry thoroughly- you will then glue
on the "tentalones" seen on the right. Leave the clamps on until you have glued on most of the tentalones. When they have set there is no chance of the sides not being firmly attached to the soundboard.
This new assembly Jig worked just perfectly. I could not be happier, and only two more ukes to go.
