IT IS TIME to attach the bridge to Bob's Koa/Cedar uke. The french polish has had two weeks to harden up, the nut and the saddle were shaped from buffalo bone long ago, perhaps tomorrow the 3 degree taper reamer will arrive from Stew Mac so I can make the holes for the bridge pins, But first we have to glue on the bridge-- and it must be perfectly placed to assure proper intonation. Here is how I do it.
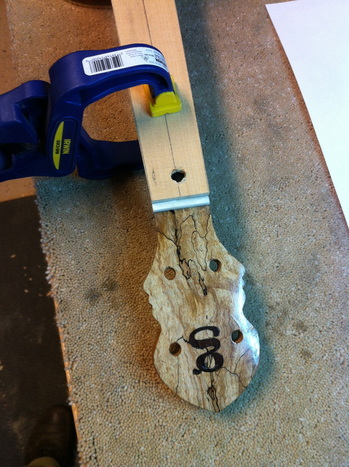
First I insert the nut, not yet notched for the strings but shaped to fit otherwise. Then I clamp a wooden template onto the fretboard, tight up against the nut.
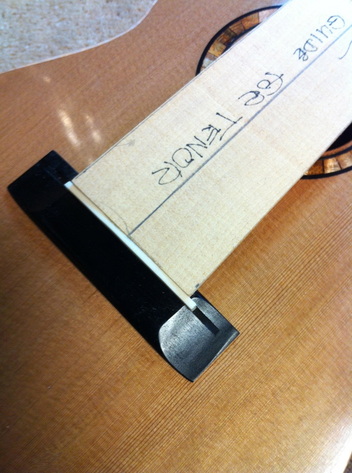
That wooden template is exactly cut to the scale length of a tenor ukulele. I know that if I can glue the bridge with it's saddle exacty up against that template I will have perfect intonation. So here it is perfectly placed. Now the challenge is to glue it there.
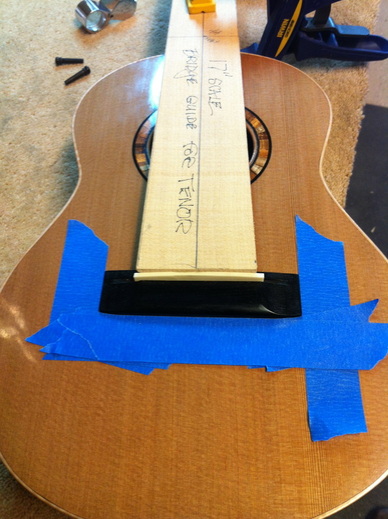
We will do that with tape, to carefully set the limits of the bridge edges. A couple of layers of blue tape very accurately delineates the edges of the bridge and will hold it in place so that it does not slip during glueing.
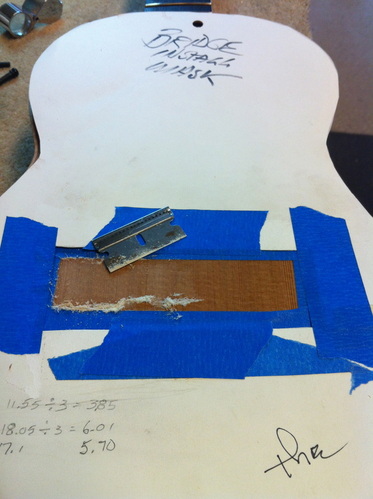
The tape now defines the glue area for the bridge. I will mask off the rest of the soundboard against the possibility of a tool slip that would mar the finish that has taken so long to produce. Now with a razor blade I must carefully scrape off every last vestige of shellac from the bridge area to insure a successful glueing.
Stay tuned, tomorrow we will glue it on.
Stay tuned, tomorrow we will glue it on.
